Today's recipe celebrates some of the best veggies of summer that won't be around much longer. I figured it's time to give them a nice farewell as we start to move closer to fall. But, first things first, I wanted to give a little update about what  I've been up to. Over the past few weeks I've been in the process of preparing, moving, and getting settled for my dietetic internship. Yippee! I'm super excited for what the year has in store and know that I'm going to learn so much during that time. I just can't wait to get started! Also, I somehow misplaced my camera in the move, so, until I find it, we're going to be working with cell phone pictures. Not the best, but do-able. Now, back to the recipe.
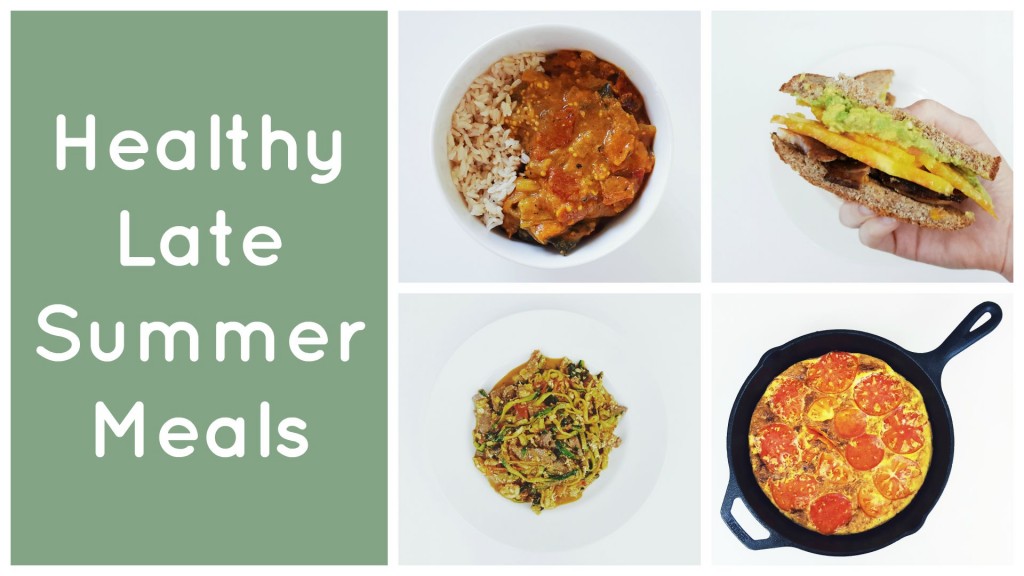
First, I have a confession: I messed up when I made this. You see, I am a severe onion-crier. I've read that cold onions don't make your eyes tear up as much, so I usually put however many onions I need in the freezer when I start cooking and save them to chop last. Well, this time around, I totally forgot the onions in the freezer, so I had two frozen onions and no onions in the oven. Oops. However, the end product still tasted incredible and I'm sure it tastes even better if the onions are included! This veggie packed, vegan dish uses flavor packed basil and cilantro to season some summer super stars, including eggplant and tomatoes. They all bake together to create a delicious dish that has definitely made itself a place on my list of favorite recipes.
Roasted Eggplant and Chickpea Stew
adapted from Local Flavors by Deborah Madison
serves 4-6
 Ingredients
1.5 pounds of waxy potatoes sliced 1/2-inch thick
2 large red or yellow bell peppers
Olive oil
1 cup packed basil leaves
1 cup packed cilantro leaves
3 large cloves garlic
3 tablespoons olive oil
1/2 teaspoon ground cumin
2 large onions, peeled and cut into eighths
1 pound eggplant cut into 3-inch x 1-inch wedges
2 or 3 large meaty red tomatoes, seeded and diced
1.5 cups cooked chickpeas
Salt and pepper

Directions
1. Preheat the broiler. Prepare a steamer basket by bringing water in lower-pot to a boil. Steam potatoes until fork-tender.
2. Halve the peppers lengthwise, press to flatten them, then brush with olive oil. Broil, cut side down, on a baking sheet until blistered but not charred. Stack them on top of one another and set aside to steam. When cool, remove the skins and cut the pieces in half, Set the oven temperature to 350°F.
3. Coarsely chop the basil, cilantro, and garlic, then puree in a small food processor with the olive oil, cumin, and 1/2 teaspoon salt.
4. Toss all the vegetables with 1 teaspoon salt, pepper to taste, and herb mixture. Using your hands, rub the herb mixture into the vegetables, especially the eggplant, then add the chickpeas and toss once more. Transfer everything to a large casserole dish. Rinse out the herb container with 1/2 cup water and pour it over all. Cover tightly with foil and bake for 1.5 hours. Remove the foil, brush the exposed vegetables with the juices, and bake for 20 minutes more. Let cool for at least 10 minutes before serving. Serve alone or over brown rice, whole wheat couscous, or quinoa.
 It's amazing what a month can do! The garden has come a long way since my last update and it's really exciting. Lots of things are growing and it looks like I'm going to have my best harvests yet! For a point of reference, I'm in Virginia in Zone 7. All of the plants in the garden we either seeded directly or started from seed inside. I like to grow heirloom varieties, so there are a lot of tasty and interesting types that you might not have seen before!


 I'm happy to say that grilling season is officially here! The sun is shining, the pools are open, and everyone wants to do some outdoor cooking. One of my favorite things to make on the grill are kabobs. Not only do they cook quickly, but they are quite versatile and make it easy to create a large spread with something to please every palate. I like to make mine using a product called the Fire Wire. The long wire allows you to pack lots of food on to one skewer and they have a handle at the end that you can grab with your hand (burn-free) when it's time to flip. They are also nice if you have a round grill because you can snake them around, giving you a much more efficient use of the cooking space. I find they work better with meats than veggies, as the vegetables tend to spin around when it's time to flip, but it's still doable.

