3 Valentine's Day Chocolate Recipes | Easy + Simple

Valentine's Day is almost here and nothing says "I love you" like a homemade gift. Here are three delicious homemade chocolate recipes that are simple and easy to make: chocolate dipped figs, chocolate almond clusters, and heart-shaped peanut butter cups.


Chocolate Dipped Figs

Ingredients

2 ounces

chocolate chips, melted

12 dried figs

Directions

  1. Line a baking sheet or small cutting board with parchment paper.
  2. Holding the stem, dip a fig in the melted chocolate. Allow excess chocolate to drip off and place the fig firmly on the lined baking sheet. Repeat with the remaining figs.
  3. Refrigerate the figs until the chocolate has hardened, about 10 minutes.
  4. Remove the figs from the baking sheet and enjoy or store in the refrigerator.

Chocolate Almond Clusters

Ingredients

8 ounces chocolate chips, melted

1 cup raw almonds

Sea salt

Directions

  1. Add almonds to melted chocolate and mix until evenly distributed.
  2. Spoon dollops of chocolate almond mixture onto a lined baking sheet.
  3. Sprinkle clusters with sea salt.
  4. Refrigerate until clusters have hardened, about 20 minutes.
  5. Remove clusters from baking sheet and enjoy or store in the refrigerator.

Heart-Shaped Peanut Butter Cups

Note: Quantities vary depending on the mold you use. These are the quantities for my mold.

Ingredients

10 ounces chocolate chips, melted

1/4 cup creamy natural peanut butter

Directions

  1. Fill the heart-shaped molds about halfway with the melted chocolate.
  2. Place the mold in the the freezer for 10 minutes, or until the chocolate has solidified.
  3. Spoon about a teaspoon of peanut butter into the center of each heart, being careful not to let it touch the edges of the mold.
  4. Cover the peanut butter with the remaining melted chocolate and tap the mold on the counter a few times to even out the chocolate's surface.
  5. Place the mold in the freezer for 30 minutes, or until the peanut butter hearts have solidified.
  6. Take the mold out the the freezer, carefully remove the peanut butter hearts from the mold, and enjoy or store in the refrigerator.

Get the mold I used for the this recipe here.

Sarah Moran is a participant in the Amazon Services LLC Associates Program, an affiliate advertising program designed to provide a means for sites to earn advertising fees by advertising and linking to amazon.com.

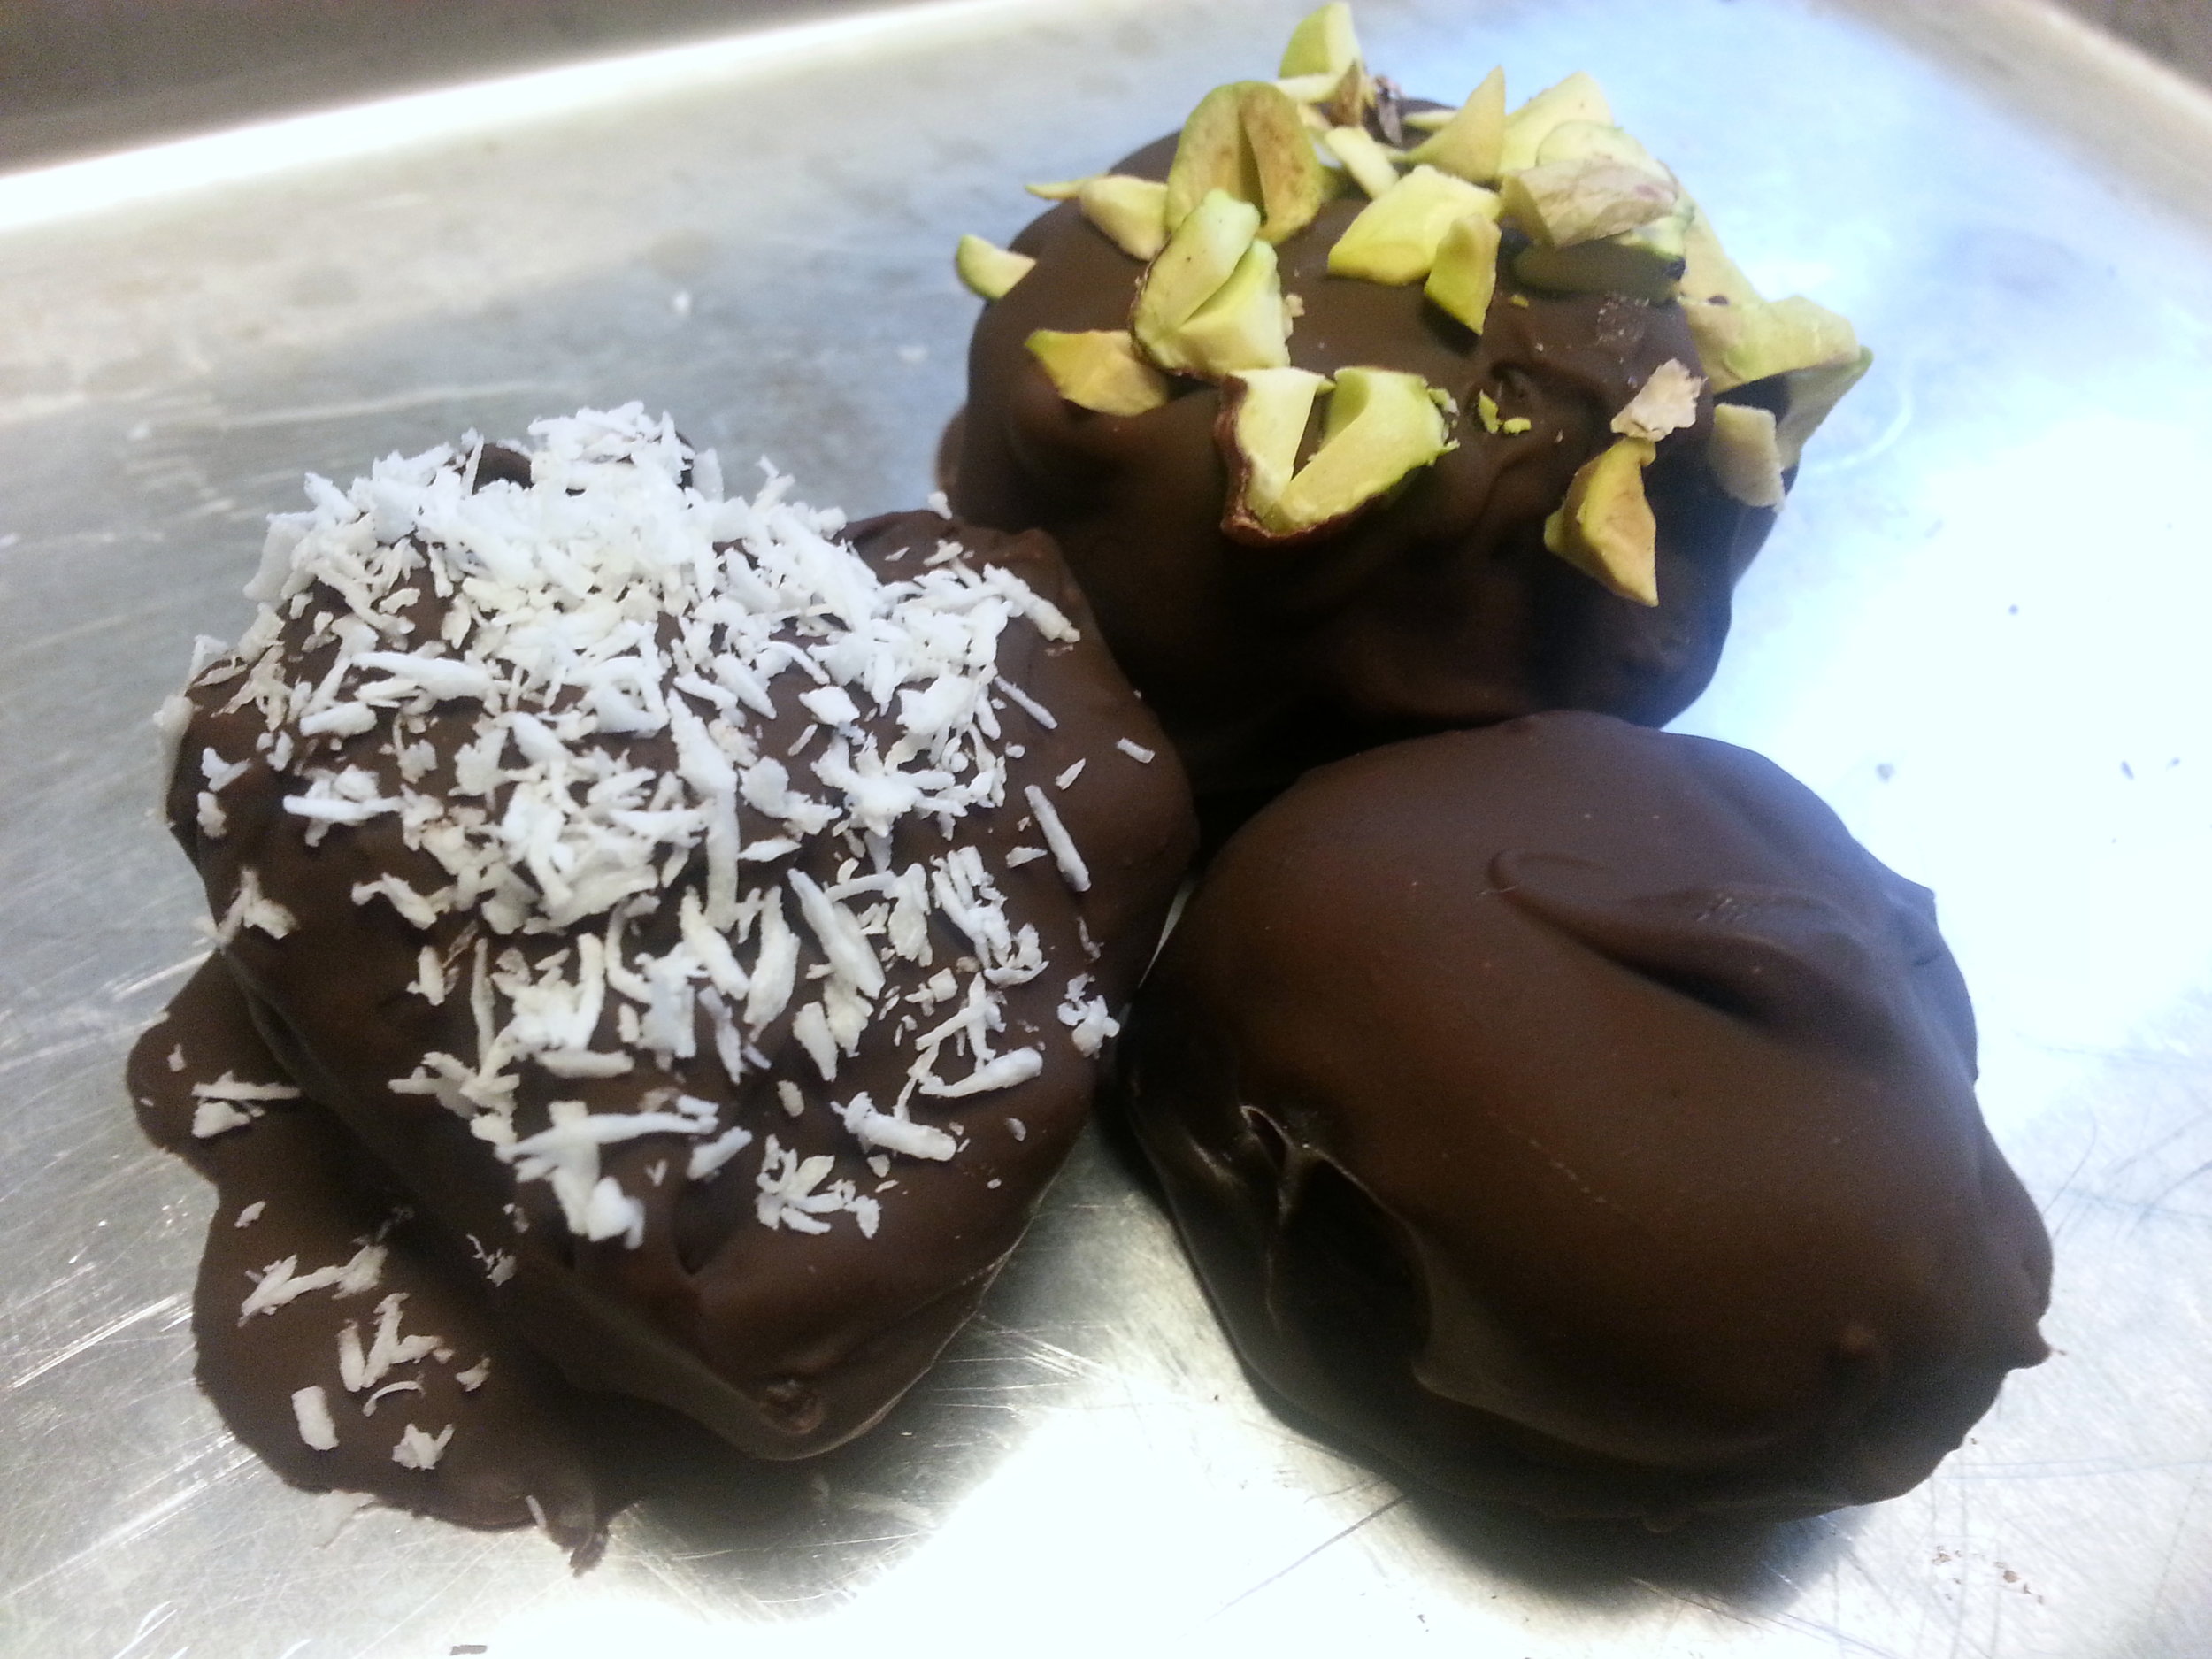
Recipe: Chocolate Truffles for Valentine's Day

Valentines Day is synonymous with candy and chocolates. This year, why not try giving your loved one a homemade version? These truffles are healthier than the store-bought version and can be customized to each person's exact tastes. Plus, a homemade treat always means more than something you pick up at the store. These truffles have a crisp chocolate shell with a soft and gooey chocolate-date center. They are seriously delicious and my only regret is that I didn't make a double batch. Healthy Homemade Truffles

Chocolate Truffles for Valentine's Day

Ingredients

12 dates, pitted

1 tablespoon carob powder, plus more for coating truffles

1 cups chocolate chips (I like the brand Enjoy Life because they are free of weird ingredients and allergens)

Fillings and toppings such as pecans, almonds, pistachios, and coconut

Directions
  1. Soak dates until very soft, an hour or more depending on how hard the dates are.
  2. Drain water from dates and process in a blender until smooth.
  3. In a small bowl, add the date puree and 1 tablespoon of carob powder. Stir to incorporate.
  4. With wet fingers, roll date paste into 12 truffles. As you roll each truffle, add any desired fillings. Then, roll the truffle in carob powder and set on a baking sheet.
  5. Once all 12 truffles have been formed and rolled in carob powder, put the truffles in the freezer to harden, at least 1 hour.
  6. Once the truffles have firmed up a bit, melt the chocolate chips in a double boiler or microwave. Dip each truffle into the melted chocolate to coat and then immediately sprinkle with any toppings. You may need to return the truffles to the freezer periodically as they begin to soften. If the truffles get too soft, they will start to come apart when you dip them and the chocolate won't coat evenly. As the consistency of chocolate can vary between brands and also depends on how much the chocolate cools during the coating process, you may find that you need a little more or a little less than the recipe calls for. Feel free to adjust accordingly.
  7. Once all of your truffles are coated in chocolate, return them to the freezer for at least 1 hour to set up. Store in the freezer or refrigerator.

Layered Chocolate Peppermint Bark Recipe

Chocolate Peppermint Bark This peppermint bark is something that my family looks forward to every year. The best part is, along with how good it tastes, it also happens to be pretty easy to make. Most recipes for layered bark call for semi-sweet chocolate, but I prefer unsweetened chocolate instead. Since white chocolate is basically pure sugar, and there is even more sugar added with the candy canes on top, I find it provides a nice contrast between the super sweet white chocolate/candy-cane layer and the bitter dark chocolate underneath. Whether you make this for yourself, or as a gift for others, it will definitely be a big hit!

[x_video_embed type="16:9"][/x_video_embed]

Layered Chocolate Peppermint Bark

Ingredients

12 oz unsweetened(100% cacao) baking chocolate

12 oz white chocolate

8 natural/organic candy canes

Directions
  1. Melt the dark chocolate in a double boiler or in the microwave until smooth.
  2. Poor the melted chocolate onto a parchment lined baking sheet and use a spatula to spread it into a thin layer. Refrigerate until solid.
  3. Melt the white chocolate in a double boiler or microwave until smooth. Allow it to cool as much as possible, while still remaining melted. This will ensure the dark chocolate layer doesn't soften and mix with the white chocolate.
  4. While the white chocolate is cooling, place candy canes in a plastic bag and crush into pieces using a mallet or rolling pin. Sift the crushed candy canes through a strainer to separate the very fine, sugar-like pieces from the larger chunks.
  5. Mix the fine candy-cane pieces into the white chocolate.
  6. Pour the white chocolate and candy cane mixture over the dark chocolate and use a spatula to spread the white chocolate as close to the edges of the dark chocolate layer as possible.
  7. Sprinkle the large candy cane pieces over the white chocolate and lightly press the pieces in with your fingers to help them better adhere.
  8. Return the bark to the refrigerator and allow the white chocolate layer to harden.
  9. Break the bark into pieces and store in the refrigerator.