Skillet Potato Recipe | Quick + Easy

This skillet potato recipe has been a staple in my house here lately! It's quick, easy, and super yummy! Plus, it goes with just about everything. Here's how you make it!


Skillet Potatoes

Ingredients

  • 2.5 pounds potatoes (about 4 large), diced into 1/2 inch pieces
  • 2-3 tablespoons pastured lard or other cooking fat
  • 2 teaspoons paprika
  • 1 teaspoon garlic powder
  • 1/8 teaspoon cayenne pepper (optional)
  • 1/2 teaspoon salt

Directions

  1. Heat lard or fat of choice in a medium cast iron skillet.
  2. Once the skillet is hot, add potatoes and spices. Stir until spices are evenly incorporated.
  3. Reduce heat to medium low and cook, stirring occasionally, for about 15 minutes, or until potatoes are cooked through. Serve.


Sarah Moran is a participant in the Amazon Services LLC Associates Program, an affiliate advertising program designed to provide a means for sites to earn advertising fees by advertising and linking to amazon.com.

Asparagus Frittata | Mother's Day Recipe

Asparagus Frittata Mother's Day is right around the corner and what better way to celebrate your mother than a delicious homemade meal! This frittata is simple and quick to make and uses one of my favorite spring foods: asparagus.


[x_video type="16:9, 5:3, 5:4, 4:3, 3:2" m4v="" ogv="" poster="" hide_controls="" autoplay="" embed='' no_container="true"]

Asparagus Frittata

Ingredients

2 spring onions, white and green parts thinly sliced

1 pound asparagus, trimmed and cut into 1.5 inch pieces

8 large eggs

1/2 teaspoon salt

pepper to taste

Butter or other fat for cooking vegetables and greasing cast iron skillet

Directions
  1. Heat butter or fat of choice in a skillet over medium heat. Add onions and cook, stirring frequently, until soft and translucent, about 5 minutes. Remove cooked onions from pan and set aside.
  2. Add more butter to your skillet and cook asparagus until crisp tender and bright green, about 5 minutes. Remove cooked asparagus from pan and set aside.
  3. Add eggs, salt, and pepper to a large bowl and whisk thoroughly.
  4. Add cooked onions and asparagus to the beaten eggs and mix until everything is evenly distributed.
  5. Grease a cast iron skillet with butter, lard, coconut oil or other fat and heat over medium high heat. Add egg and vegetable mixture to the hot skillet and turn heat down to medium low. Cook until the edges of the frittata are set and pull away from the skillet, about 10 minutes. The center of the frittata will still be liquid at this point.
  6. Set your broiler to low and place the skillet directly under the broiler. Cook until the frittata is cooked through and the top is golden brown, about 3-5 minutes. Watch closely during this stage to make sure that the frittata doesn't accidentally burn.
  7. Remove frittata from oven, allow to cool slightly, slice, and serve. I like to cut mine into 8 slices.

Almond Joy Granola Recipe

As a kid, Almond Joys and Mounds were two of my favorite candies (why they don't marry the two and make a dark chocolate Almond Joy, I will never understand).  So, inspired by my love for that delicious combination of chocolate, almonds, and coconut, I've created this Almond Joy granola. Now, this doesn't taste like candy (because it's not) and it probably doesn't even taste like most granolas you've had either. You see, I find that your average granola is way too sweet. So, when I make granola, there is much less sweetener involved. You still get great flavor, but without the sugar crash. Best of both worlds!


    Almond Joy Granola

    makes approximately 10 cups

    Ingredients

    4 cups rolled oats

    1.5 cups flaked coconut

    1.5 cups raw almonds

    1/3 cup carob powder

    1/2 teaspoon salt

    1/4 cup coconut oil

    1/3 cup maple syrup

    1 teaspoon coconut extract

    Directions

    1. Preheat over to 300°F.
    2. Combine oats, coconut, almonds, carob powder, and salt in a large bowl and stir until all ingredients are evenly distributed.
    3. In a small saucepan over low heat, combine the coconut oil and maple syrup. Warm until the coconut oil is completely melted, then add the coconut extract and stir to combine.
    4. Pour the coconut oil and maple syrup mixture over the dry ingredients and stir with a spatula until everything is evenly coated and there are no dry patches. All of the carob powder should turn from light to dark brown, so if you see any light brown areas left, just keep stirring.
    5. Distribute the oat mixture evenly between two baking sheets lined with parchment paper. Spread it using your spatula until everything is in an even layer.
    6. Cook the granola in the oven for 45 minutes, rotating the pans halfway through.
    7. Remove the granola from the oven and allow it to cool. Store in an air tight container at room temperature.

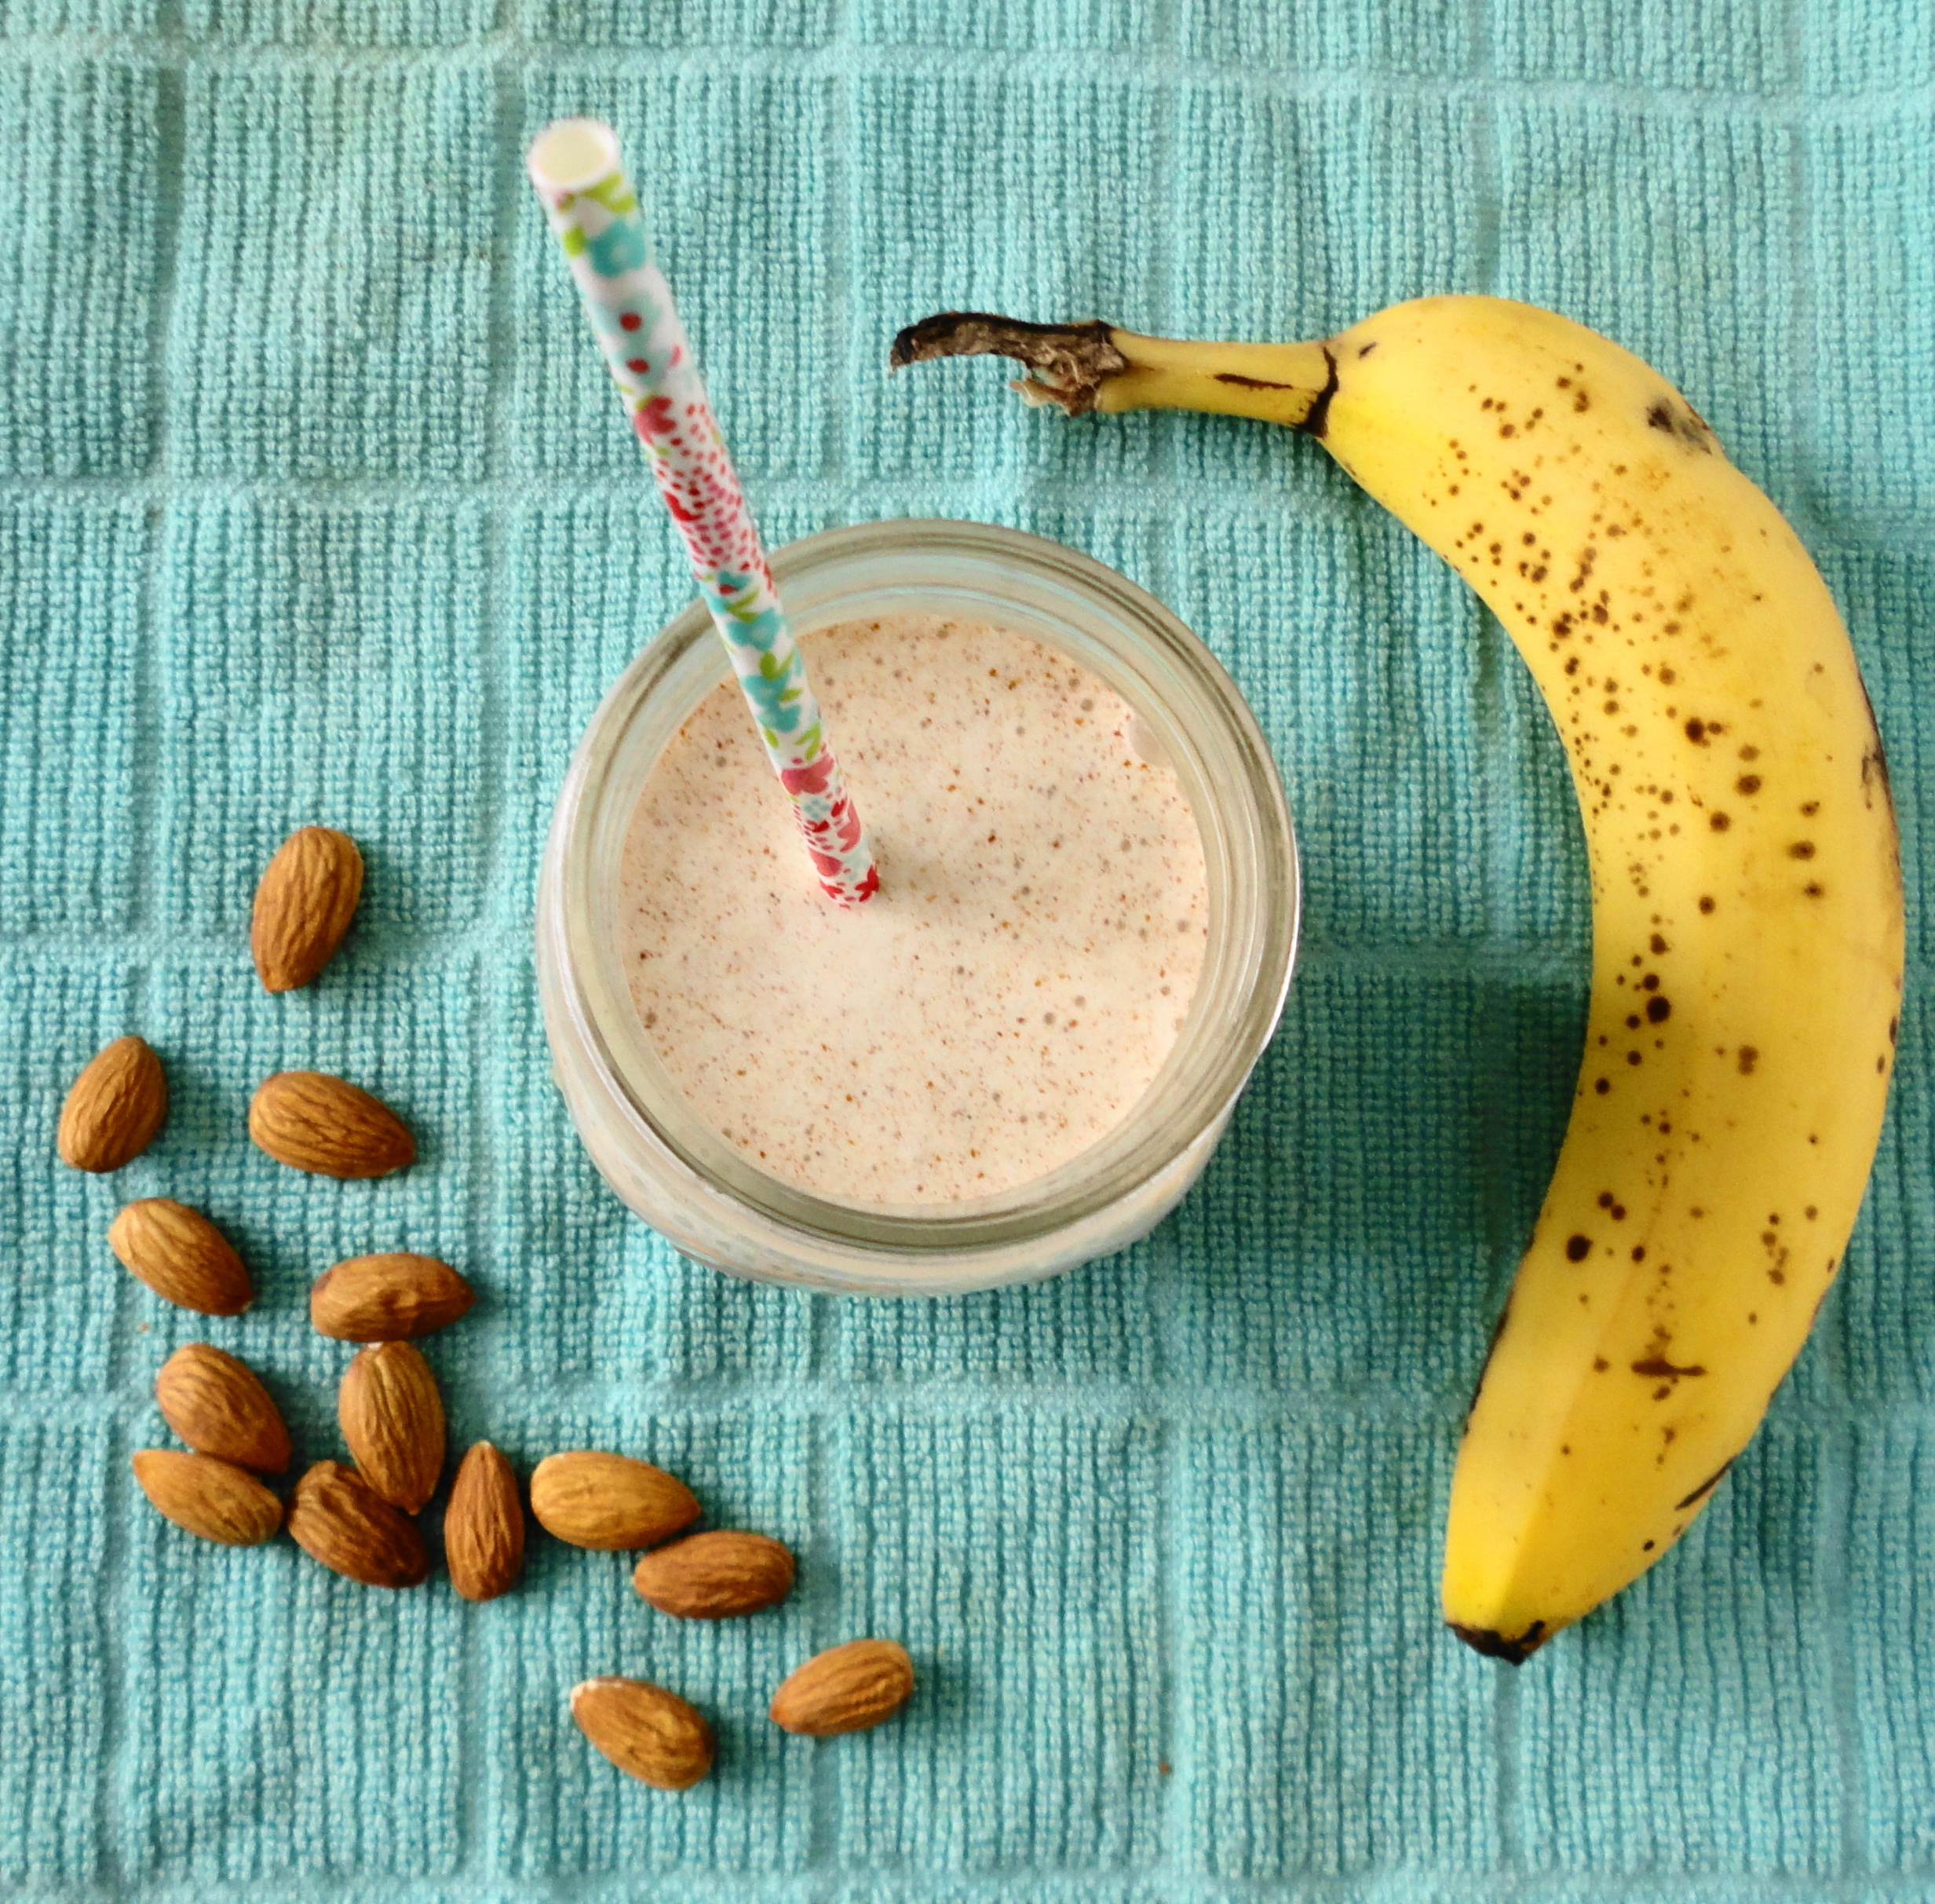
    Recipe: Banana Almond Smoothie

    I generally try to see tropical fruits like bananas, pineapple, and mango as specialty items in my diet, rather than staples. After all, they come from a long ways away and I try to stick with local foods as much as possible. Local foods taste better, have more nutrients, and are generally suited to support your body in the unique elements of your climate. With that said, nothing is perfect and I have been on quite the banana kick here recently. Banana Almond Smoothie

    This smoothie has become a staple for me over past few weeks and I'm just going with it. In this recipe, I use almond butter instead of the more traditional peanut butter and add in some cinnamon for a little twist.

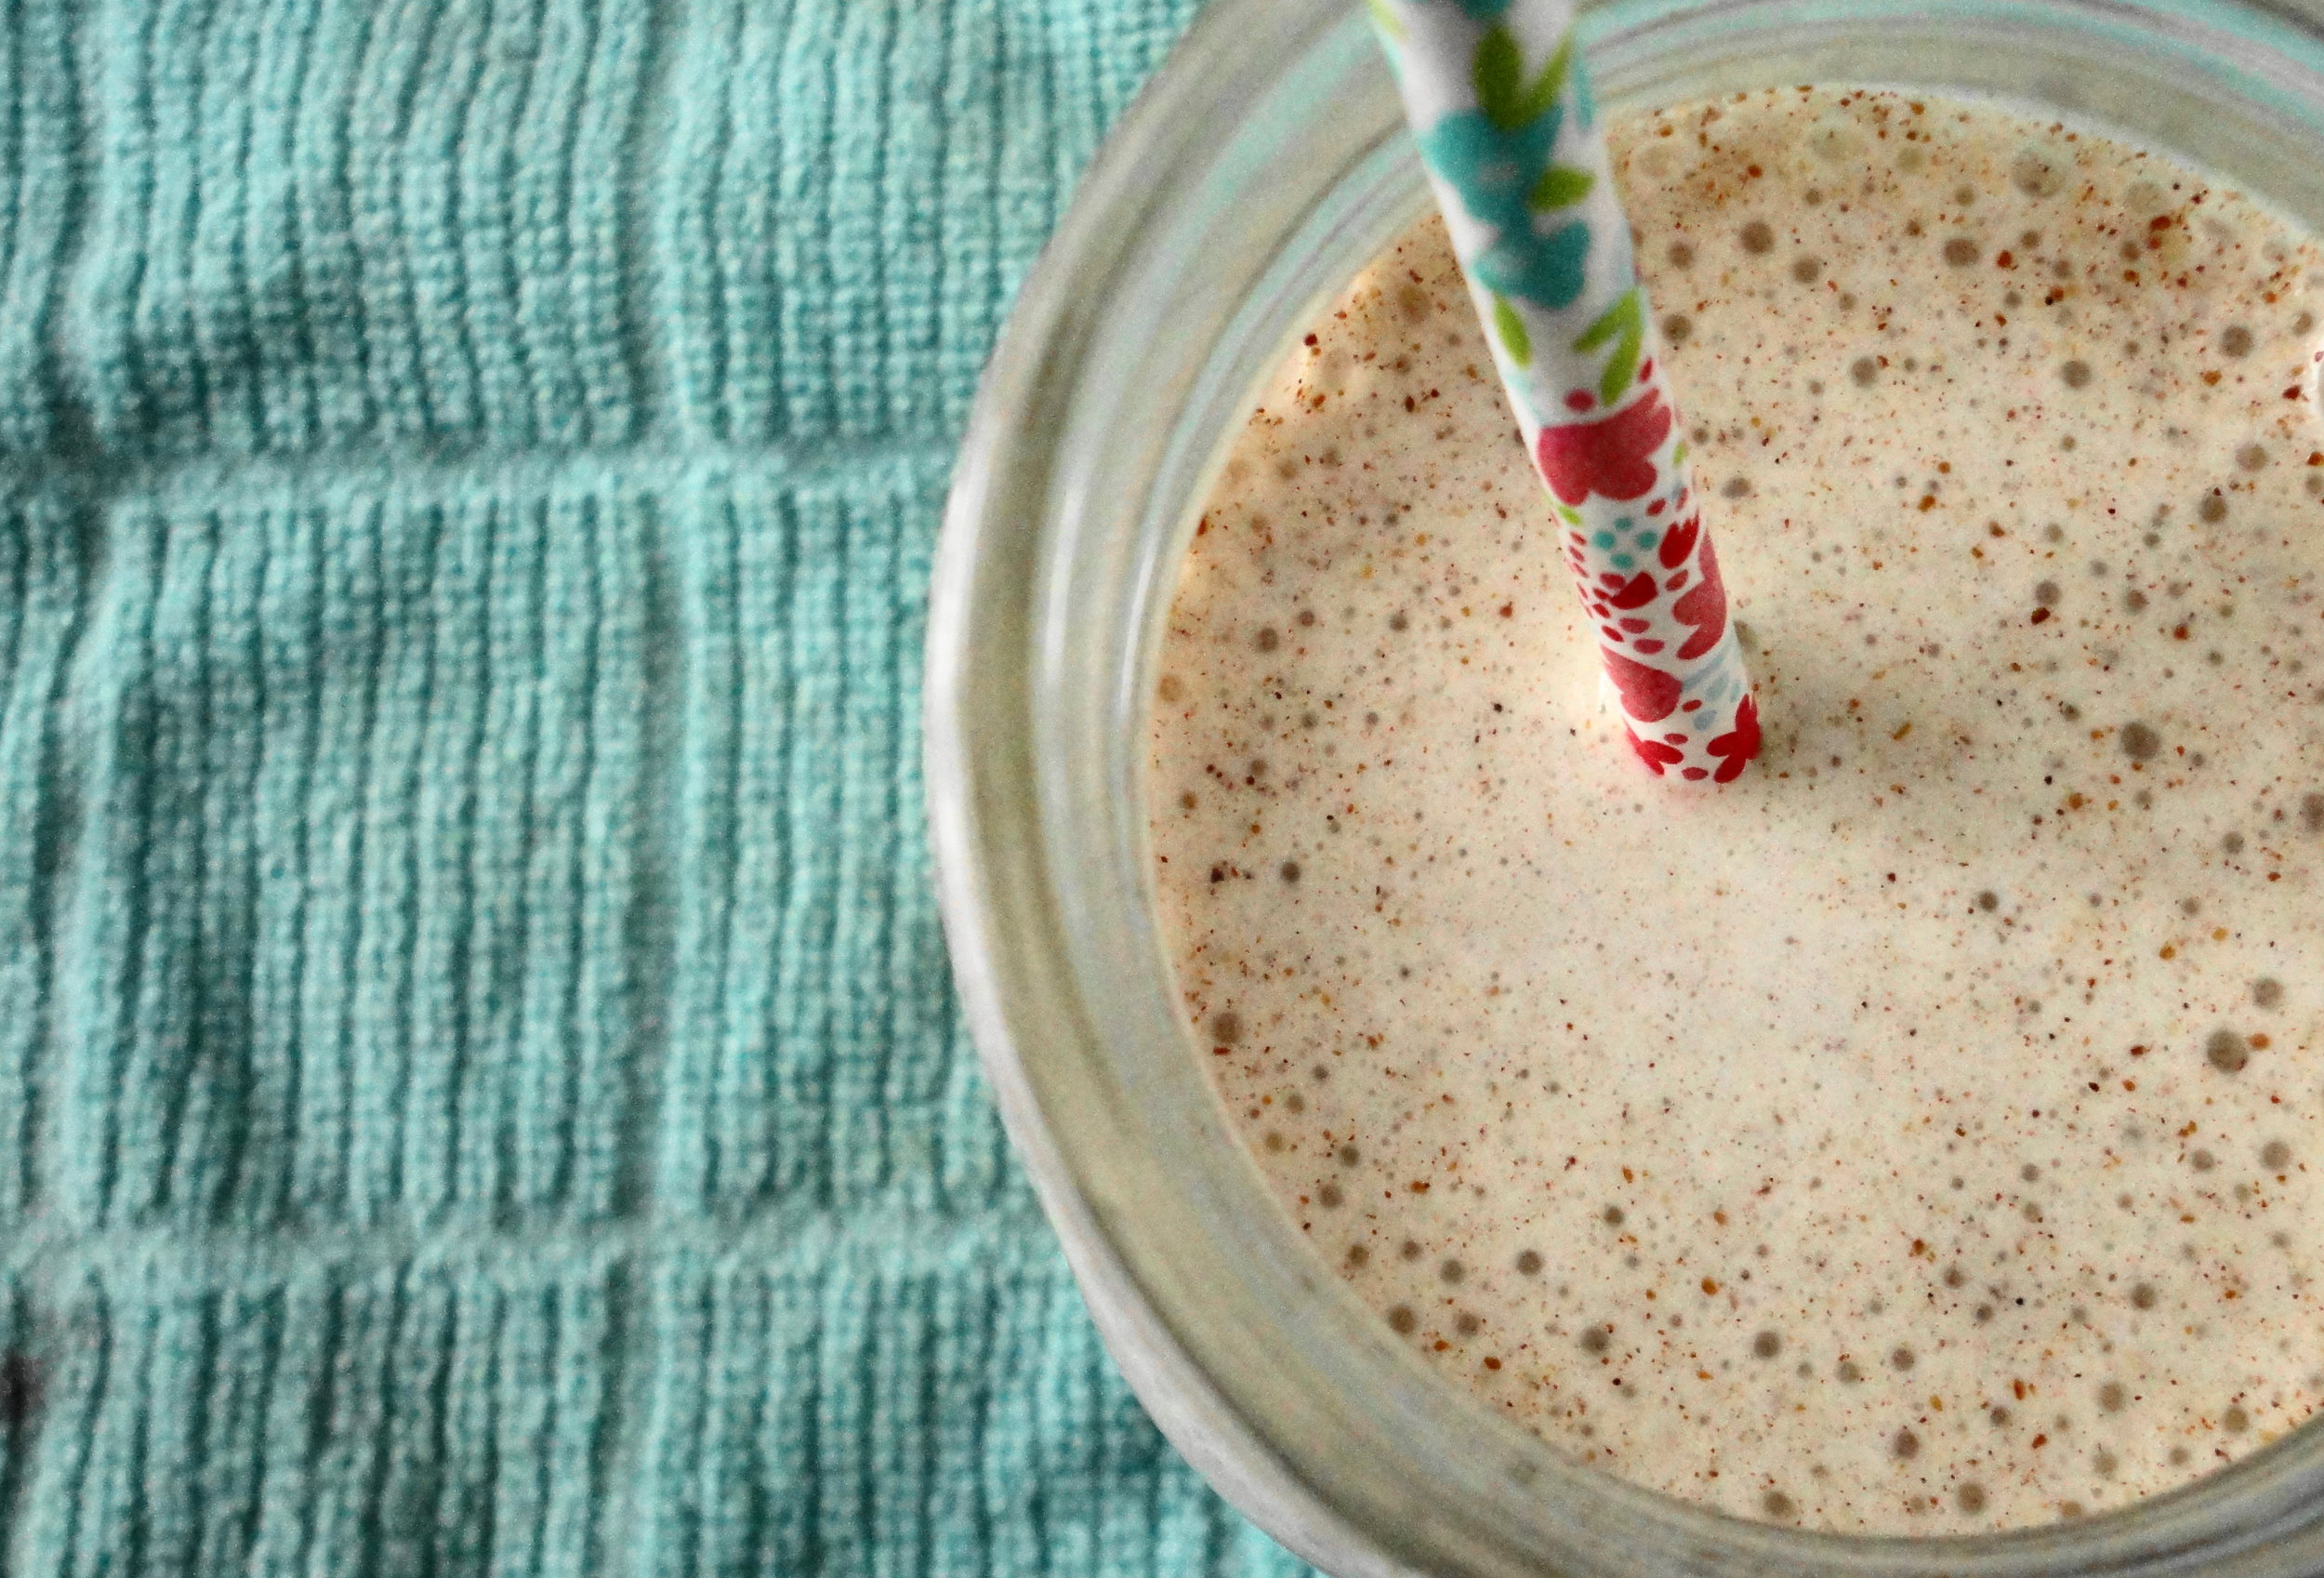
    bananasmoothieclose

    Ingredients

    1 large banana

    1 tablespoon almond butter

    1/4 teaspoon cinnamon

    3/4 cup milk

    Directions
    1. Add all ingredients to a blender and blend until smooth. Enjoy as an on-the-go breakfast or a substantial snack.

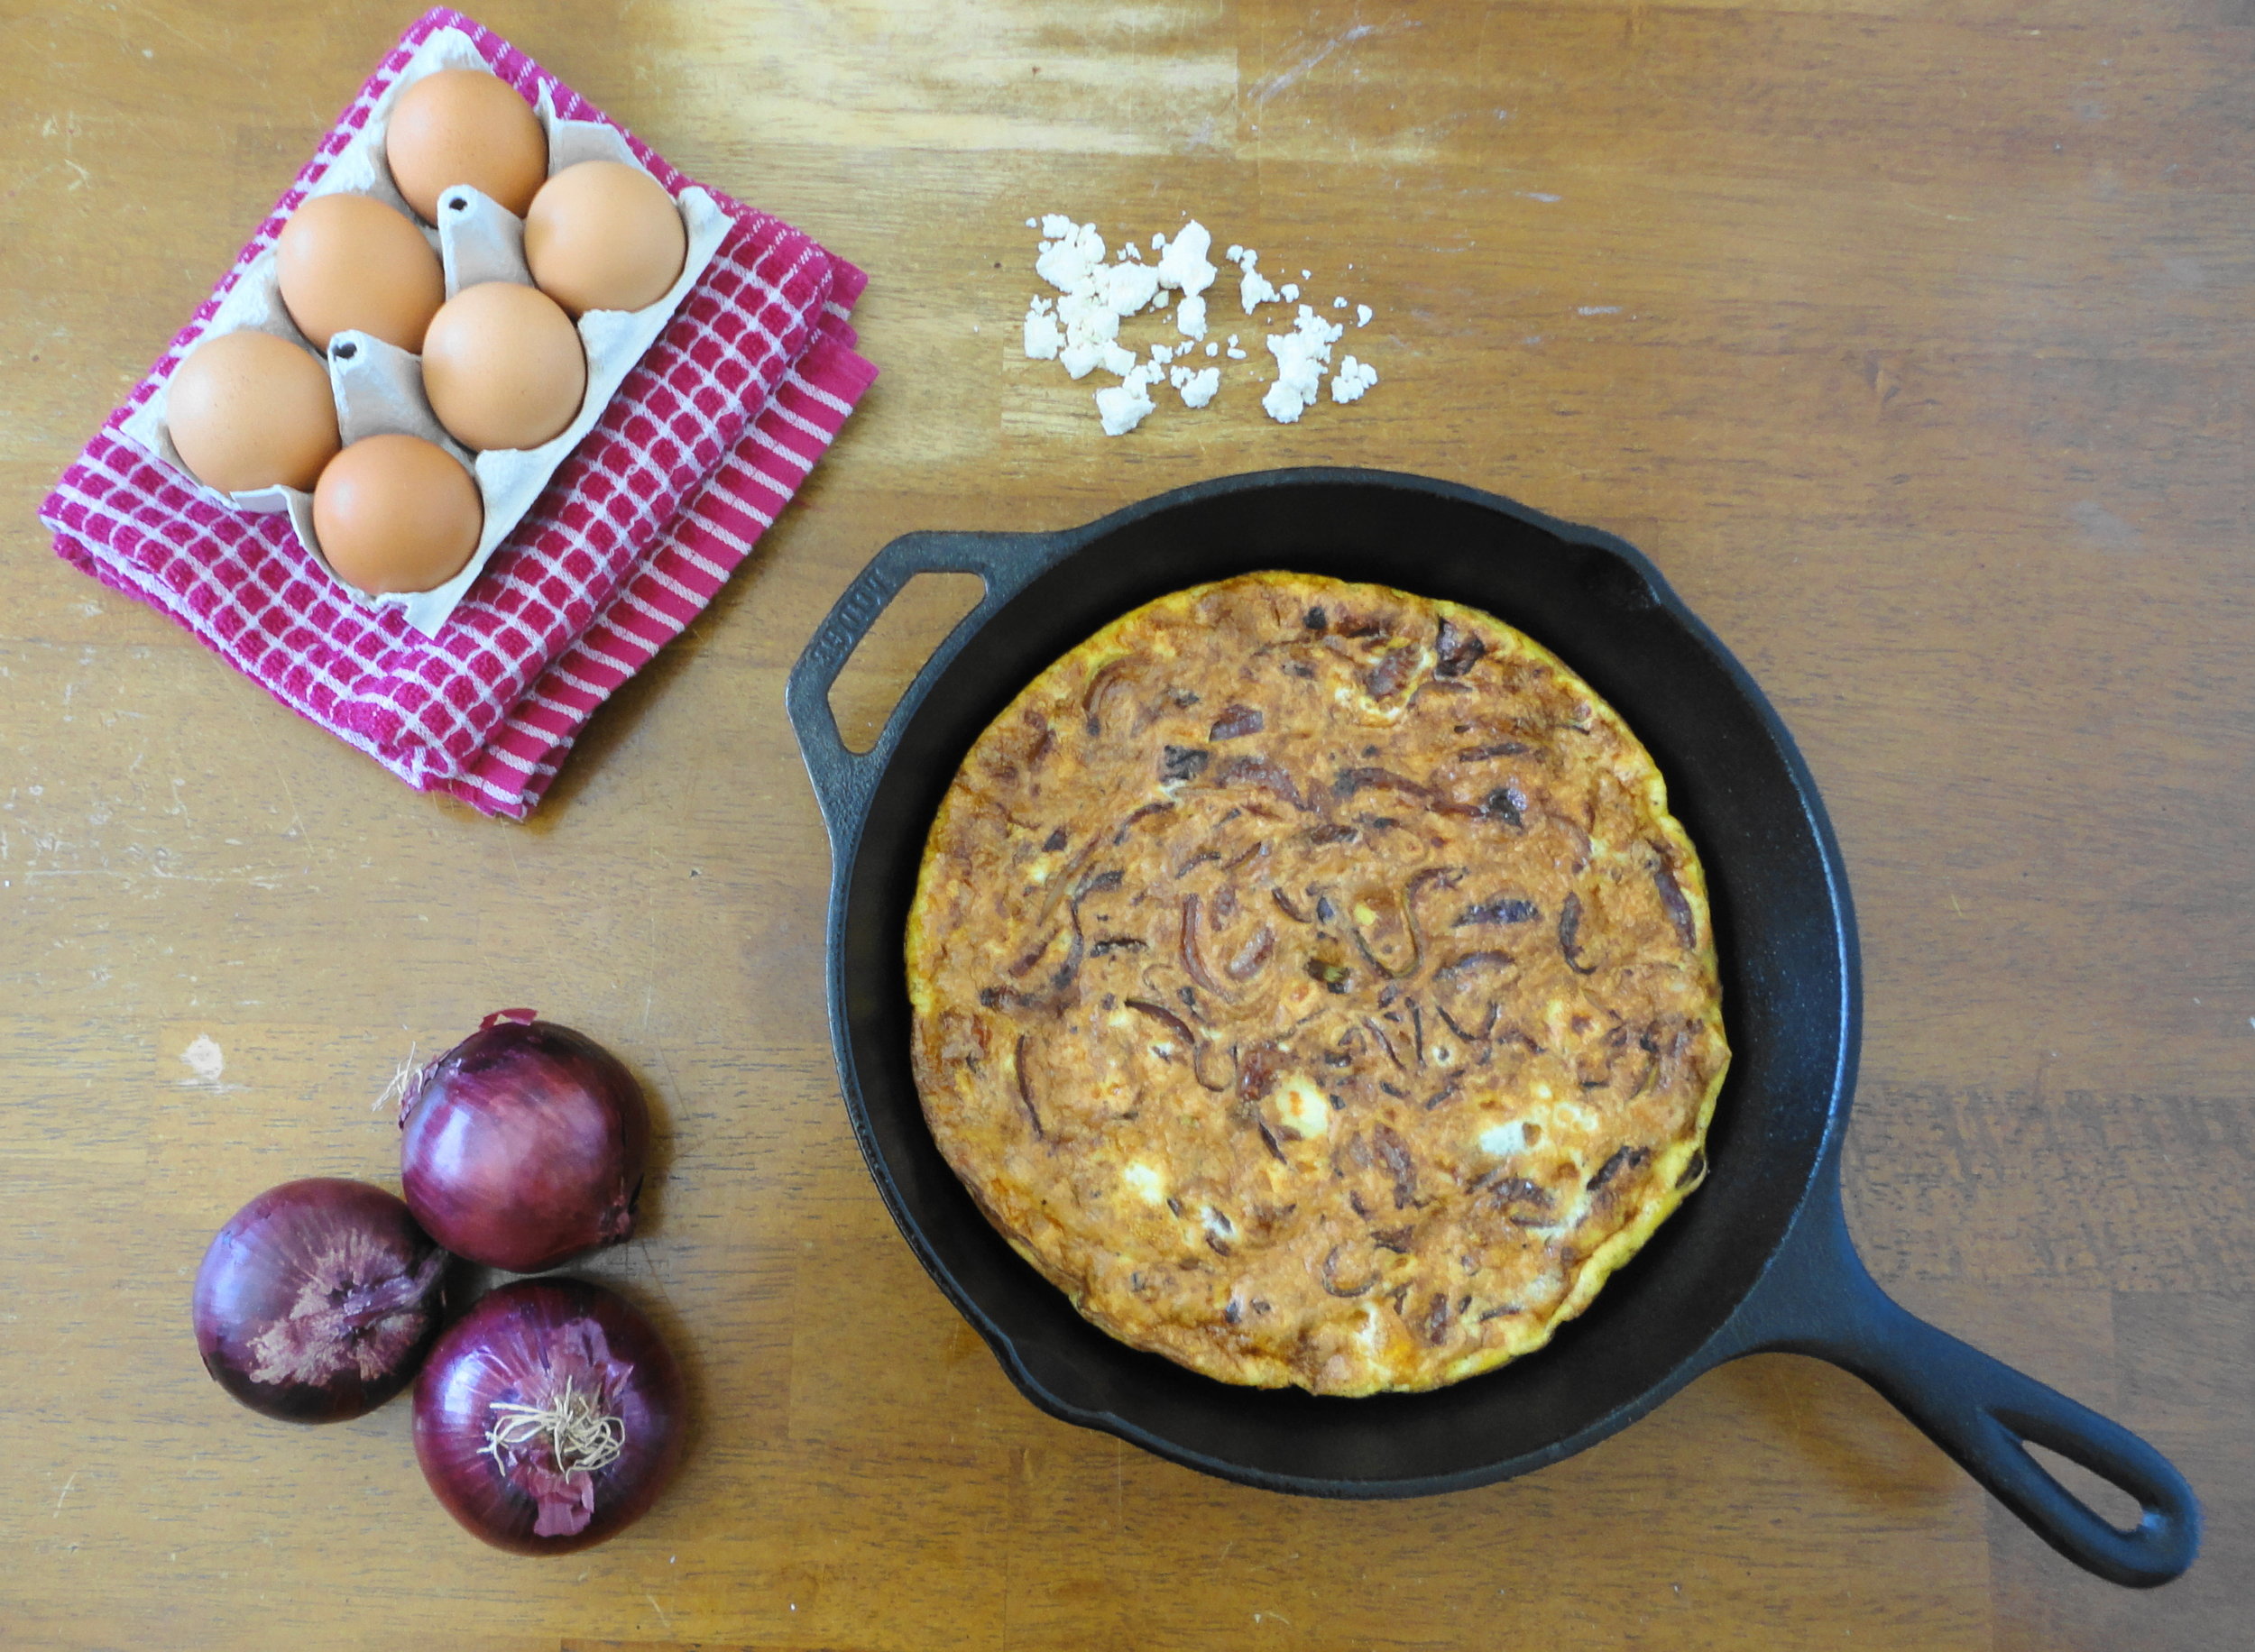
    Recipe: Feta Red Onion Frittata

    Frittatas are one of my favorite dinners because they are quick, easy, and can be adapted to your tastes or whatever you happen to have on hand. Plus, the leftovers can serve as breakfast, making it the ultimate when it comes to versatility. In this version, I combine caramelized red onion with feta cheese, giving a little hint of sweet and salty in each bite. Red Onion Feta Frittata

    Feta Red Onion Frittata

    makes 4-6 servings

    Ingredients

    2 teaspoons coconut oil, plus more for greasing cast iron skillet

    1 medium red onion, sliced into half-moons

    8 large eggs, beaten

    1/3 cup crumbled feta cheese

    1/2 teaspoon salt

    Freshly ground black pepper to taste

    Directions
    1. Heat 2 teaspoons of coconut oil in a medium-sized pan and heat on medium heat. Add onions to the pan and stir occassionaly, breaking the slices into slivers as you go, until the onions are caramelized, 5-10 minutes. Once cooked, allow the onions to cool while you prepare the rest of the ingredients.
    2. In a large bowl, combine the eggs, feta, salt and pepper, mixing until all ingredients are evenly distributed.
    3. Grease a cast iron skillet with coconut oil (the amount you need will depend on how well seasoned your skillet is to start with) and heat on medium-high heat.
    4. Once the skillet is ready, add the cooled onions to the egg mixture and stir to incorporate. Pour the finished mixture into the heated skillet. Then, turn the heat down to medium-low and pre-heat your broiler to low.
    5. Cook the frittata on the stove-top until the edges are set and pull away easily from the skillet, about 10 minutes.
    6. Transfer the skillet to the oven and place directly below the broiler. Cook for 2-3 minutes, or until the top is browned and the frittata is cooked through when tested with a knife. Be sure to keep a close eye on it because things can go from browned to burnt pretty quickly.
    7. Allow the frittata to cool for 5 minutes, cut into 8 slices, and serve.


    Recipe: Pumpkin Spice Overnight Oats

    You guys might think I'm pumpkin spice crazy, but, be honest, you like it! I got a few requests for instructions on how to make this so here you go! [youtube=http://youtu.be/ZRsyn8Dh674]

    Ingredients

    1/3 cup rolled oats

    1/3 cup pumpkin puree

    1/3 cup plain yogurt

    1/3 cup milk

    1 tablespoon chia seeds

    1-2 tablespoon apple butter

    1/8-1/4 teaspoon ground cinnamon*

    1/16 teaspoon ground ginger*

    1/32 teaspoon ground nutmeg*

    1/32 teaspoon ground clove*

    1/32 teaspoon ground cardamom*

    Almonds and raisins to taste

    *This is more to show how little I use rather than as a true measurement. I never actually measure the spices. Basically, I do a little sprinkle, especially with the ginger, nutmeg, clove, and cardamom. You just don't want to overdo it.

    Recipe: Just Apple Butter

    Ever since I can remember, apple butter has been one of my favorite fall foods. However, most versions involve quite a bit of sugar. Now, I understand that the sugar does have a preservation quality, but eating traditional apple butter is so sweet it can give me a headache. Plus, as fast as I eat this stuff, there's no need to be worried about it going bad. In my version, I keep the peels on because peeling a poor fruit or vegetable when that peel is edible is just sad (and more work)! This obviously isn't as sweet as the apple butter you're used to, but I like it much better. With this recipe I can eat all I want with no worries.  Plus, the smell of the apples cooking is heavenly. It alone is reason enough to try this out. Apple Butter

    I'll warn you, this apple butter is pretty intense in the spice department. I love cinnamon and all its friends, so I think it's perfect, but it might be wise to start with half the amounts listed for the spices and increase from there. Try it on toast (alone or with a nut butter) or mixed into oatmeal or yogurt.

    Just Apple Butter

    adapted from Jam It, Pickle It, Cure It by Karen Solomon

    makes about 2 cups

    Ingredients

    3 pounds apples

    1 tablespoon fresh squeezed lemon juice

    1 teaspoon ground cinnamon

    1/2 teaspoon ground ginger

    1/4 teaspoon ground nutmeg

    1/4 teaspoon ground clove

    1/4 teaspoon ground cardamom

    Directions
    1. Preheat oven to 350 degrees Fahrenheit.
    2. Quarter and core apples. Arrange in a single layer on lightly oiled baking sheets or ones lined with parchment paper.
    3. Roast apples for 2 hours, making sure to switch and rotate the baking sheets halfway through for even cooking.
    4. Place cooked apples in a blender or food processor along with all other ingredients. Blend until smooth.

    Easy and Healthy Pumpkin Spiced Coffee

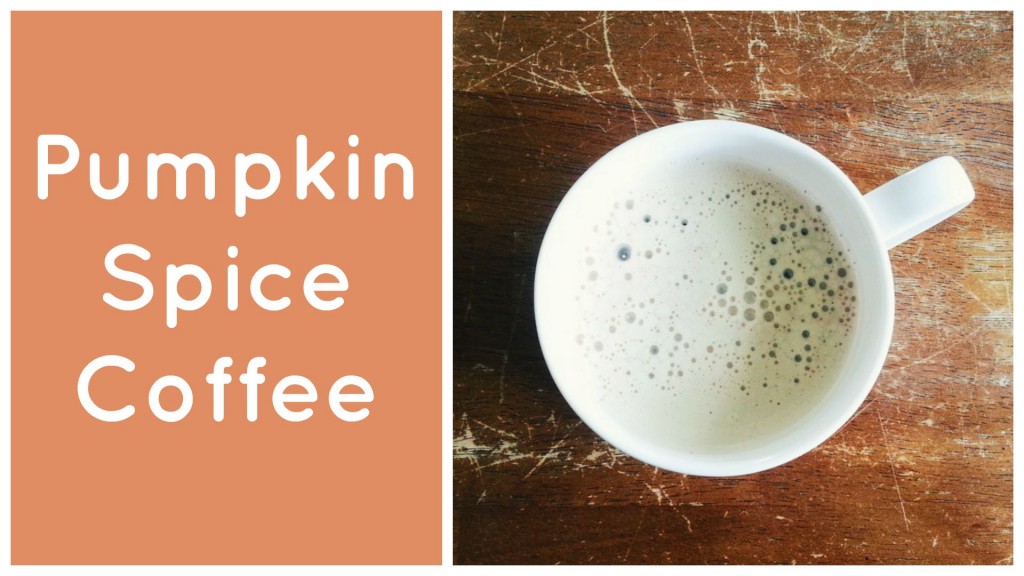
    Pumpkin Spice Coffee You know it's fall when people start going gah-gah over pumpkin spice flavored coffee drinks. Now I'm not going to say that I've never bought a fancy-pants coffee, but, for me, it's more of a special occasion than an every day ritual (for the health of my body and my wallet). Making your coffee at home will save you some cash and also give you complete control over what's going into your drink. Now there are recipes out there that use a homemade syrup or some other mix-in, but today I wanted to share another alternative that involves brewing the spices right along with your grounds. It's easy and can be whipped up quickly. Perfect for those of you who need instant gratification.


    After several batches, this has been our favorite variation. As with any recipe, feel free to make adjustments to suit your individual preferences. I like to sweeten mine with maple syrup.

    [x_video_embed type="16:9"][/x_video_embed]

    Pumpkin Spice Coffee

    Ingredients

    1/2 cup coffee grounds

    1 tablespoon ground cinnamon

    1/2 teaspoon ground ginger

    1/4 teaspoon ground nutmeg

    1/4 teaspoon ground cloves

    Directions
    1. Combine all ingredients and mix thoroughly until all of the spices are completely dispersed throughout the grounds.
    2. Brew your coffee as normal.


    How To Make Yogurt at Home

    yogurtbreakfastToday I have something super exciting to share with you guys! For the past month or so I've ventured into the world of yogurt making and, let me tell you, it's amazing! Now, if you know me well, you know that I'm a big fan of making things yourself. Store-bought foods usually don't stand up in terms of flavor or what's good for your health. Despite this, yogurt making seemed a little too daunting for me. I mean, super weird people make their own yogurt right? Well I'm here to prove that wrong! Or to prove that I'm super weird. I'll let you decide. For the past couple years, as I've gotten deeper into the real/whole foods world, I've seen things about people making their own yogurt. Some used special yogurt machines and others took a "try this, it kinda works, cross your fingers" type of mentality. Neither of these appealed to me. I'm not into specialty, one-purpose equipment. It takes up space and doesn't give a great value in terms of versatility. Also, the type A and food safety side of me thought that approximate recipes for something that involves GROWING BACTERIA simply wouldn't cut it.

    Since Jasen and I got married I've been cooking more than ever (another extra-hungry mouth to feed) and I've been more aware of our food budget. Somehow, the idea of yogurt making came back to the front of my mind. I mean, it had to be doable. Grocery stores are a new thing in the context of human history. Making this stuff yourself was once the normal thing to do. Plus, most store bought yogurt contains an additional ingredient, pectin, to make it thicker. Oh, and did I mention making it yourself is also cheaper? Sign me up! After some perusing on the internet, I've found a method that works well (I've made 4 or 5 batches) and doesn't make me worry about our safety. Plus, it's really not that hard at all! All you need is some milk and a little plain yogurt to start you out. Then, you can use your own yogurt as the starter for subsequent batches.

    You simply pour your milk into a pot (I use a non-homogenized milk from this creamery) and get it heating up. A slow and steady heat would probably be best, but sometimes I'm impatient and put it on high. Use a thermometer to monitor the temperature. I prefer a candy thermometer that clips on the side of the pot for convenience.

    yogurtmilkheating

    A skin can form on top, especially if you're using a non-homogenized milk. Some people throw this out, but I'm not trying to waste stuff, so I just stir frequently to prevent the skin from forming in the first place. Once, your milk reaches 185 degrees Fahrenheit (this kills other bacteria that could compete with your culture), take it off the heat and let it cool to 110 degrees Fahrenheit.

    yogurthotmilk

    Then it's simply a matter of adding your culture (aka yogurt), mixing well, and putting in your oven to do its thang. Make sure you don't add the yogurt before the milk is cooled, or you could kill the bacteria you're trying to grow. Wrap your pot in a towel and turn on the oven light. This creates enough heat in the closed oven to incubate the yogurt. I let it sit over night so it can work undisturbed.

    yogurtinoven

    When it comes out, it'll look like this! Mine is yellow on top because the fat in the non-homogenized milk has risen to the top.

    yogurtfinished

    Then I simply give it a stir and put it in some jars to be refrigerated. It's super yummy and there is something so satisfying about knowing you made it yourself!

    yogurtjars

    Homemade Plain Yogurt

    makes 2 quarts

    Ingredients

    1/2 gallon of milk

    1 tablespoon plain yogurt

    Directions
    1. Pour milk into a large pot with a thermometer attached or near by.
    2. Heat milk until it reaches 185 degrees Fahrenheit, stirring often to prevent a skin from forming.
    3. Allow milk to cool to 110 degrees Fahrenheit, stirring often to speed up cooling and (again) prevent a skin from forming.
    4. In a glass or liquid measuring cup, add the yogurt and some of the warm milk. Mix until the yogurt is completely incorporated. Pour this mixture into the pot and mix with a spoon to distribute it throughout.
    5. Place pot in the oven uncovered, wrap in a towel, and turn on the oven light. Close the oven and allow to sit for 10-12 hours.
    6. Remove pot from oven, transfer yogurt to containers, and refrigerate.
    7. Feel awesome about how cool you are that you just made your own yogurt!

    How do you guys feel about making your own yogurt? Have you ever tried it before? Share in the comments below!

    Banana Muffins and Experimenting with Chia Eggs

    We don't always have extra bananas in our house (Jasen has a serious addiction), but if there are a few leftover at the end of the week that are on their way to being compost, I always make sure to turn them into banana bread. My favorite recipe comes from 100 Days of Real Food because it's whole wheat and doesn't include tons of sugar. Instead, it has just a 1/4 cup of honey. This week, for a little twist, I made banana bread muffins instead of a loaf. Who can resist food that is cute and individually wrapped? Not me! When it was muffin making time, I realized that we were all out of eggs. This minor catastrophe soon became an opportunity to try out something that's been on my list for a couple years now: chia seed eggs. chiaeggs

    Chia eggs are a vegan egg substitute for baking. Now I'm not vegan, but when a lady is in a pinch, this is a great solution. I've read it can also be done with flax seeds, but I haven't tried that version.

    It all starts by grinding up chia seeds in a coffee or spice grinder until you are left with a fine powder.

    groundchia

    Next, you mix 1 tablesppon of ground chia with 3 tablesppons of water for each egg. I doubled it for the 2 eggs needed for the banana bread. Mix these together and let it sit in the fridge for about 15 minutes.

    chiaegg

    When you take the mixture out it will be thick and sticky. Now you simply add it in as you would the eggs in your recipe. Don't forget it in the fridge, like I did, and realize it after half of your muffin tins are filled. Then you would have to dump the batter back into the bowl and remix to add the chia. Oops.

    And here is the finished muffin! It doesn't brown as nicely without the egg, but they still taste good. I'll still stick with eggs when I have them on hand, but this is definitely a viable option if you're interested in vegan baking or just run out of eggs.

    chiabananamuffin

    Would you ever bake with a chia or flax egg? Let me know in the comments below!

    NNMC Whole Grains: Switch Your Flour

    Using whole grain flours in your cooking isn't as difficult as many people think. I have found, in most cases, that you can simply substitute in the whole grain version with great results! When it comes to wheat flour, use regular whole wheat flour in heartier products like bread and biscuits. If you're making a more delicate food, like waffles, cookies, or a cake, opt for whole wheat pastry flour. It's made from a softer wheat variety, giving the flour a softer texture. Also, be sure to store your flour in the refrigerator or freezer to keep it from spoiling, because whole grain flours are not as shelf stable as refined flours.

    In this recipe, I use spelt, an ancient strain of wheat. If you can't find it or want to make it with traditional whole wheat pastry flour I'm sure it would work just as well.

    Apple Spice Spelt Pancakes

    makes 8-10 pancakes

    Ingredients

    1 cup whole spelt flour

    1 teaspoon aluminum-free baking powder

    1/2 teaspoon baking soda

    1/4 teaspoon salt

    1 teaspoon ground cinnamon

    1/2 teaspoon ground nutmeg

    1/4 teaspoon ground ginger

    1/4 teaspoon ground clove

    3/4 cup organic milk

    1 large egg, beaten

    1/2 tablespoon honey

    1 apple, unpeeled and grated

    Directions

    1. In a large bowl, combine flour, baking powder, baking soda, salt, cinnamon, nutmeg, ginger, and clove. Mix with a whisk to distribute ingredients.

    2. Create a well in the dry ingredients and add milk, egg, and honey. Whisk slowly, starting from center, until ingredients are mixed and there are no large lumps. Be careful not to over-mix.

    3. Carefully fold grated apple into batter.

    3. Oil a griddle or large frying pan and warm over medium heat. Once the pan is hot, add batter using a 1/4 cup measuring cup. Cook on one side until the tops are bubbly and the edges are dry. Then, flip and cook the other side until browned.

    4. Serve with your favorite toppings like maple syrup, fresh fruit, or nuts*.

    *If everyone you're serving can agree, feel free to add your favorite chopped nuts, such as walnuts or pecans, to the batter before cooking.

    NNMC Increase Produce: Stuff Your Omelet

    Breakfast is one meal where most people don't get in a ton a veggies, if any at all. An easy way to remedy this is to make an omelet that is chock full of your favorites. You can put whatever you like in yours, but here is the recipe for my typical omelet.

    Vegetable Stuffed Omelet

    serves 1

    Ingredients

    2 teaspoons extra virgin olive oil

    1/4 cup onion, diced

    1/3  cup white button mushrooms (about 3), chopped

    1.5 cup spinach, chopped

    2 eggs, beaten

    1 tablespoon grated parmigiano reggiano cheese

    Pinch of salt

    Pepper to taste

    Salsa and/or hot sauce

    1/4 avocado, chopped

    Directions

    1. Heat oil in a small pan on medium heat. Add onion to pan and cooked until soft and slightly browned, about 2 minutes.

    2. Add mushrooms to pan and cook until soft, about 2 minutes. Then, add spinach to pan and whilt, about 2 minutes more. Spread vegetables to cover bottom on pan.

    3. Mix cheese into eggs. Poor mixture into pan over vegetables. Cook until eggs begin to set up, then add salt and pepper. Once eggs are no longer runny, fold omelet or (if you're like me) flip to cook other side.

    4. Plate omelet and cover with your favorite hot sauce and/or salsa. Top with chopped avocado and enjoy!

    NNMC Toss the Junk: No Artificial Sweeteners

    Many people turn to artificial sweeteners as a way to get healthier or lose weight, but I think this is a huge mistake. For one, it goes against my philosophy of eating whole foods as close to their natural state as possible and avoiding chemical, man-made ingredients, fillers, and add-ins. In addition, no matter what you think about the safety of artificial sweeteners, they send the wrong message about the way we should eat. What I mean by that is, when you turn to an artificial sweetener to "save calories" what you're really doing is continuing to operate within the same frame of mind as before, rather than changing it. You're perpetuating a diet that emphasizes sweet. What really needs to happen is to change your diet to contain less sugar and allow your taste buds to adjust. This does take some time (a couple weeks), but the result is a wholesome diet without being tied down by a sugar obsession. One area I used to be dependent on artificial sweeteners was my yogurt. I always bought the low-calorie, artificially sweetened brands. Giving them up was a struggle because I just didn't see how I could eat yogurt without them. However, once I really got serious and dedicated, I was able to make the switch and I haven't looked back since. Now, I buy bulk tubs of plain yogurt instead. It's much cheaper than individual containers and I can flavor it however I like. Frozen berries and other fruits are a great option, but when I want to make my yogurt my whole breakfast, I use the recipe below.

    Apple-Granola Yogurt

    Ingredients

    1 cup organic plain yogurt

    1 teaspoon cinnamon

    1 apple, chopped

    1/4 cup homemade granola or your favorite whole grain cereal

    Directions

    1. Measure yogurt and mix with cinnamon in bowl.

    2. Mix in chopped apple.

    3. Add homemade granola on top.

    Recipe: Sweet Potato Waffles

    I don't know that I've ever met anyone that doesn't enjoy a good waffle. With their toasty goodness and those cute little indentations that are perfect for holding maple syrup, what's not to love? Also, they can be eaten with tons of yummy toppings including nuts, fresh berries, and sliced bananas. I'm also a fan because you can make a big batch on the weekend and then freeze some for an easy breakfast that simply requires a quick trip to the toaster. Sweet Potato Waffle

    So, what better way to spruce up a classic than with a little sweet potato? This orange veggie is a source of Vitamin A, Vitamin B6, Manganese, and fiber. Plus, when you go the extra step to buy them from a local farmer, the taste is unbelievable.

    To make these, simply replace the oil in your favorite whole wheat waffle recipe (for the one I used, click here) with pureed sweet potatoes. I peeled and  thinly sliced my sweet potatoes and then steamed them, rather than boiling, to prevent nutrients from leaching into the water. Once they were soft, I just wizzed them up in the blender.

    Also, here's a tip. You can replace the oil in just about any baked good with a puree. Ever heard of people using applesauce in their cookies? Well, this is the same idea. Now, you all know I'm not a fat hater, so by no means am I suggesting that all oil should be replaced in this way. But, if you want to play with different flavors or bump up the nutrients in a recipe, now you know the secret!

    Recipe: Love Pumpkin Spice Lattes? Make Your Own Pumpkin Spice Syrup!

    I always know that fall has arrived when people start obsessing over the Pumpkin Spice Lattes at Starbucks. Overheard conversations, Facebook statuses, and Tweets all tell me one thing: people seriously love those suckers! Now, while I can definitely appreciate the allure of fancy coffee drinks, their sky-high price and often times questionable ingredients are kind of a bummer. So, I've come up with a recipe for pumpkin spice syrup you can make at home. It'll be significantly cheaper and all of the ingredients are wholesome as well as delicious.

    A lot of recipes I've seen use very little pumpkin (sometimes only 2 tablespoons) and about 1.5 cups of white sugar. In my version, I've bumped up the pumpkin content significantly and opted for a lot less maple syrup in place of the sugar. The result is more puree like than syrupy but it's still sweet and yummy. I've also found that the end product is great for spreading on whole wheat pancakes or toast (think apple butter).

    Pumpkin Spice Syrup

    makes about 1.5 cups

    Ingredients

    1/2 cup homemade pumpkin puree

    1/4 cup + 2 tablespoons pure maple syrup (make sure you get the real stuff)

    1 cup water

    1 tsp ground cinnamon

    1/2 tsp ground nutmeg

    1/4 teaspoon ground ginger

    1/4 teaspoon ground cloves

    Directions

    1. Combine all ingredients in a small sauce pan over medium heat. Cook for 10-15 minutes or until reduced.

    2. Use immediately or refrigerate or freeze leftovers.

    Also, if you're interested, this is how I make my Pumpkin Spice Coffee. I don't have an espresso maker, so I just use a regular cup of joe.

    Pumpkin Spice Coffee

    makes 1-2 servings

    Ingredients

    1.5 cups coffee

    1/2 cup pastured milk

    3 tablespoons pumpkin spice syrup (or to taste)

    Fresh whipped cream (optional)

    Directions

    1. Heat milk and pumpkin spice syrup in microwave or on the stove top.

    2. Add heated milk mixture and coffee to a blender. Blend until mixed and foam forms on top.

    3. Enjoy! Add a dollop of whipped cream if you want to be indulgent. However, this is a cool whip free zone. The real thing tastes much better and is much better for you. The chemicals and hydrogenated oils in cool whip are terrible, no matter how few calories they have. No fake "food" here.

    What are your favorite coffee shop drinks?

    Senate Embraces Potatoes and You Should Too (with a recipe)

    A few days ago, Registered Dietitian Ellie Krieger tweeted this question: Are you a potato basher or a masher? I, for one,

    am definitely a masher. The humble potato has gotten a bad rap over the past few years from the advent of low carb diets and its status as the poster-child for what's wrong with our nation's eating habits, in the form of the french fry. However, spuds are full of nutrients including vitamin C, potassium, and fiber.The real problem with potatoes is the way we usually prepare them. In most cases, the peel is discarded (bye-bye nutrients) and the remainder is either covered in heavy add-ons like bacon, salt, cheese, sour cream, and butter or, even worse, deep fried to crispy perfection. Now I too can appreciate a good french fry, but I'd prefer to choose a healthier potato option and get my fix much more often.

    Recently, there has been a lot of buzz concerning our nations school lunch program and how it may be contributing to the poor health status of many American children. The biggest point of contention? The main vegetable choice at many schools is a serving of french fries. In light of this, the Obama administration proposed that starchy vegetables (potatoes, corn, and peas for example) be limited to one cup per student per week at lunch and eliminated entirely from breakfast. However, the Senate, in an effort to prevent such a rule, has added an amendment to the Agriculture Department's spending bill for 2012. It states that  the department cannot set “any maximum limits on the serving of vegetables in school meal programs.” All I can say is, good for them! The proposed limit was based on good intentions. The goal was to increase the consumption of non-starchy vegetables, which are often few and far between in a typical school lunch, and eliminate reliance on unhealthy options, such as french fries. Now I agree whole-heartedly that a french fry should never count as a vegetable. However, we should be tackling the preparation of these foods, not the foods themselves. Potatoes are a cheap option for schools with limited budgets and, when prepared properly, they can be quite good for you. Also, any vegetable, starchy or otherwise, can be cooked in a vat of oil.  We should be embracing all produce for a healthy diet. Variety is the spice of life and the same is true when it comes to your veggies.

    Rosemary Roasted Potatoes

    serves 4-6

    Ingredients

    3 lbs potatoes, cut into 1-inch pieces (keep the skins please!)

    3 tablespoons olive oil

    2 tablespoons dried rosemary

    3/4 - 1 teaspoon salt

    pepper to taste

    Directions

    1. Preheat oven to 400 °F.

    2. Toss all ingredients in a large bowl, taking care to make sure all potatoes are coated in oil.

    3. Spread potatoes on a large baking sheet. Be sure not to overcrowd the pan, as the potatoes will steam rather than roast.

    4. Cook for 30 minutes, or until potatoes are brown and crispy, stirring occassionally.

    5. Serve as a side for breakfast, lunch or dinner.

    So, are you a potato basher or a masher?

    Autumn Harvest Slow-Cooker Oatmeal

    Oatmeal is one of the healthiest breakfast options around due to it's whole grain status and fiber content. However, this nutrition superstar can quickly loose its sparkle when its loaded up with lots of sugar (even the brown variety) and tons of butter, or, even worse, processed to cook in a few minutes and flavored with chemicals. Delicious. Many people shy away from steel cut oats because of the long cooking time (30-40 minutes), but I have a solution to this problem that might surprise you: a slow-cooker. Suddenly, a dish that many consider to be a hassle becomes a set-it-and-forget-it convenience food that leaves your house smelling amazing when you wake up in the morning.

    Autumn Harvest Slow-Cooker Oatmeal

    makes 4-6 servings

    Ingredients

    1 cup steel cut oats

    4 small cooking pears (or apples if you prefer), about 1.5 pounds, chopped

    1 cup fresh cranberries

    1/4 cup raisins

    3, 1-inch pieces of cinnamon sticks

    1/4 teaspoon ground nutmeg

    1/8 teaspoon of ground ginger

    1/8 teaspoon of ground cloves

    4 cups water

    Directions

    1. Add all ingredients to slow-cooker and mix to distribute spices. The oats tend to sink while the cranberries float, but that's ok.

    2. Cover and cook on low for 8-10 hours, depending on how thick you like your oatmeal. I usually do closer to the 10 hours.

    3. Remove cinnamon sticks and serve straight from the slow cooker for an easy family breakfast. Add toppings if you like. Ground cinnamon, chopped pecans or walnuts, hulled pumpkin seeds, dried fruit, and a drizzle of honey or maple syrup are all great options. A little butter is ok too. Just choose organic butter from grass fed cows and don't overdo it. One small pat can go a long way.

    4. Refrigerate leftovers to enjoy later. Since I'm cooking for one, these can last me a week. Oatmeal can gel a bit in the fridge so, when reheating, add a little warm water. This and a some mixing should return your oatmeal to the proper consistency.

    What other healthy, whole foods do you shy away from because of the time commitment?

    The Rundown on Yogurt and a Recipe!

    Yogurt could definitely be called one my diet staples (I usually eat it once or even twice a day). Why the obsession? It's delicious and easy to serve up in bowl for breakfast or throw in my lunch box for snack. However, there are benefits to eating yogurt other than its taste and convenience.

    Probably the most touted component of yogurt is its calcium, which is important in maintaining healthy bones and teeth. A second highlight  is it's protein content which can help keep you feeling fuller longer and aid in post-workout recovery. Yogurt is also full of probiotics (check the label for live active cultures such as L. acidophilus, among others) which help to promote the healthy bacteria that reside in our gut and play an important role in the digestion of foods well as the production of vitamin K.

    With all of those benefits, you may be thinking that you'd like to add more yogurt to your diet, but it is important to remember that not all yogurts are created equal. When choosing your yogurt there are a few things that you want to avoid.

    1. Artificial sweeteners

    Aspartame (Equal), saccharin (Sweet 'N Low), and sucralose (Splenda) are all common artificial sweeteners and, in my opinion and the opinion of many others, should be avoided. They fall into a class called "non-nutritive sweeteners," meaning they provide no nutrition. You don't want to spend your money on "food" that isn't really food to begin with.

    2. Artifical Dyes

    The artificial coloring in foods is believed by many to contribute to ADD/ADHD in children and could have other harmful effects we don't even know about. Even if you think it's just a bunch of hype, the point is that they are totally unnecessary. Fresh fruit is a much healthier and tastier way to color your yogurt.

    3. Artificial flavors

    If you love the taste of flavored yogurt, buy products that are flavored naturally (always read the ingredients) or, even better, flavor it yourself! Then you have total control over what you're eating. If you're eating strawberry yogurt, doesn't it make sense that it would be flavored with strawberries?

    In addition to all this, I recommend that you choose organic yogurt, and dairy products in general, whenever possible. Non-organic dairy cows are pumped with hormones to drastically and artificially increase milk production and then given large doses of antibiotics to fight bacterial infections that may result from being over milked. Both hormones and antibiotics can then be found in the dairy products that these cows produce. A dose of antibiotics in your probiotic yogurt sounds pretty counter intuitive to me.

    I love to buy plain yogurt in 32 ounce containers and then flavor it myself. It's much cheaper this way and also healthier as I can control the quality of the ingredients I add. Below is my recipe for my favorite way to eat yogurt. It's OK if you lick the bowl, I do it all the time. Enjoy!

    Cinnamon Yogurt

    Ingredients

    3/4-1 cup plain regular or Greek-style yogurt

    1 teaspoon ground cinnamon (I like a LOT of cinnamon so you may want to start with less and then add to taste)

    1 teaspoon of honey or maple syrup (optional, I like mine without it)

    Directions

    1. Mix all ingredients together in a small bowl with a spoon.

    2. Eat! I like to add berries or cherries to flavor my yogurt or chop fresh apples and add those to the mix for breakfast. For snack I use it as a fruit dip for pears, grapefruit, and peaches (Greek yogurt is better for dip because it is thicker, but plain works too). Get creative and have fun!