Fall CSA Week 2
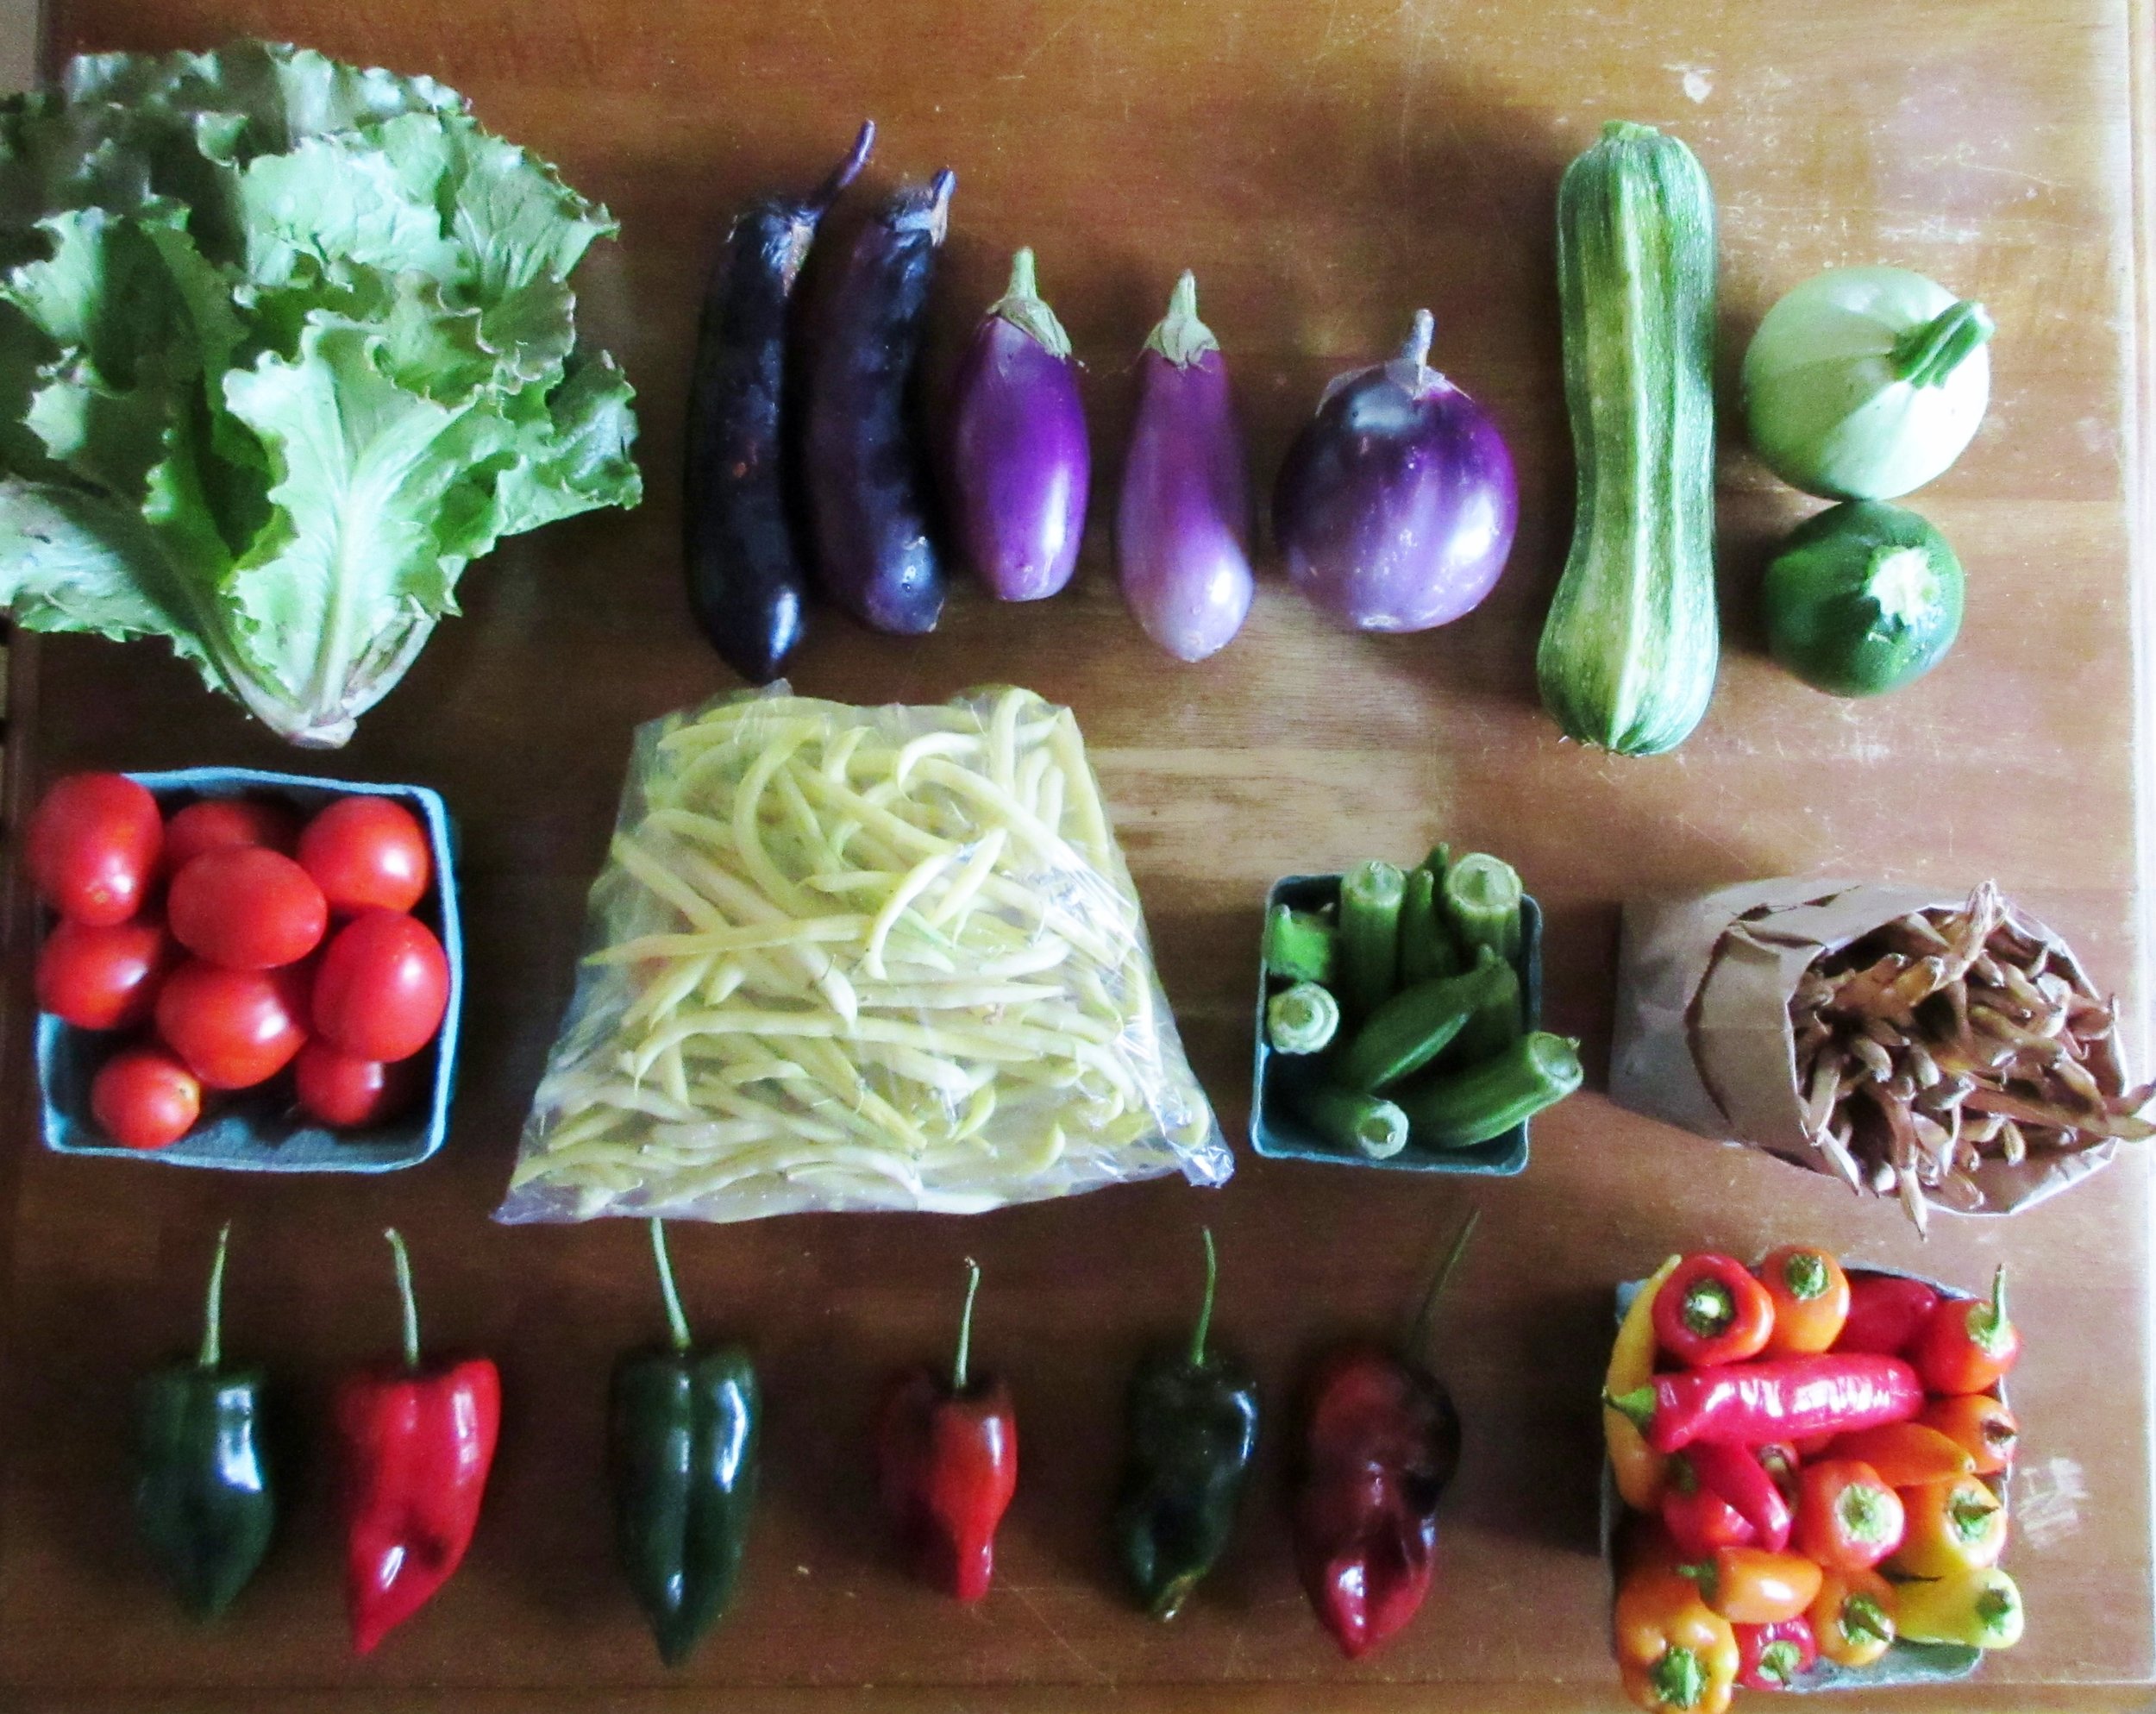
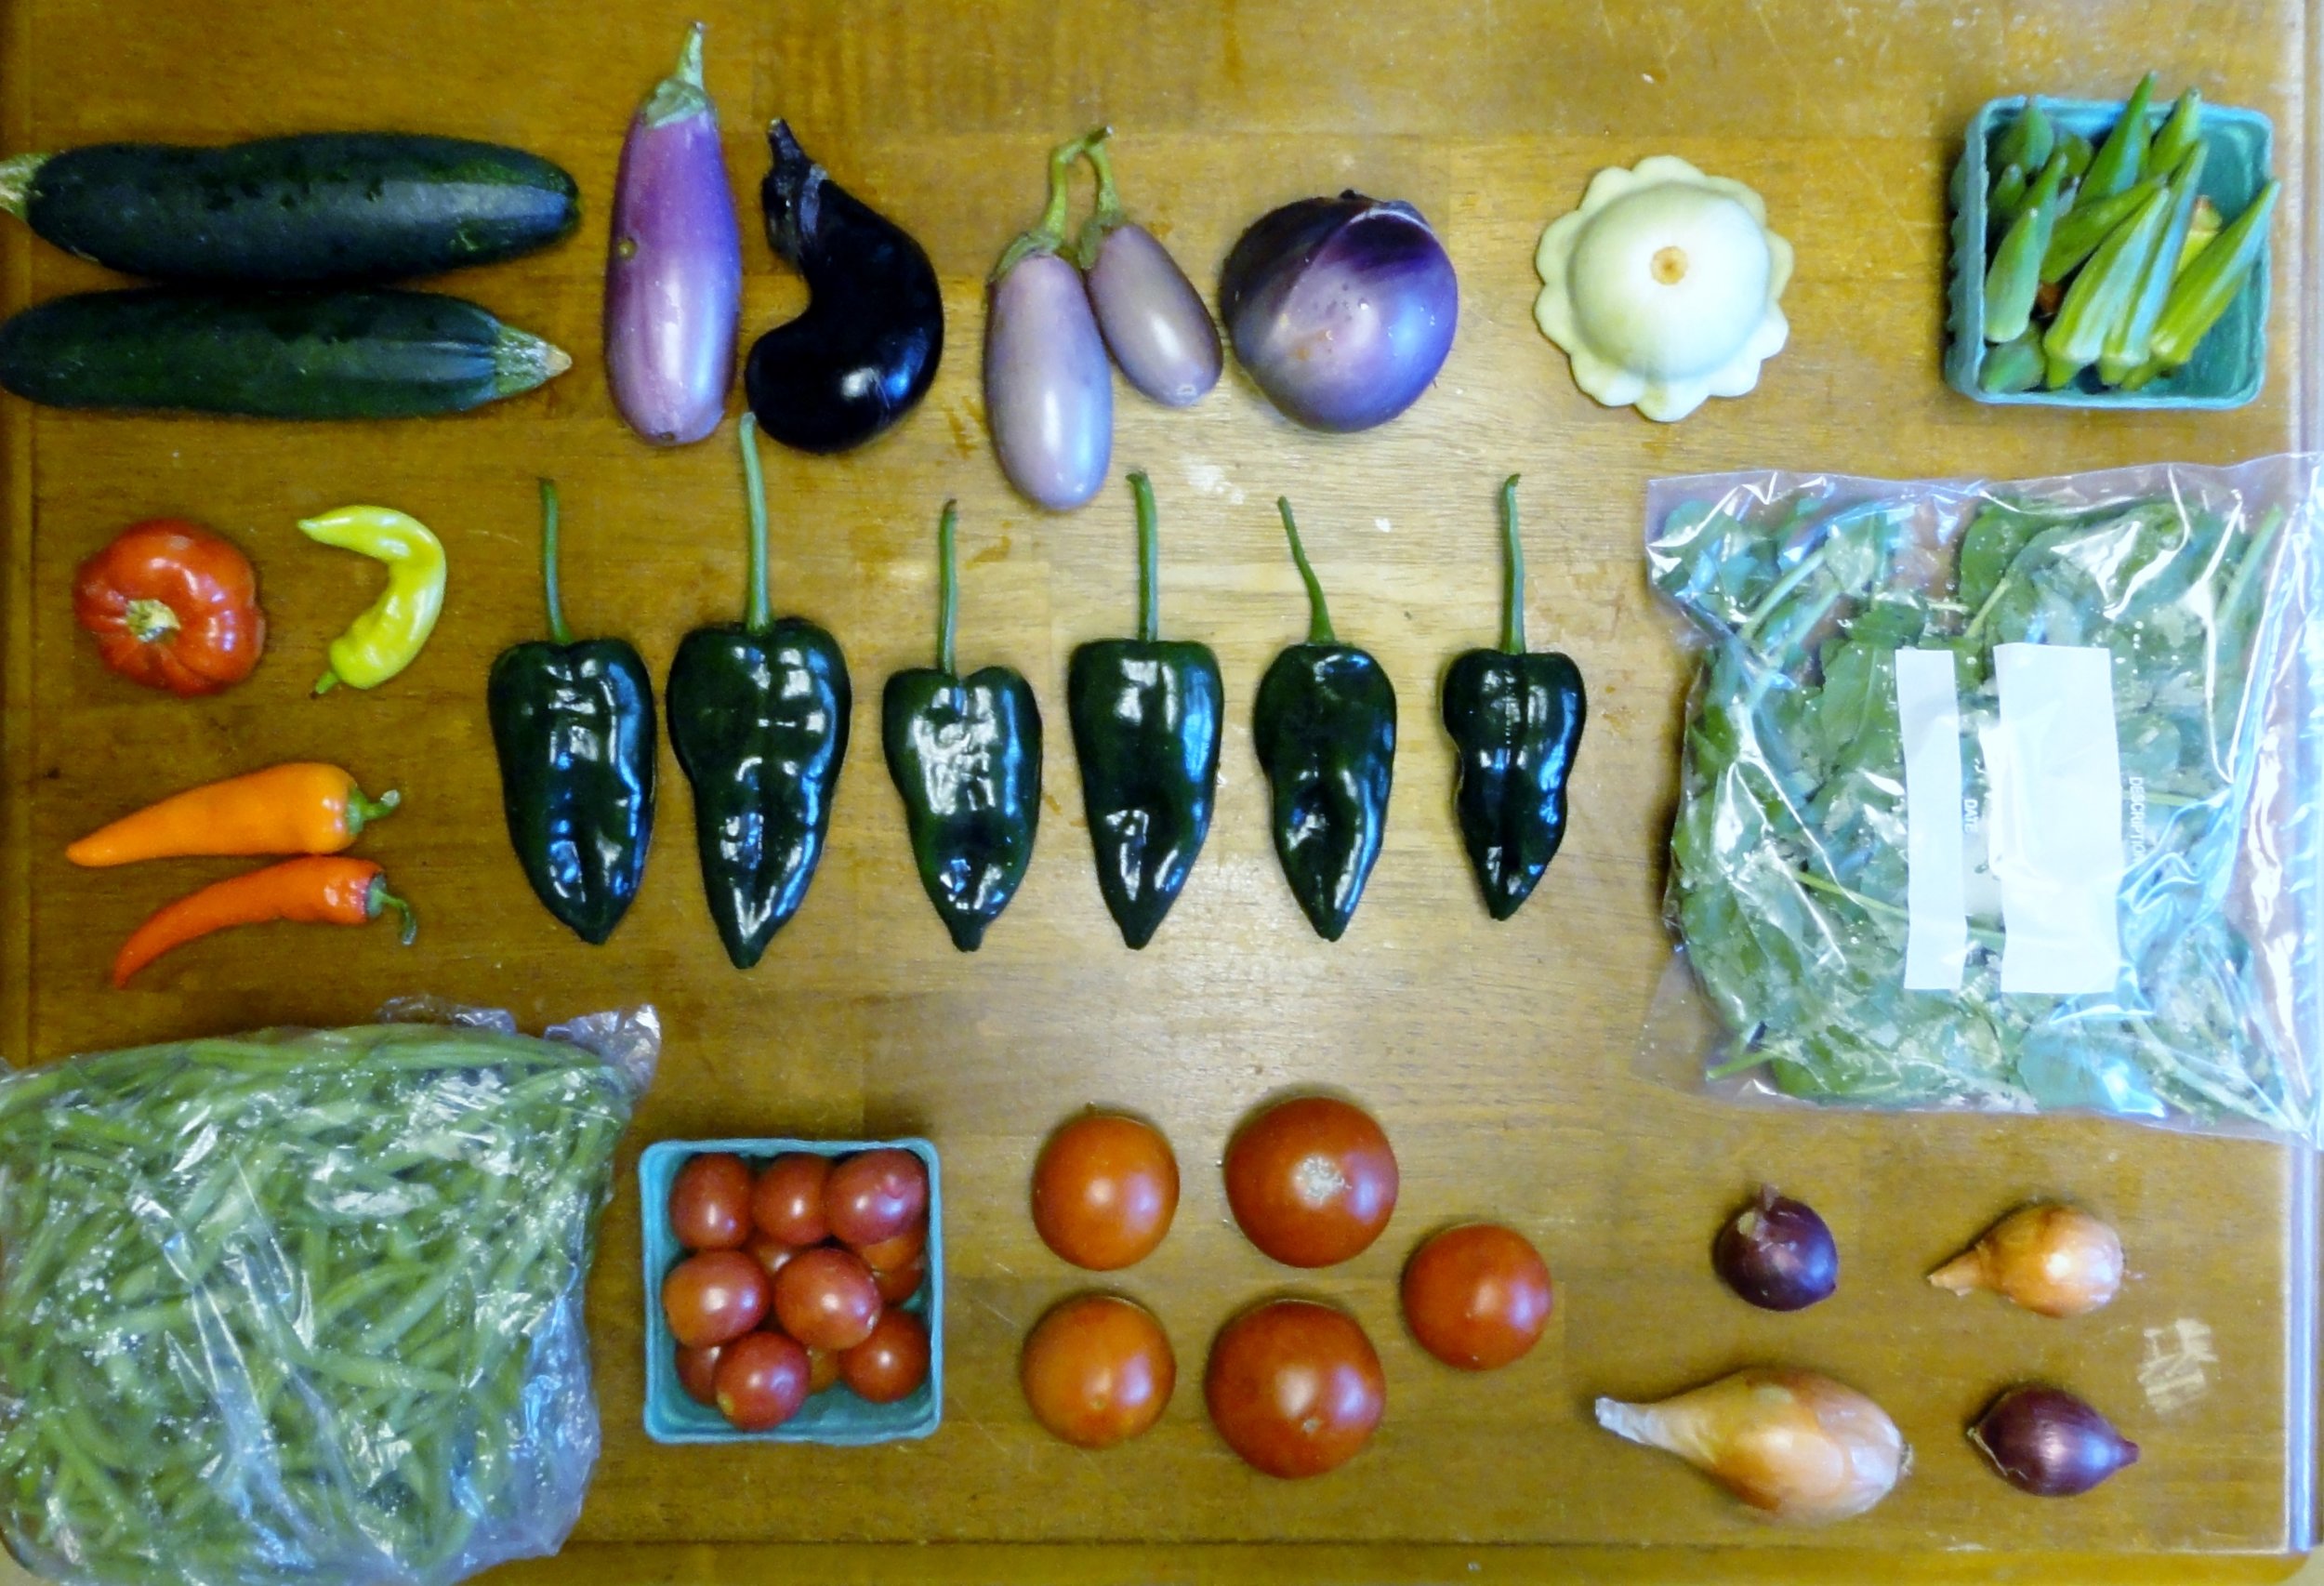
/Week 2 includes some summer items and our first winter squash! Here's everything we got in our box! All items are listed below, starting at the top and moving left to right.

- Salad mix
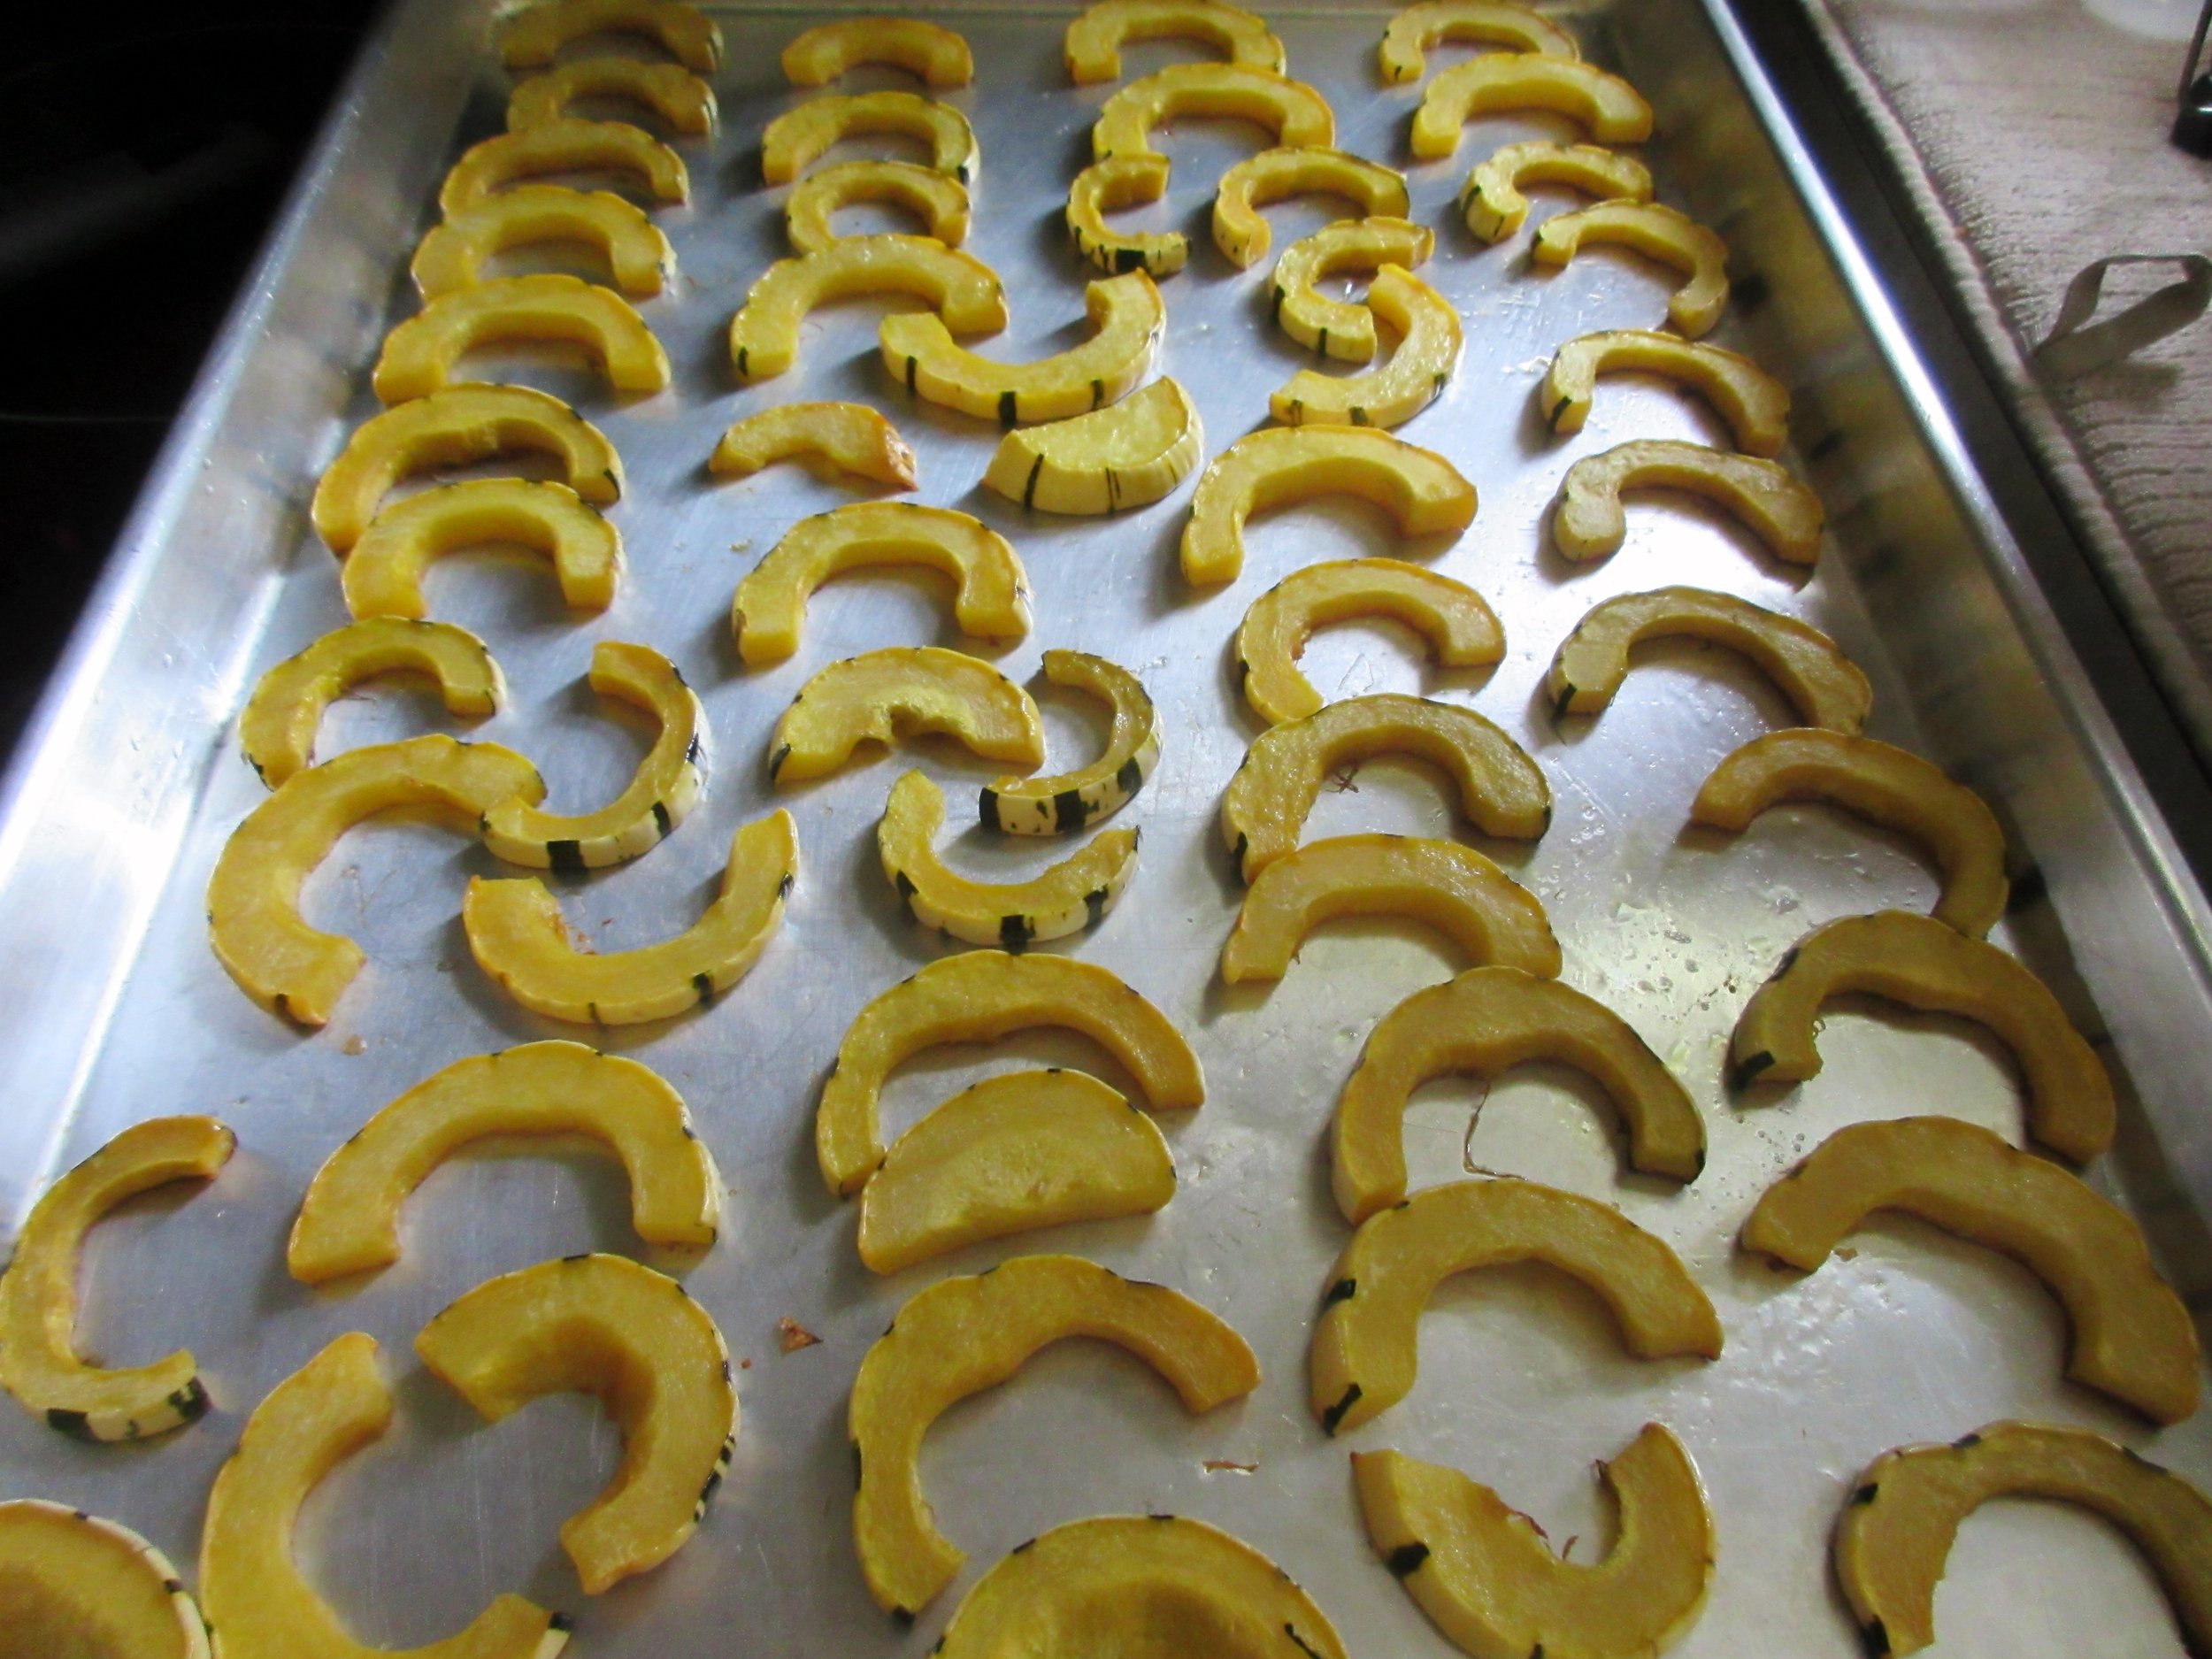
- Delicata squash
- Roc d'or beans
- Assorted eggplant
- Broccoli
- Sweet potatoes
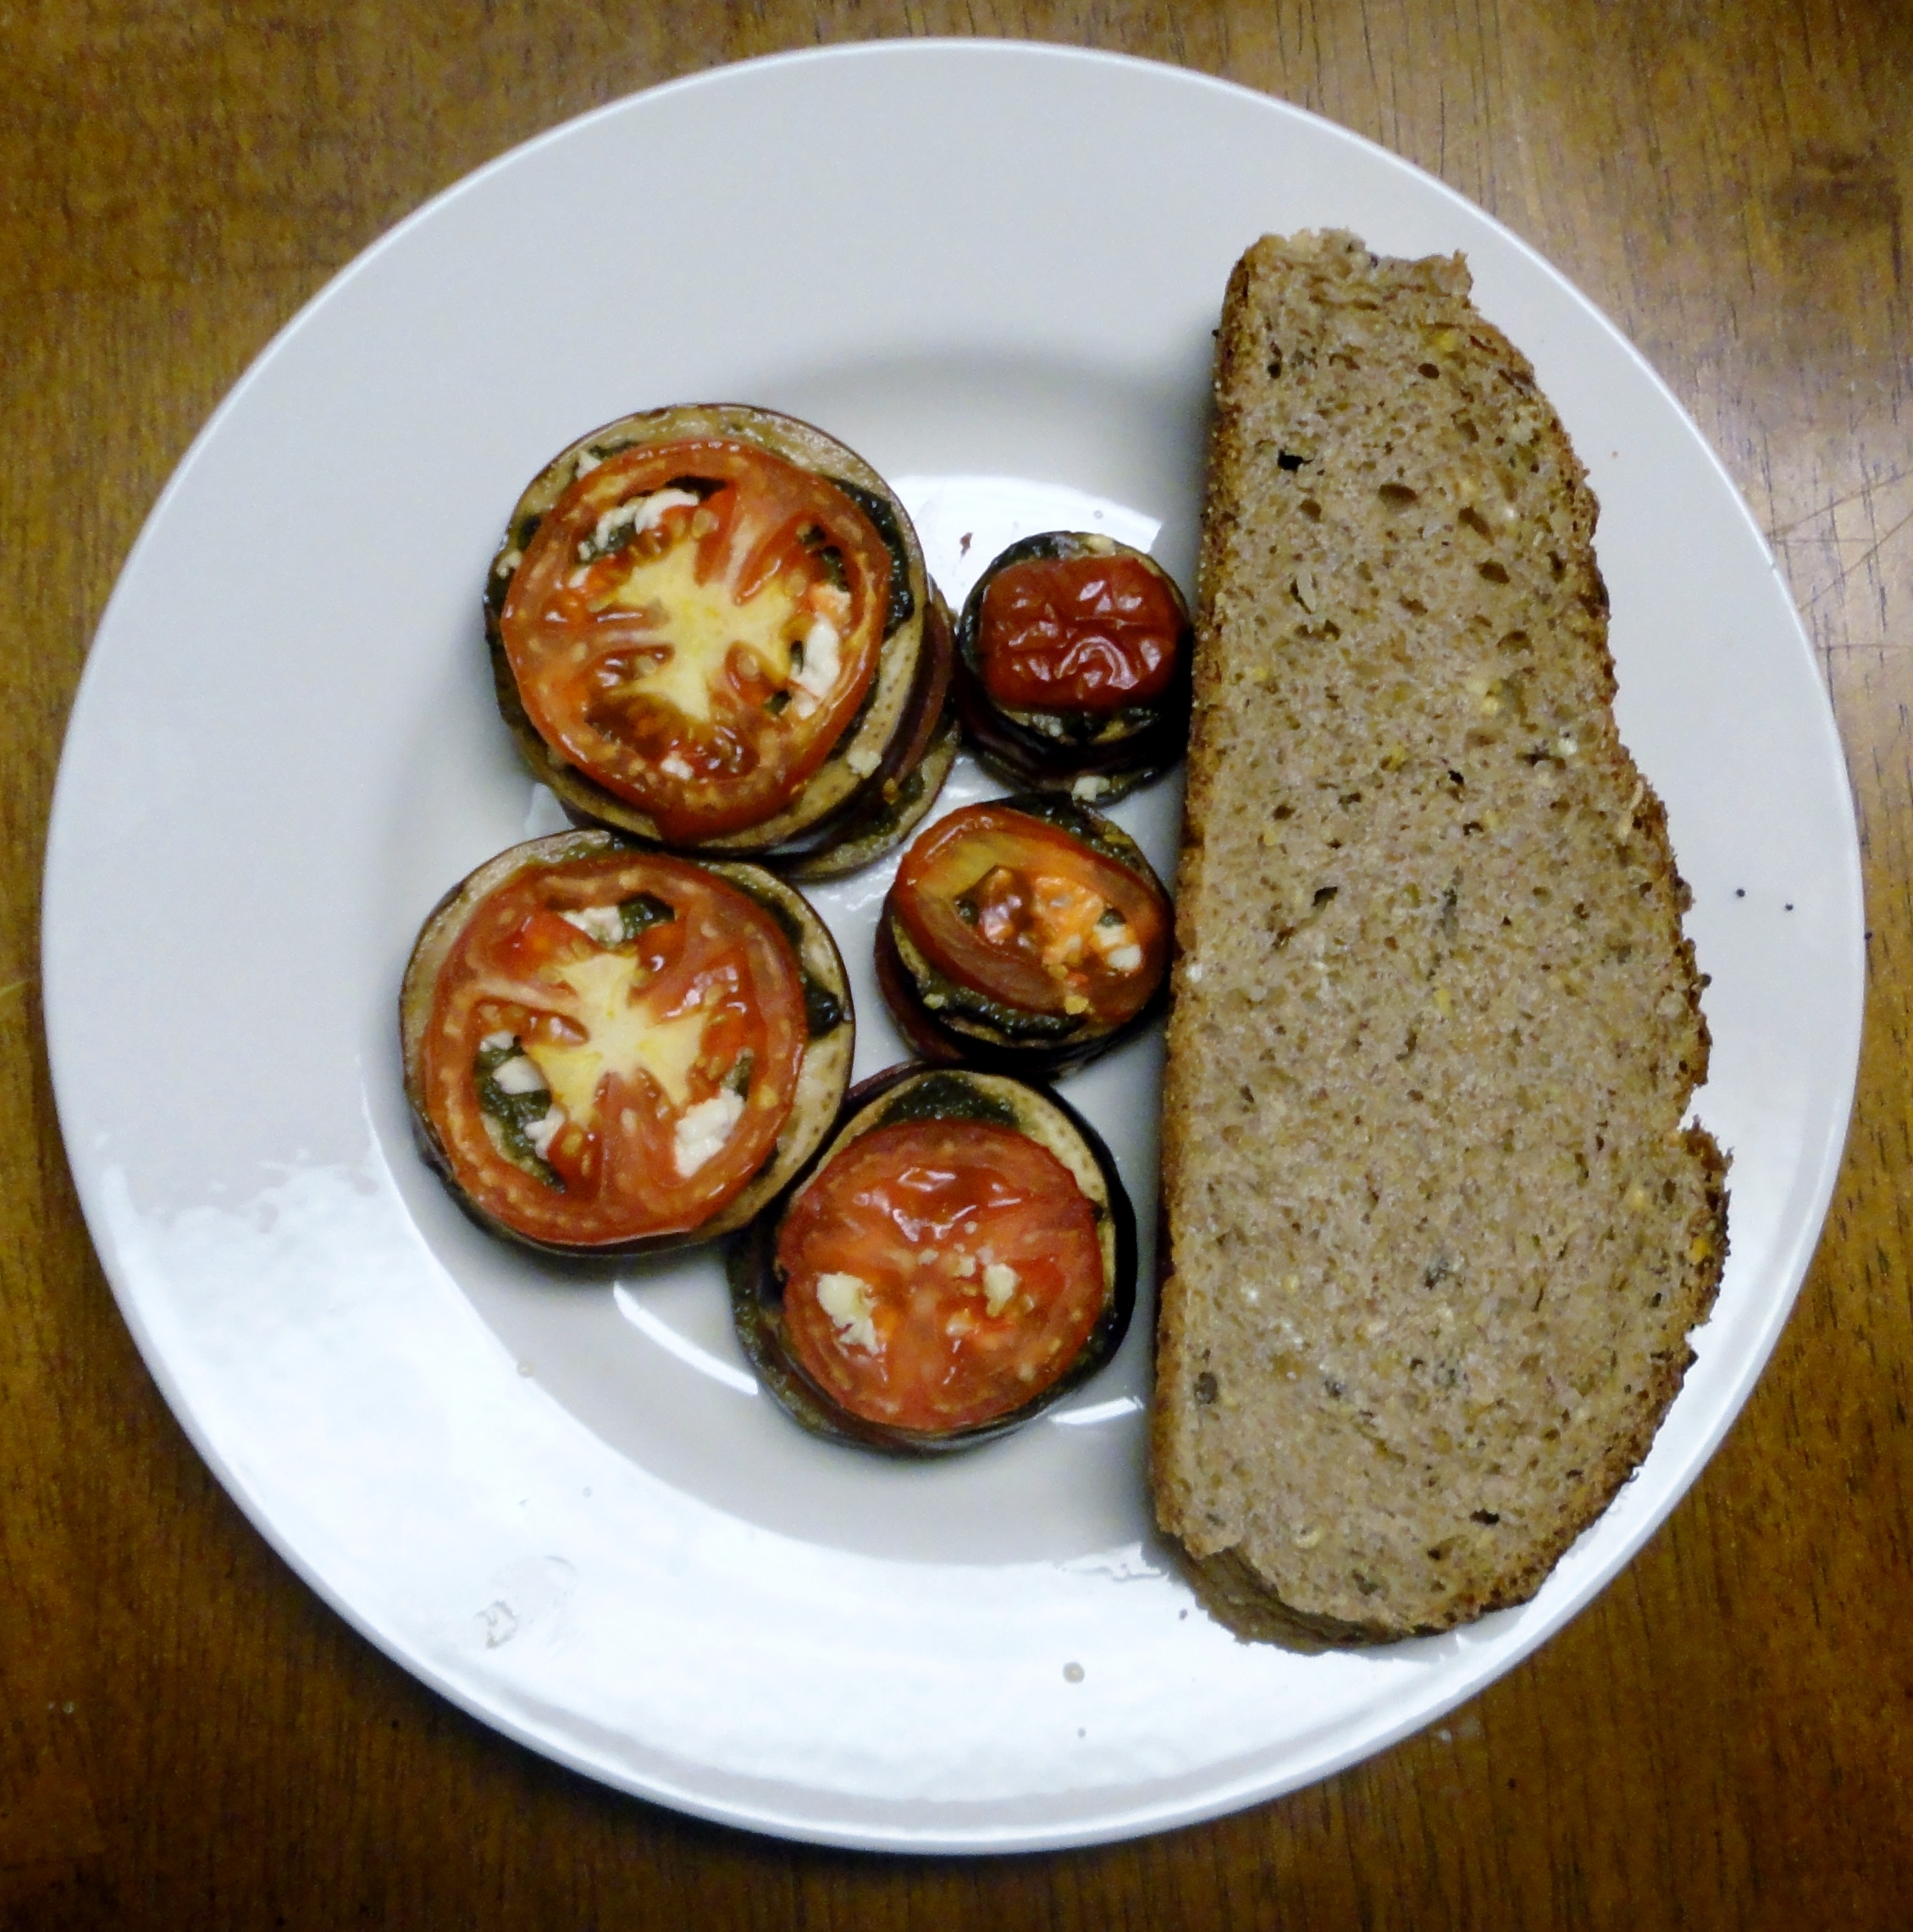
- Heirloom German lunchbox tomatoes
- Basil
- Assorted hot peppers
- Assorted Sweet peppers
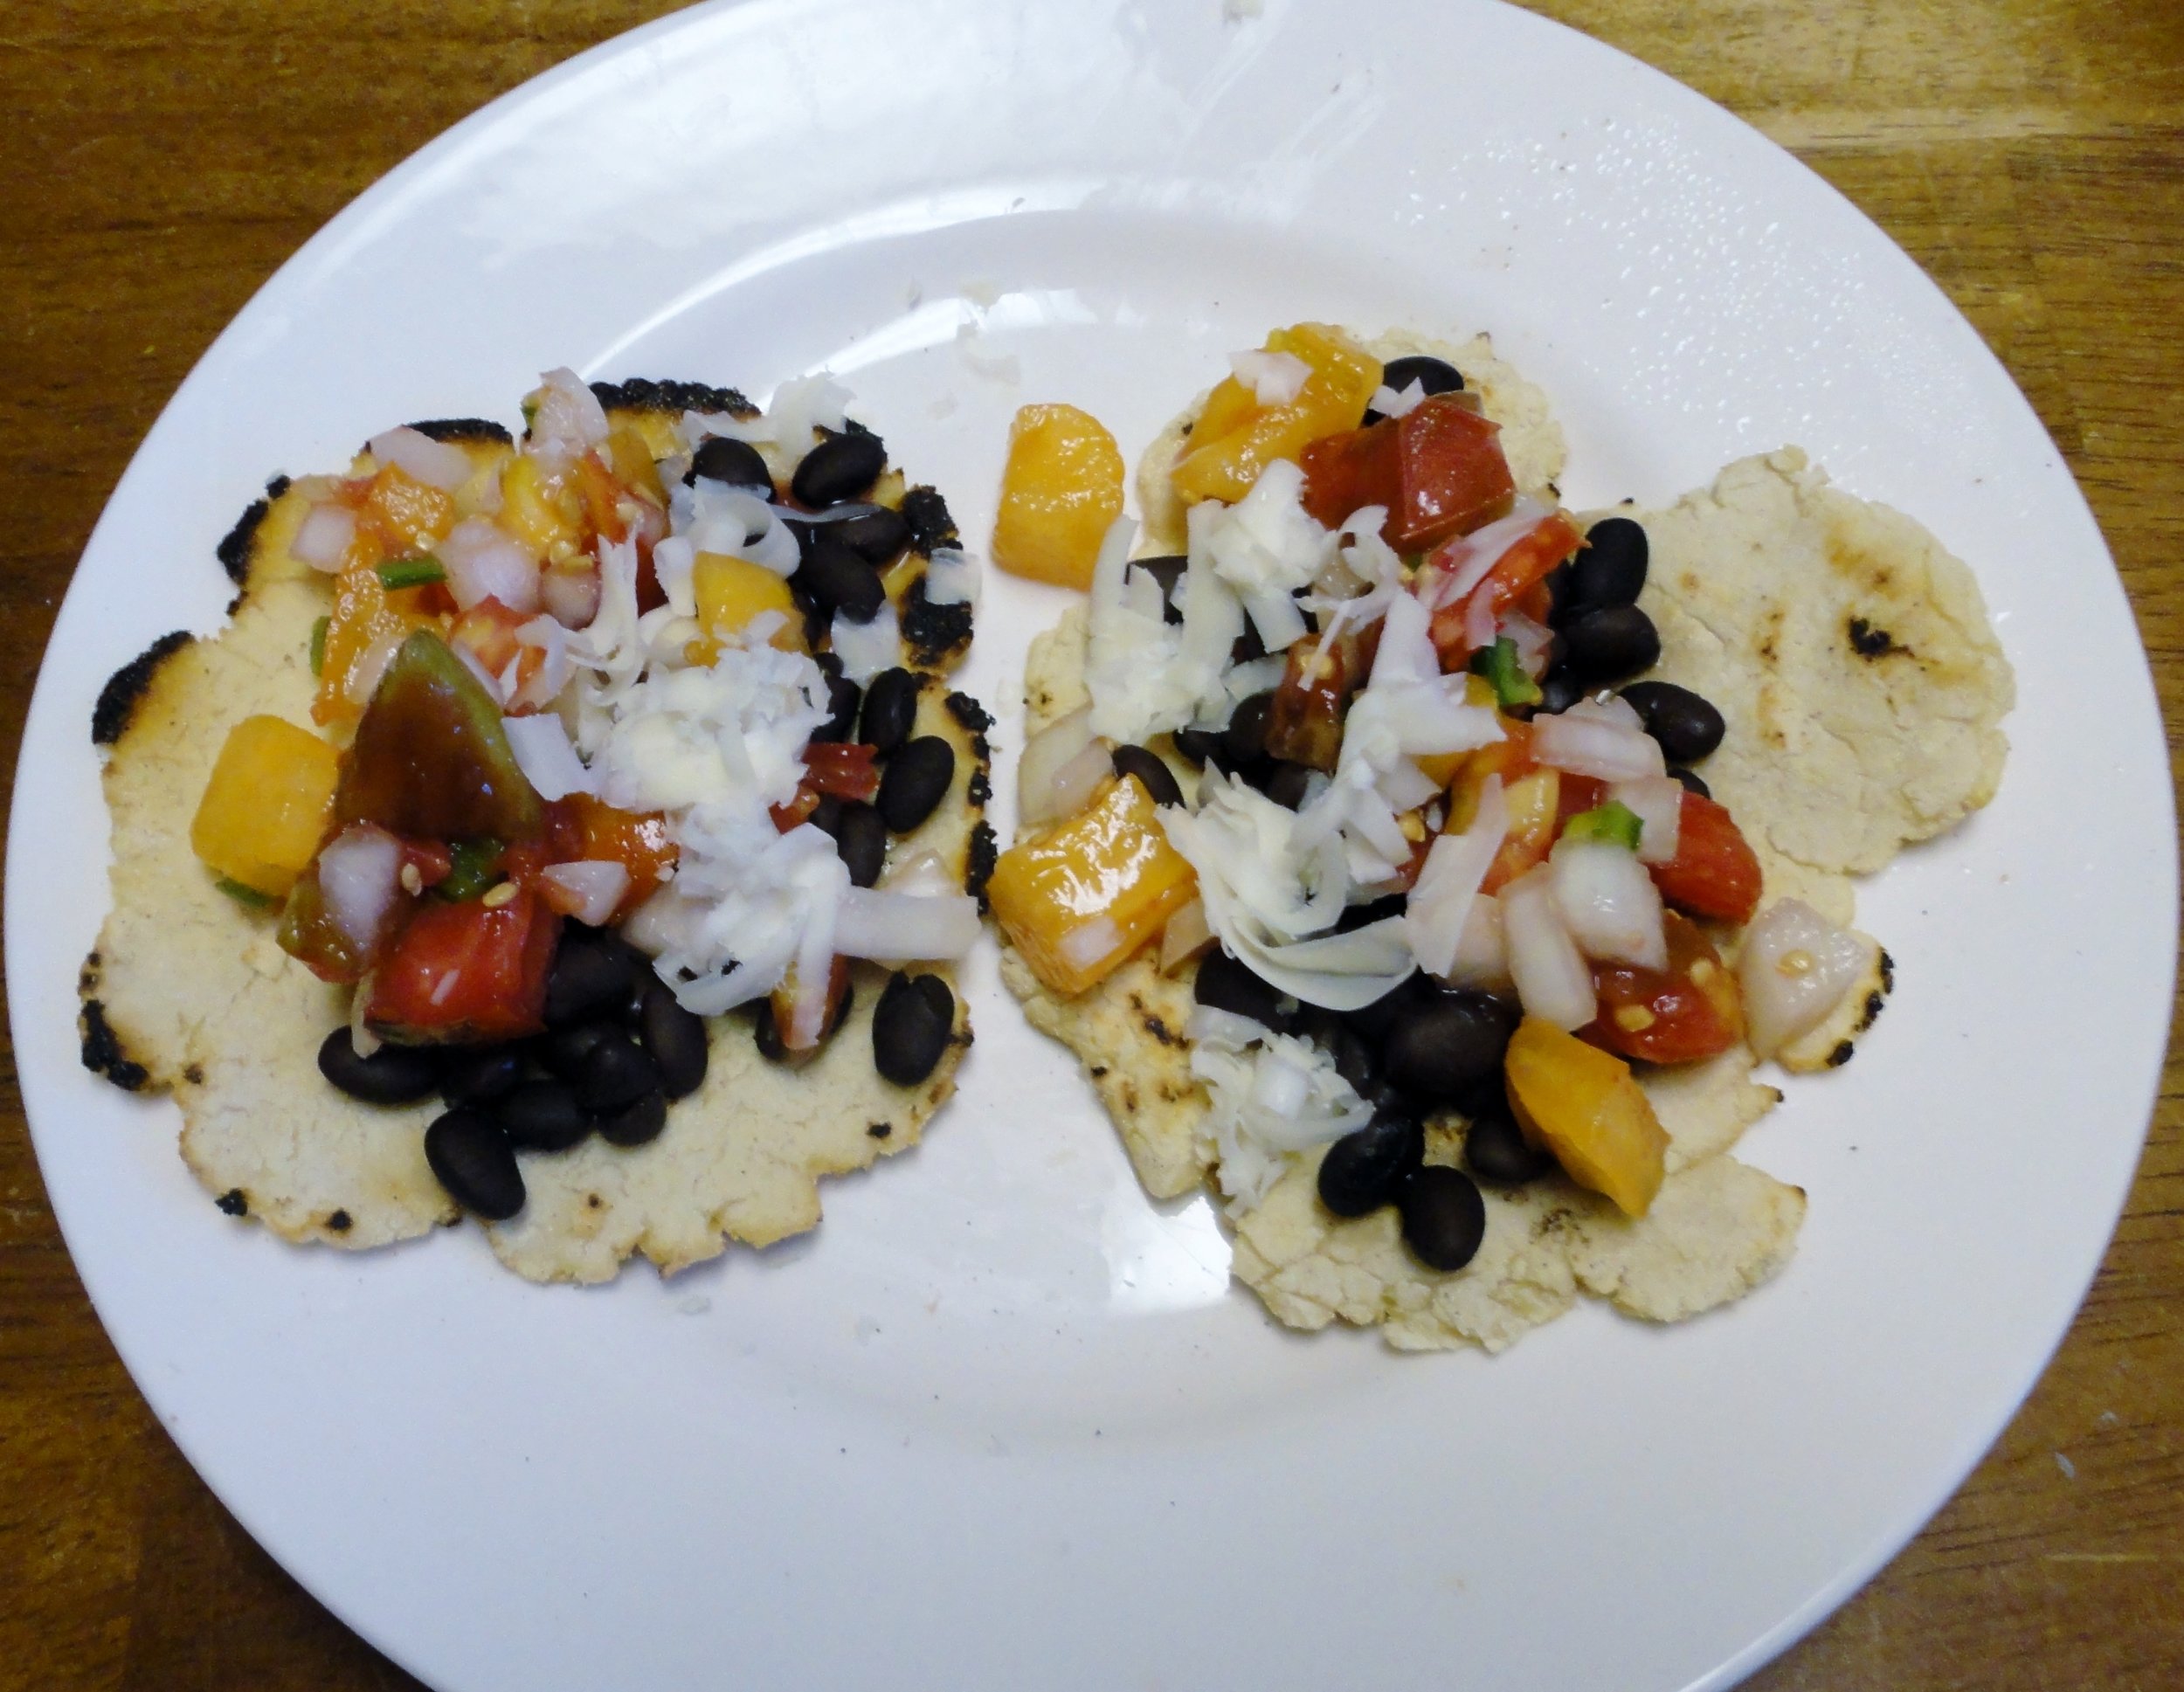
I ate the tomatoes all by myself. I basically grabbed one whenever I walked by their box on the counter. :D
The delicata squash were roasted with some oil and a sprinkle of salt. Easy and delicious. I just made them kind of randomly to eat, not as part of any of our dinners.
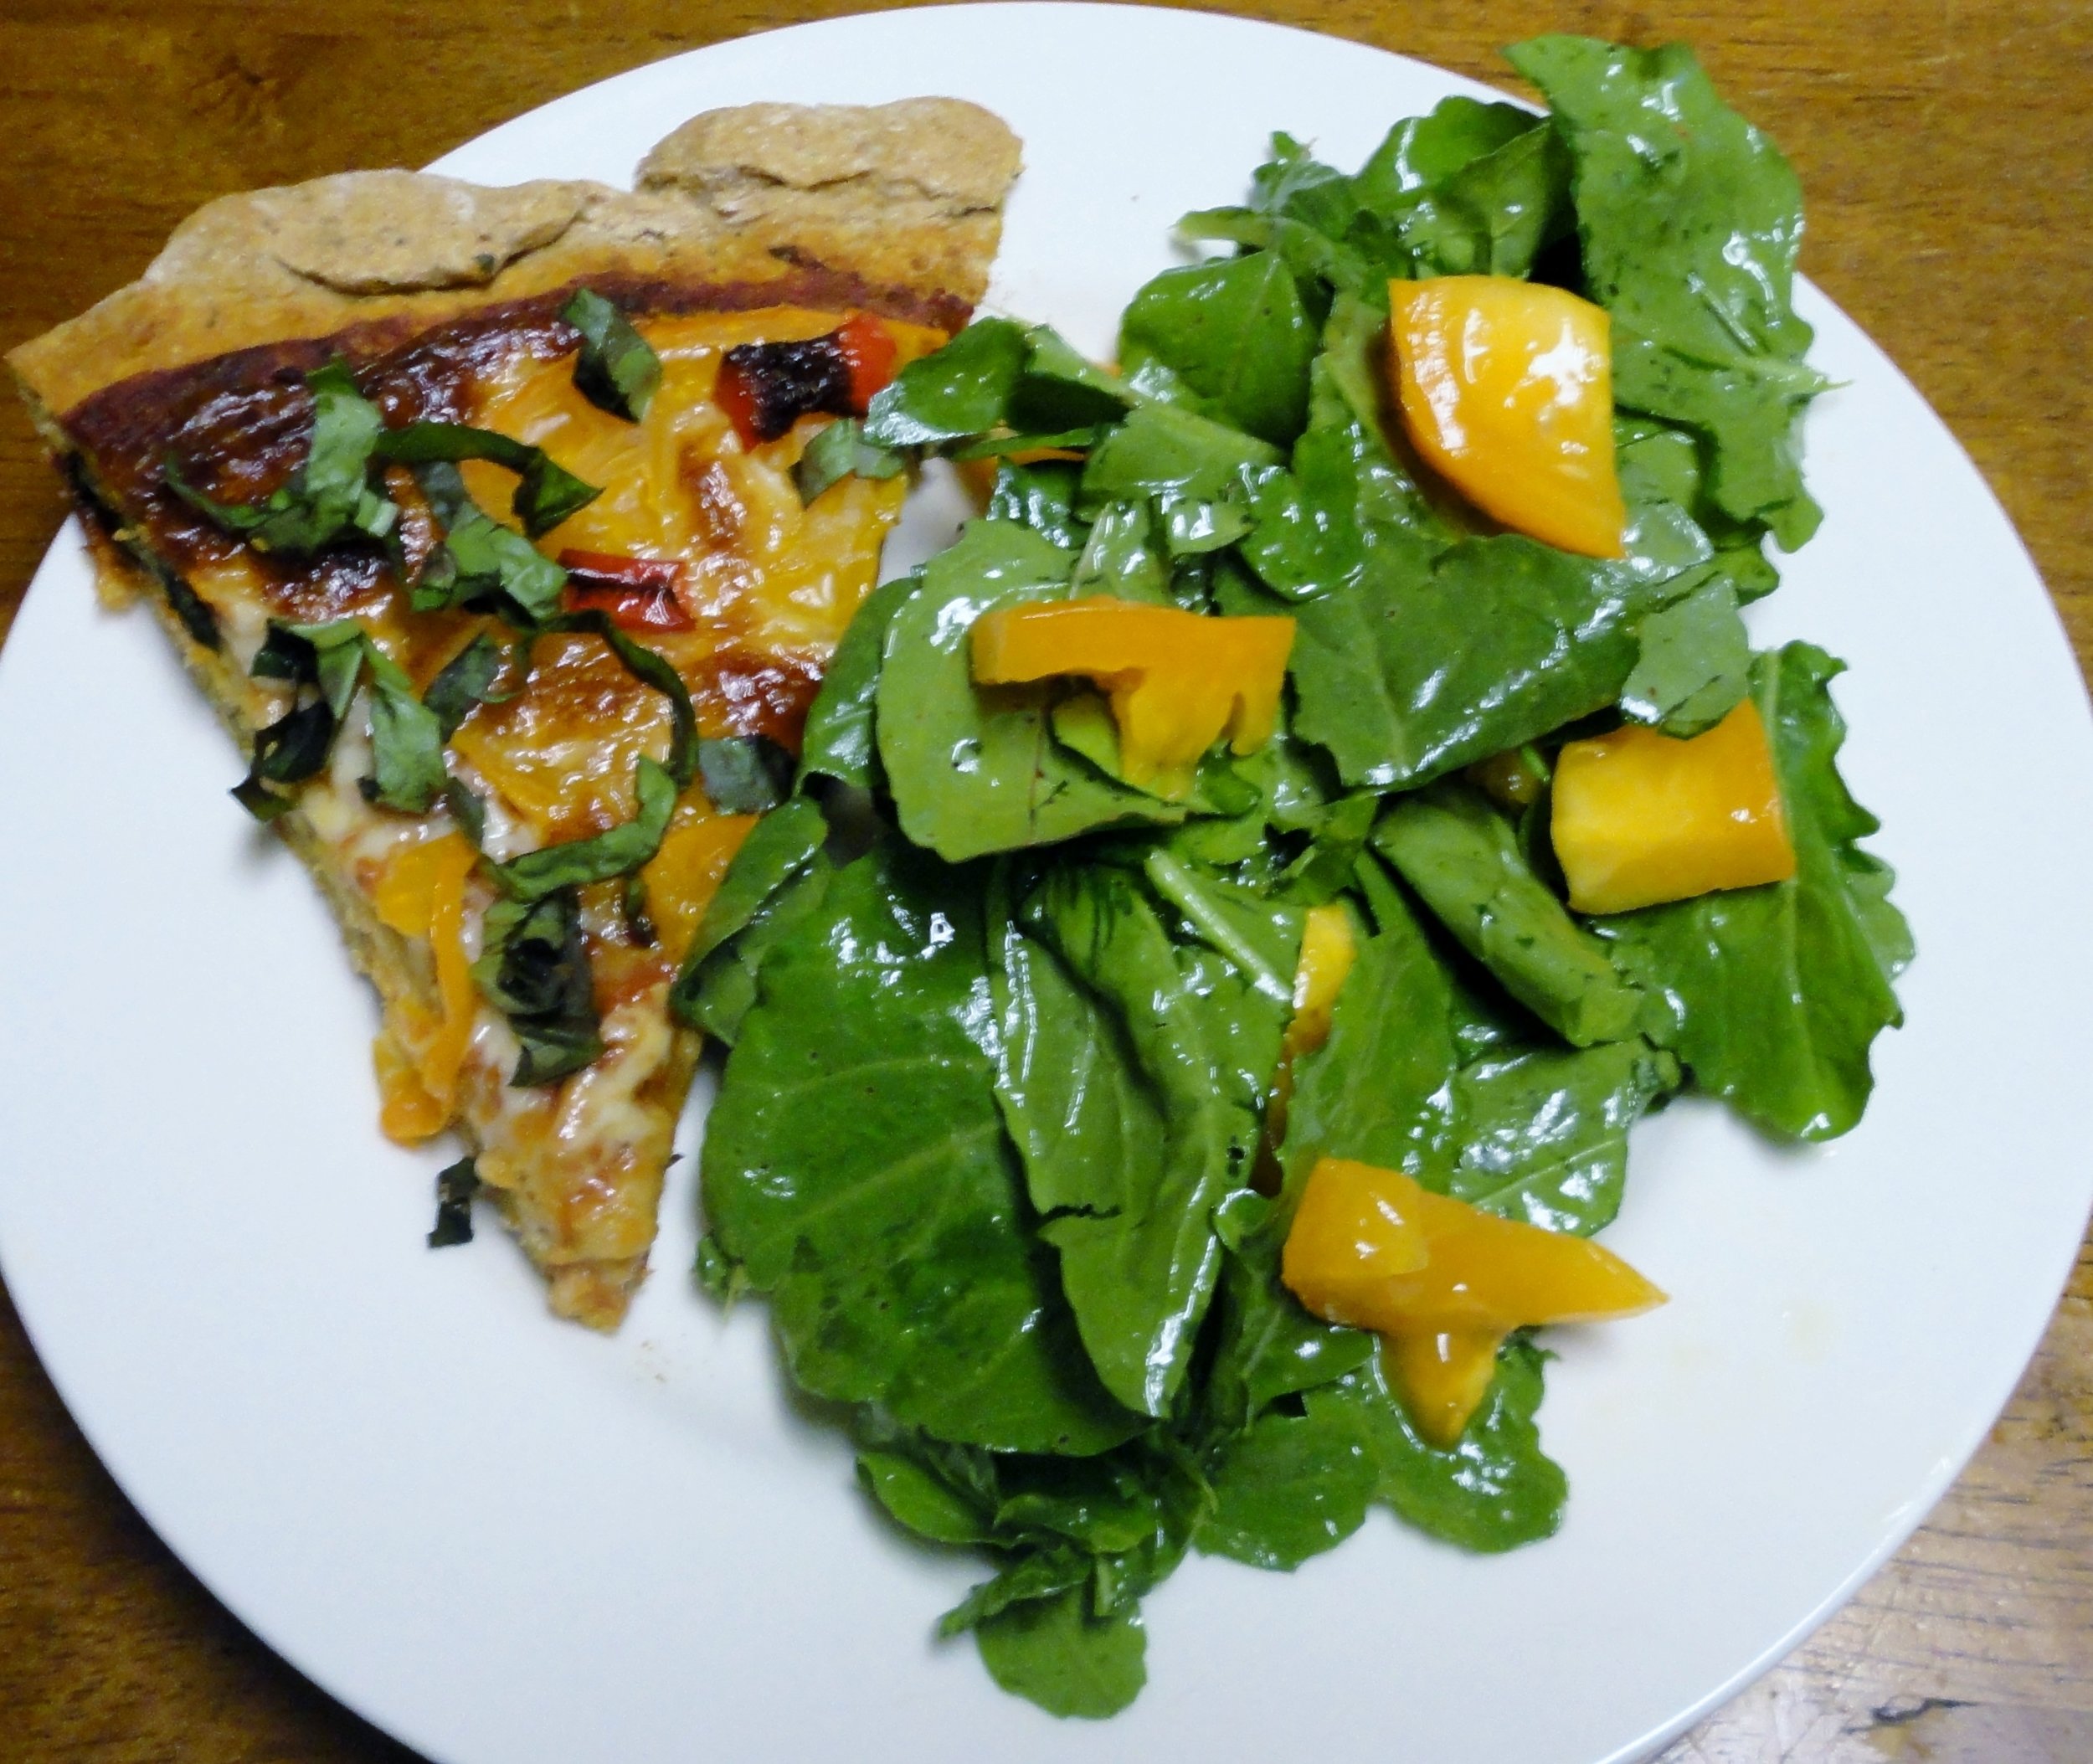
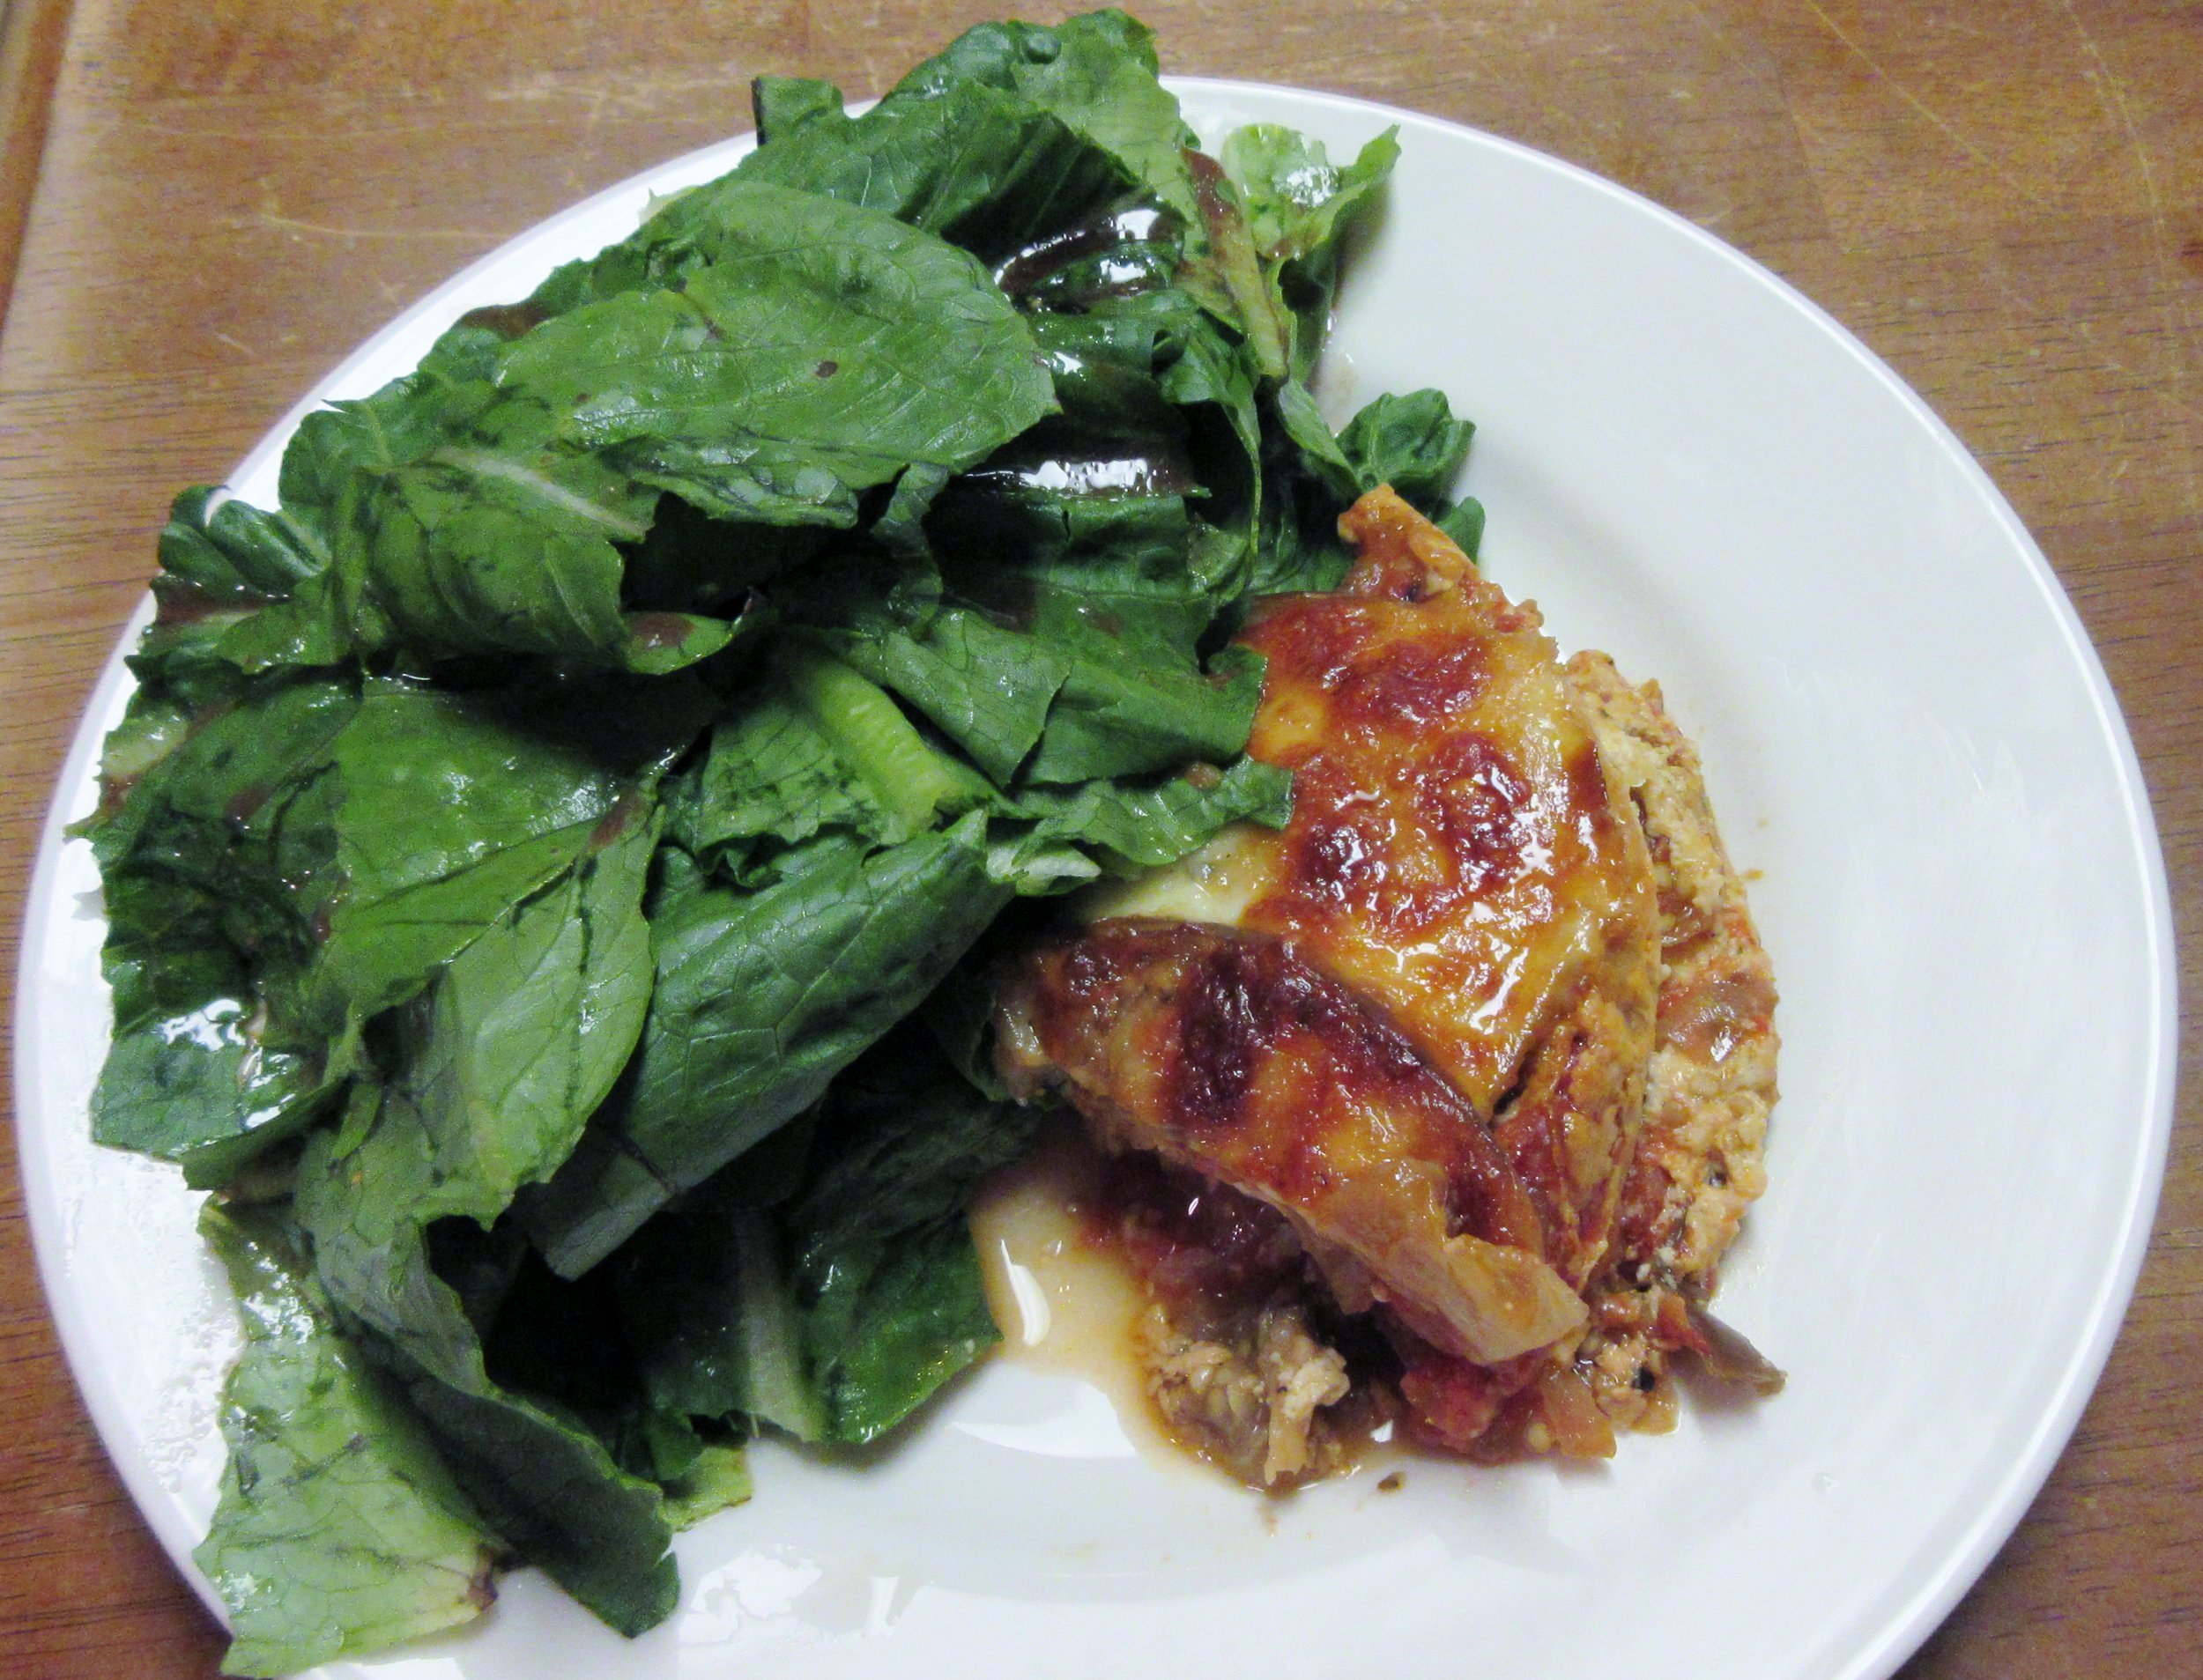
The round eggplants stood in place of noodles in this eggplant lasagna-esque dish I made. It was actually supposed to be eggplant Parmesan rollatini, but I decided to try something different at the last minute and it turned out pretty good. We loaded up with salad to help balance everything out.
This is one of the best dinners I've made in a while. I cut up a whole chicken and marinated it in a mixture of soy sauce, water, ginger, and garlic. That baked in the oven while I sauteed the broccoli, half of the beans, some of the sweet peppers, and an onion. I also cooked down the chicken marinade to reduce it and kill any raw chicken nasties and then poured that over the veggies. So. freaking. good!

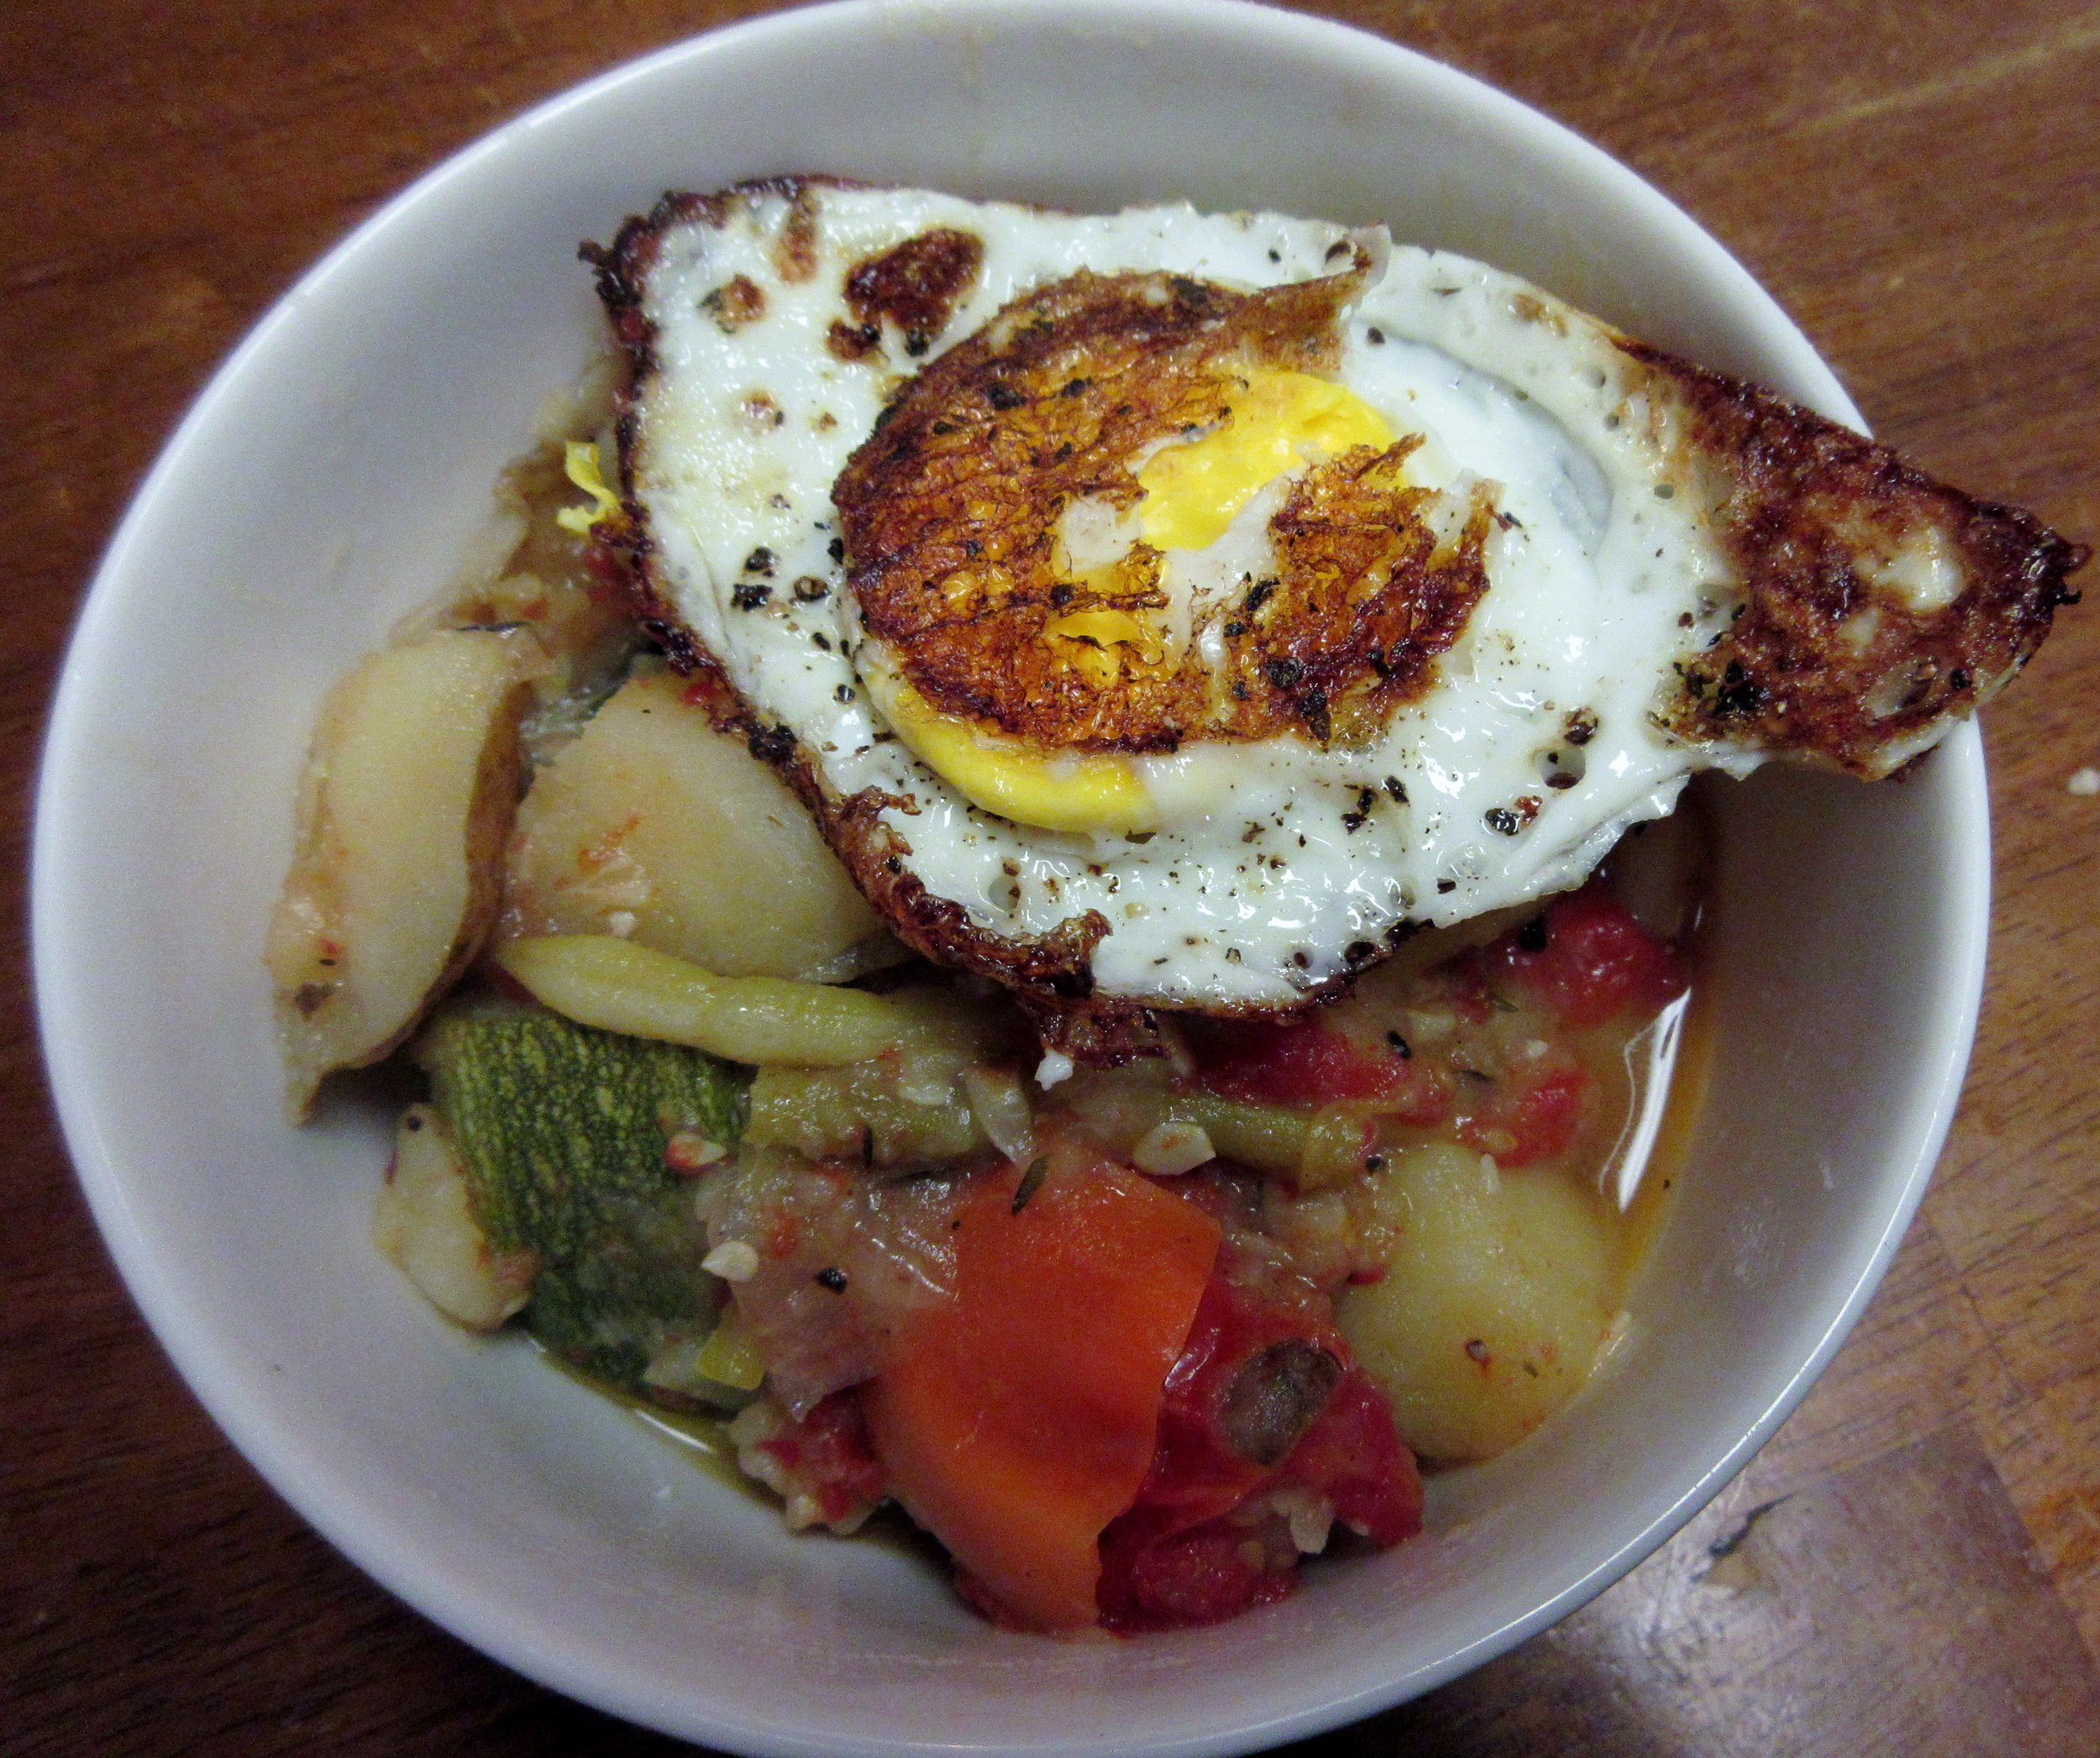
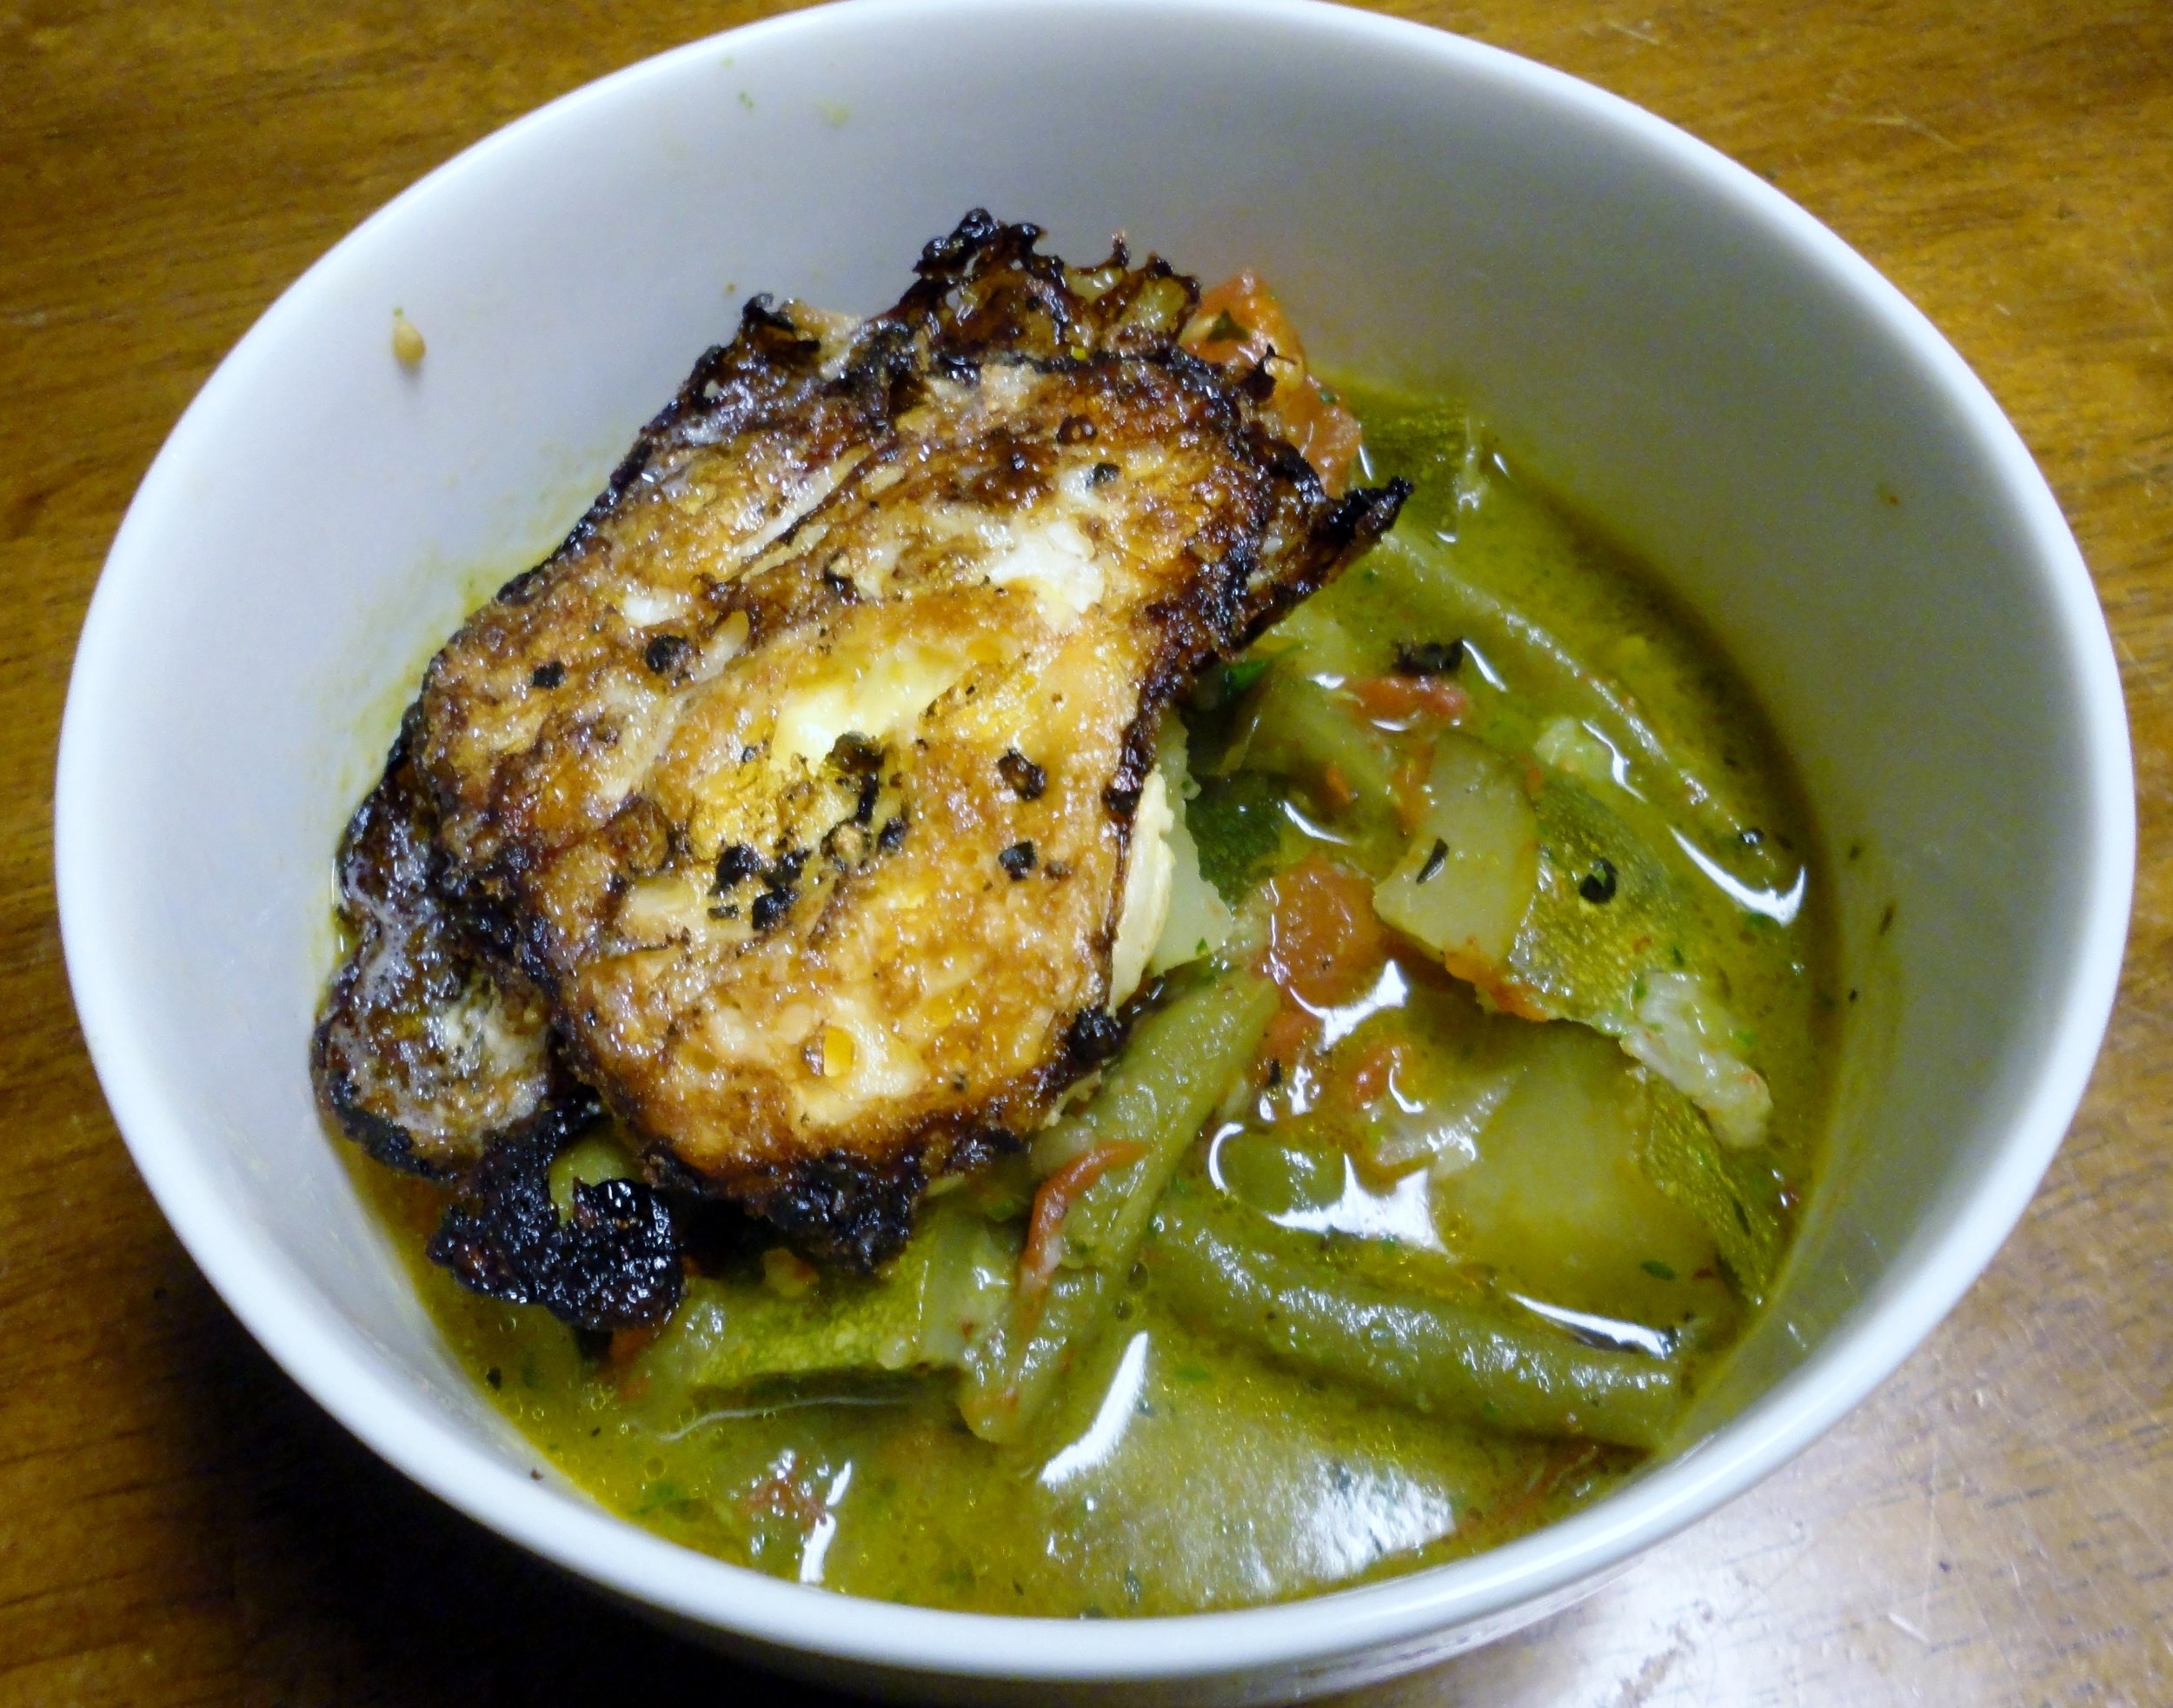
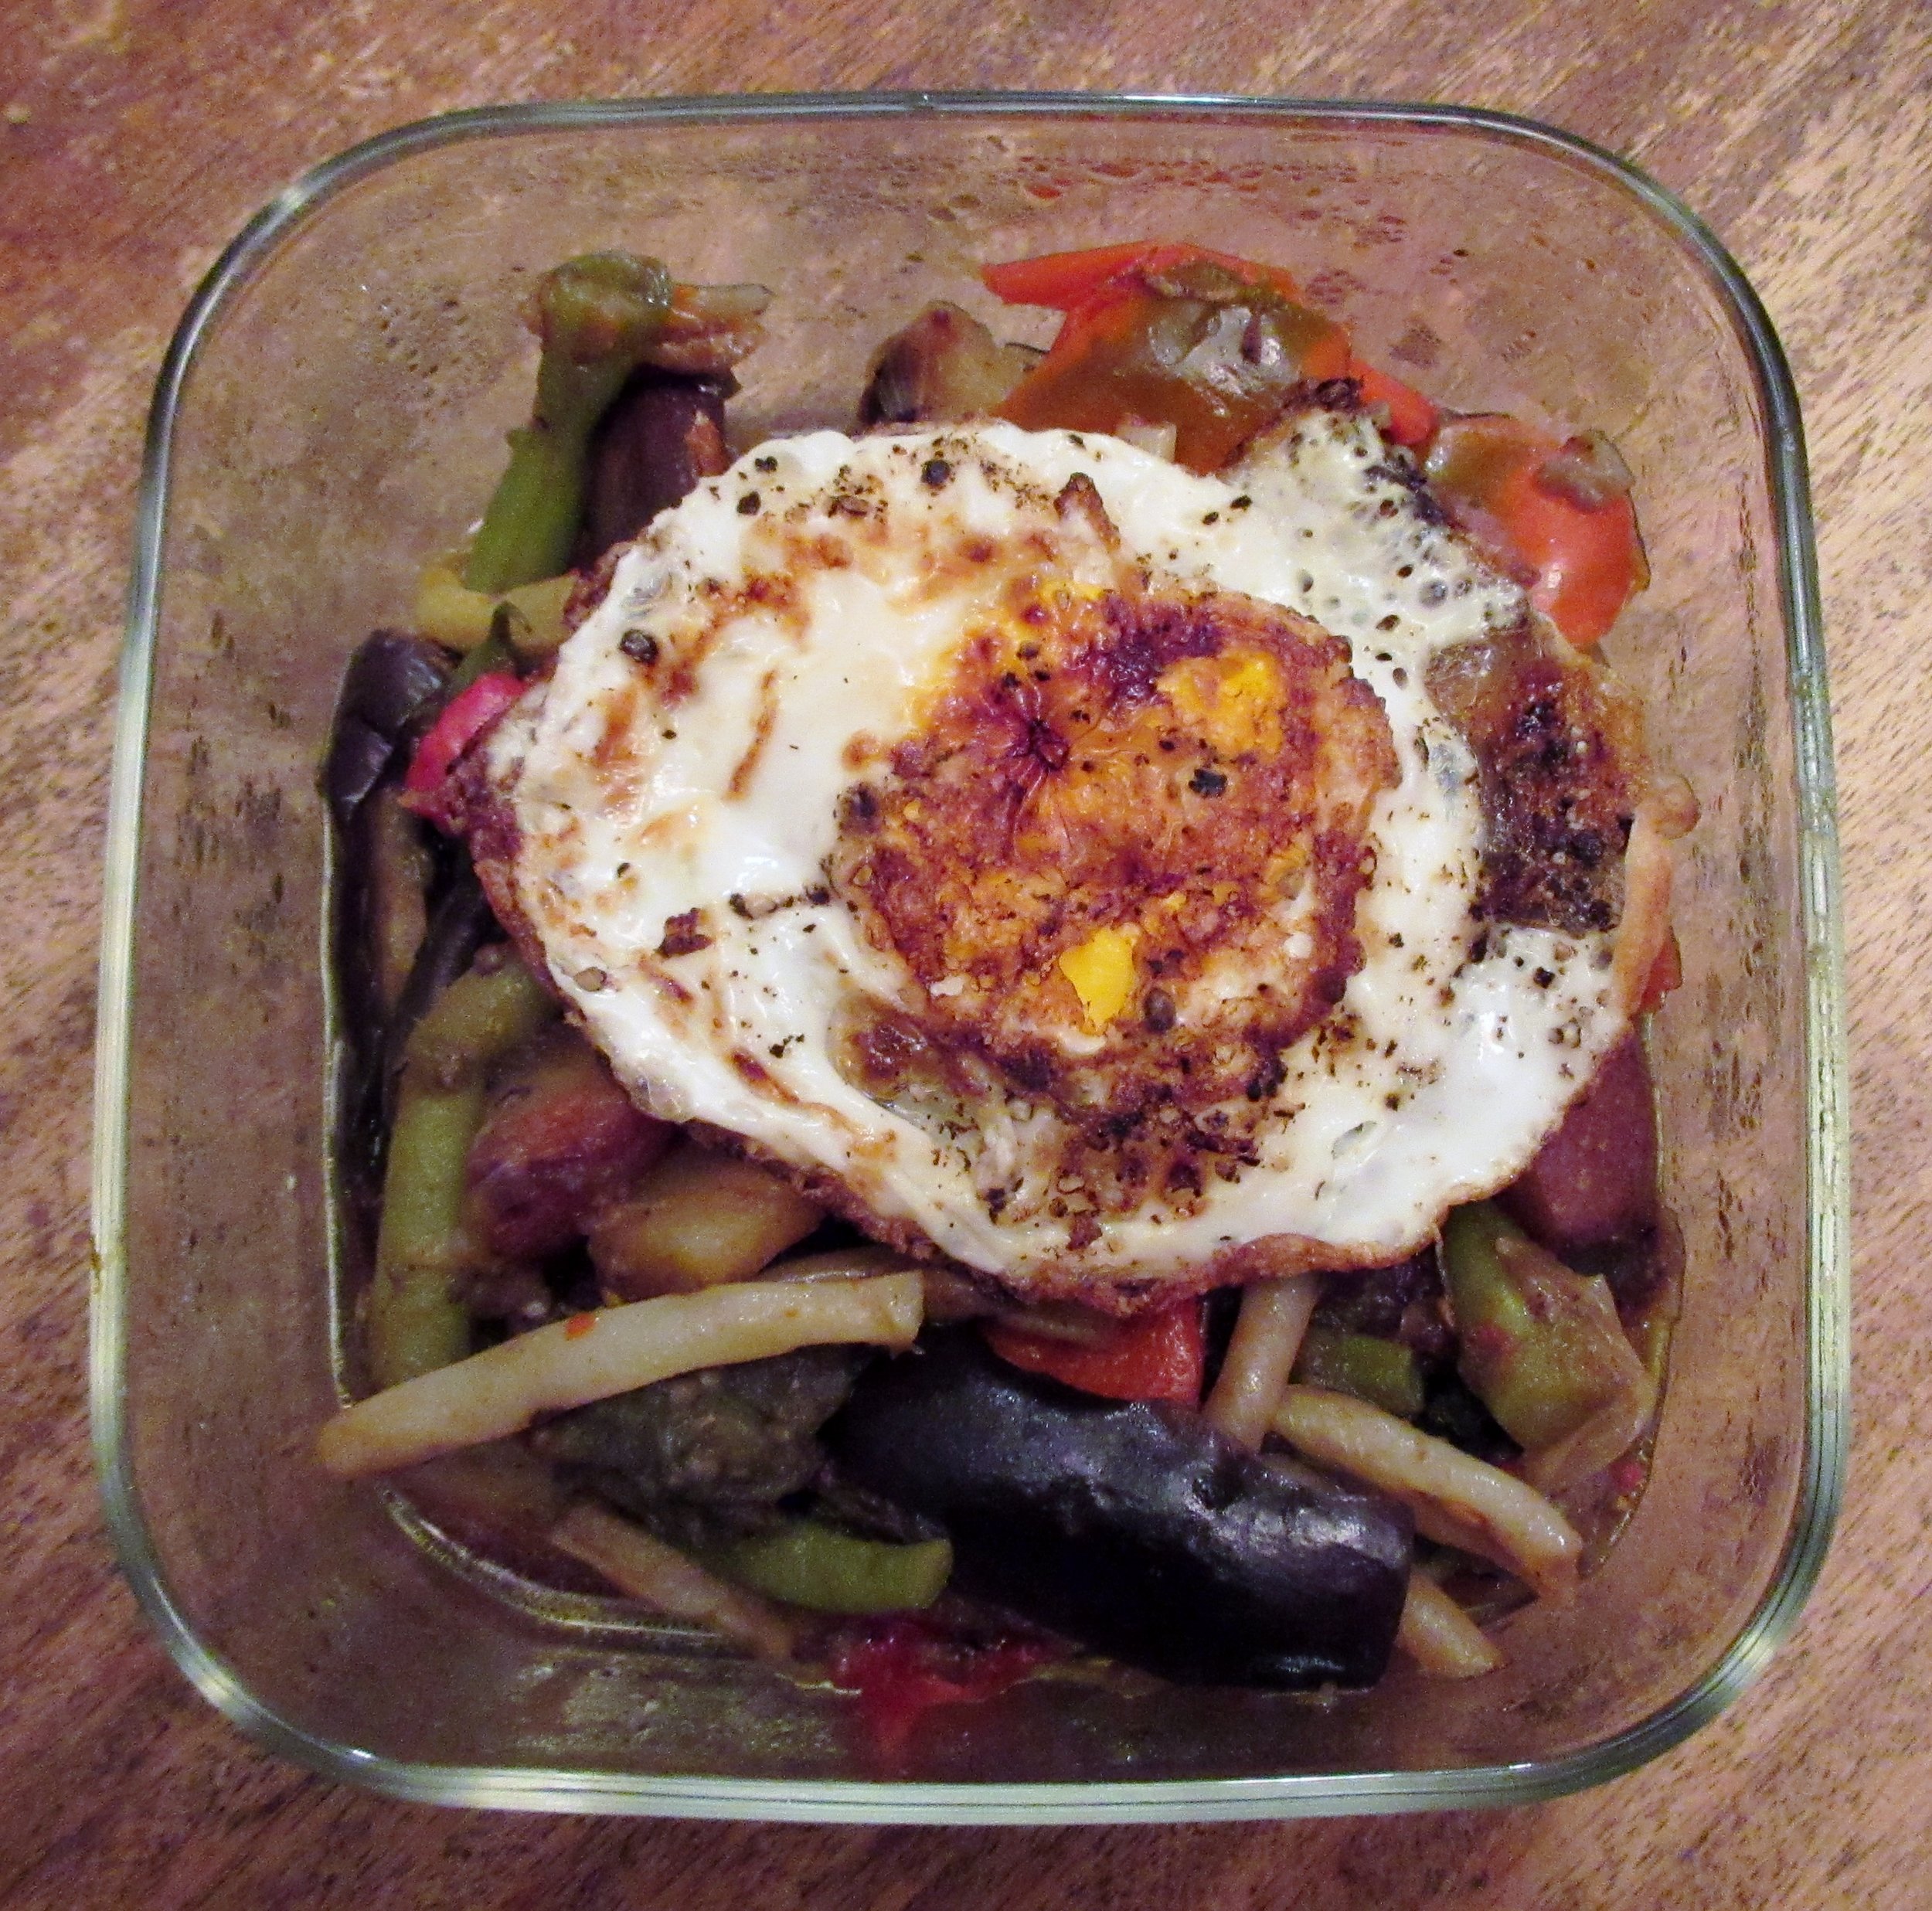
This is a repeat offender, so I'll be quick. I made our favorite veggie stew (again) and topped it with a fried egg (again). It's just so tasty! The dark purple eggplants, remaining beans, a couple sweet peppers, and the basil all went in.
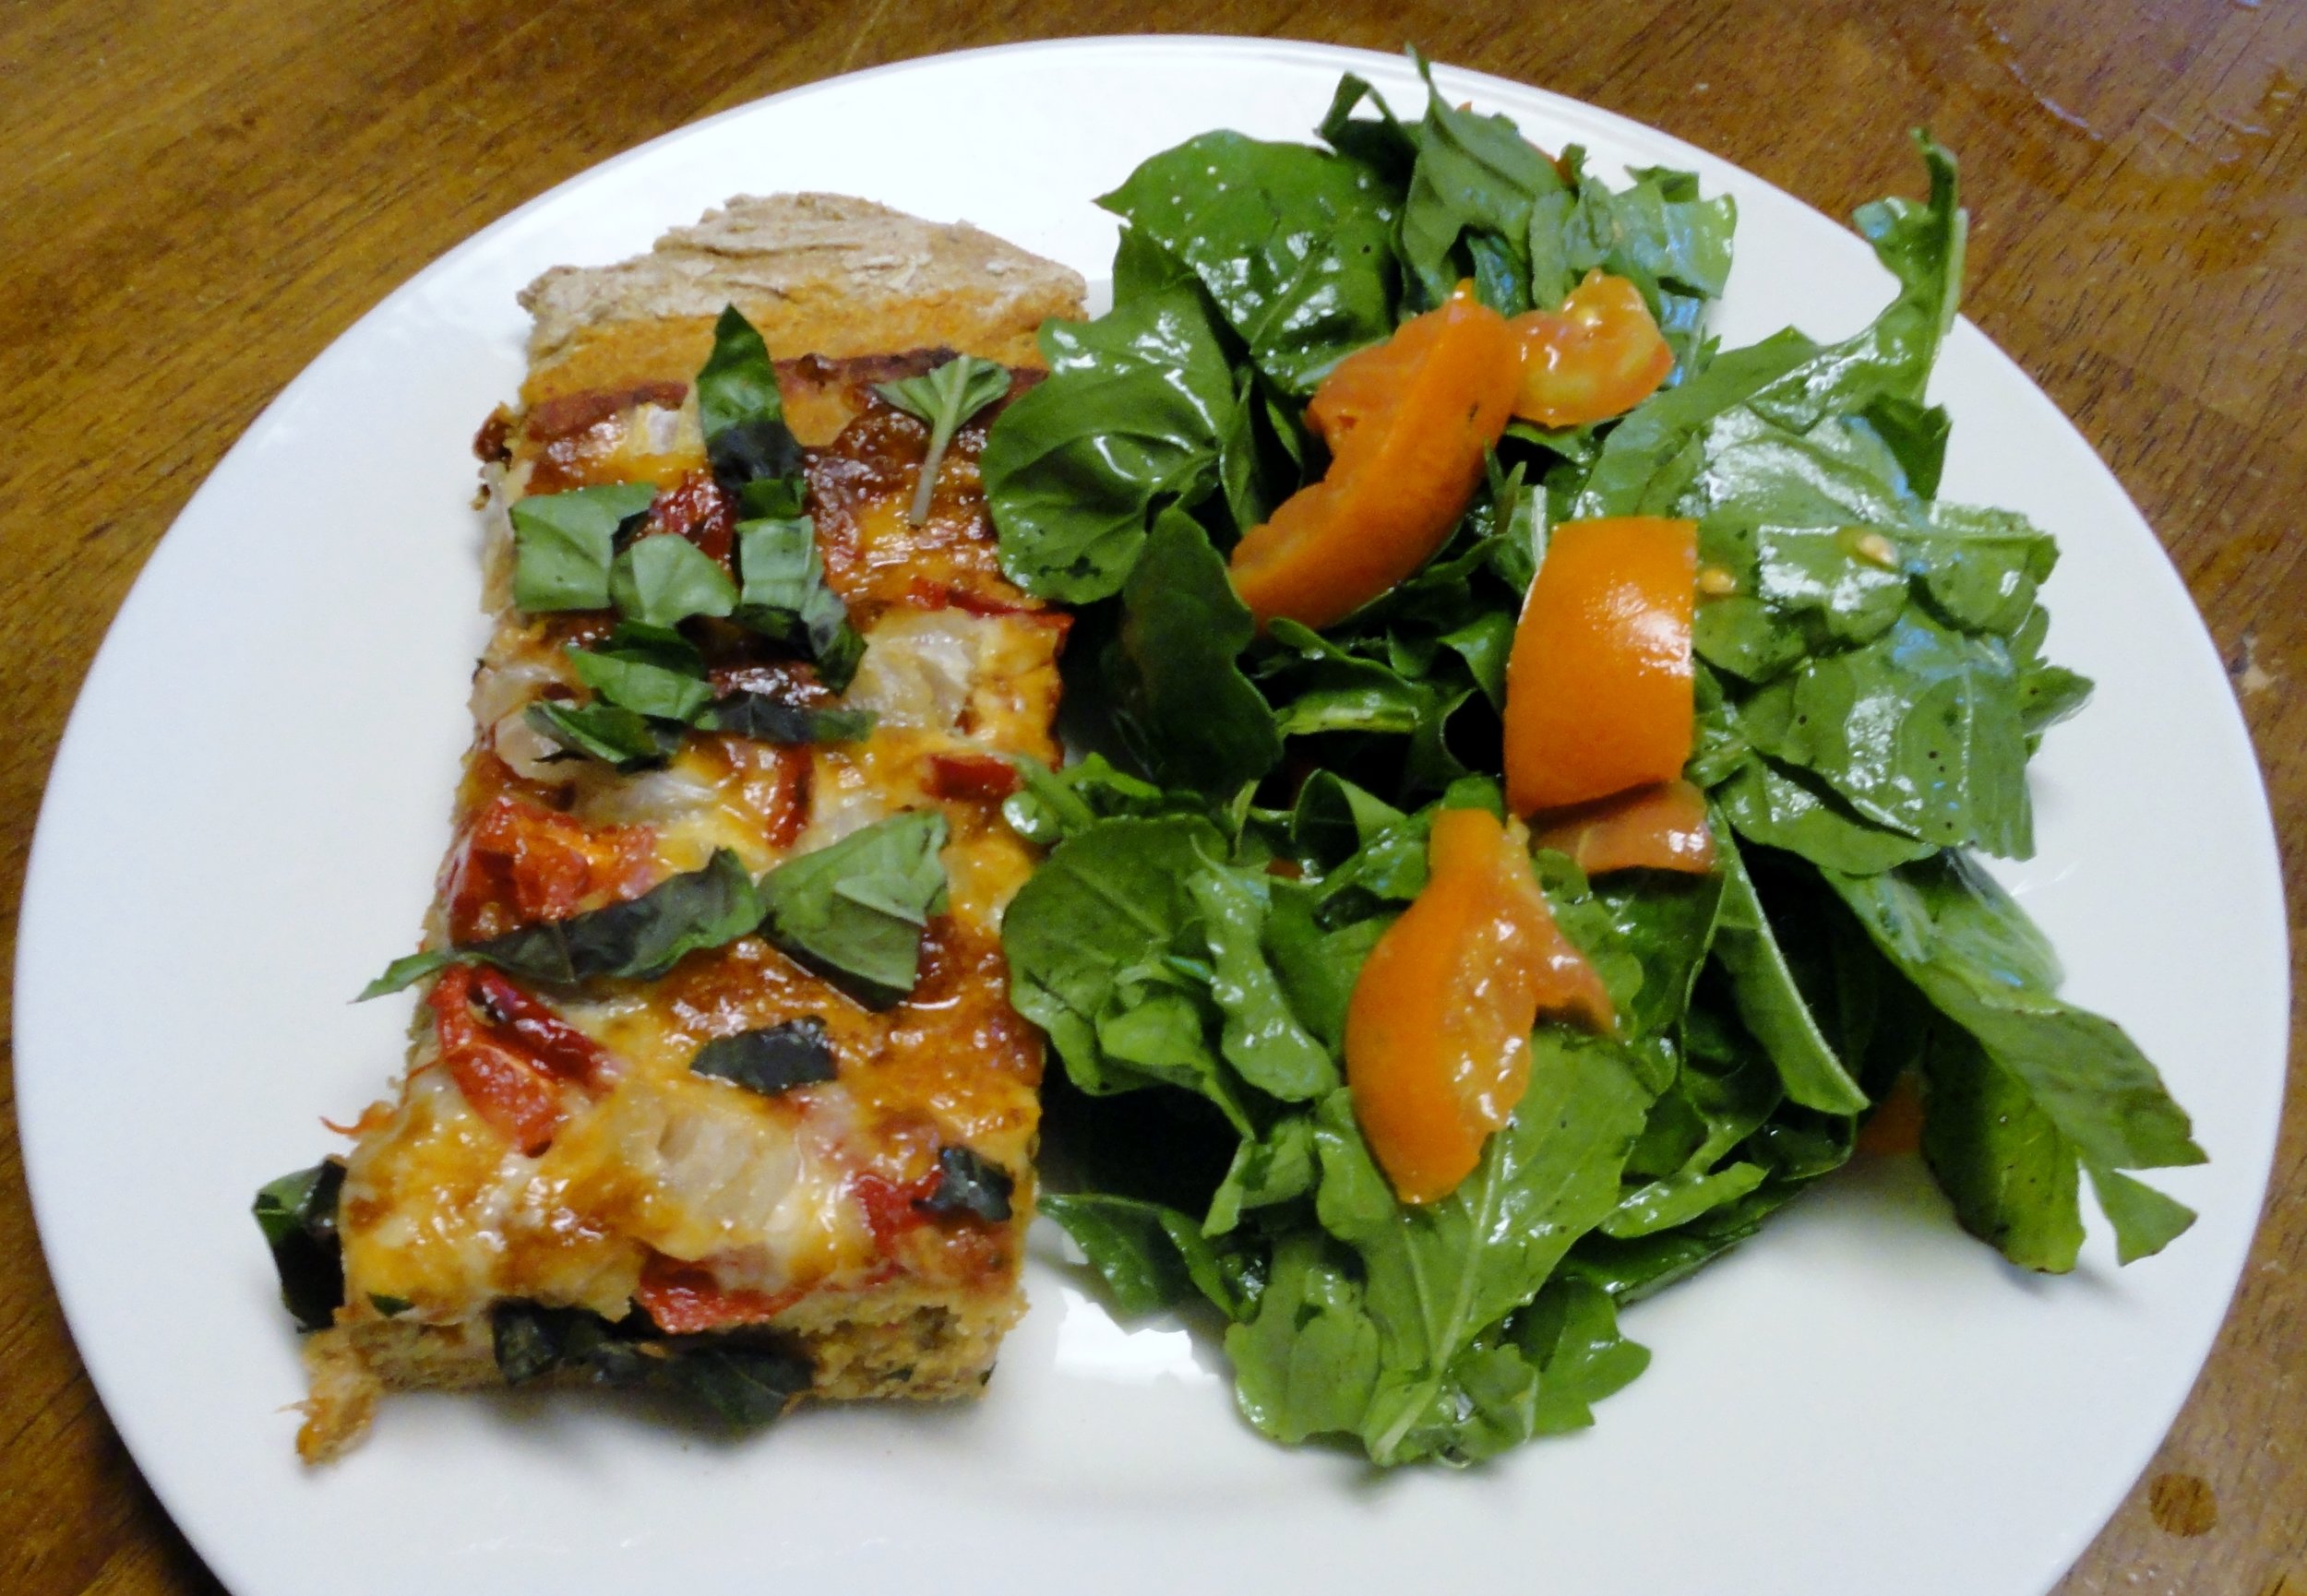
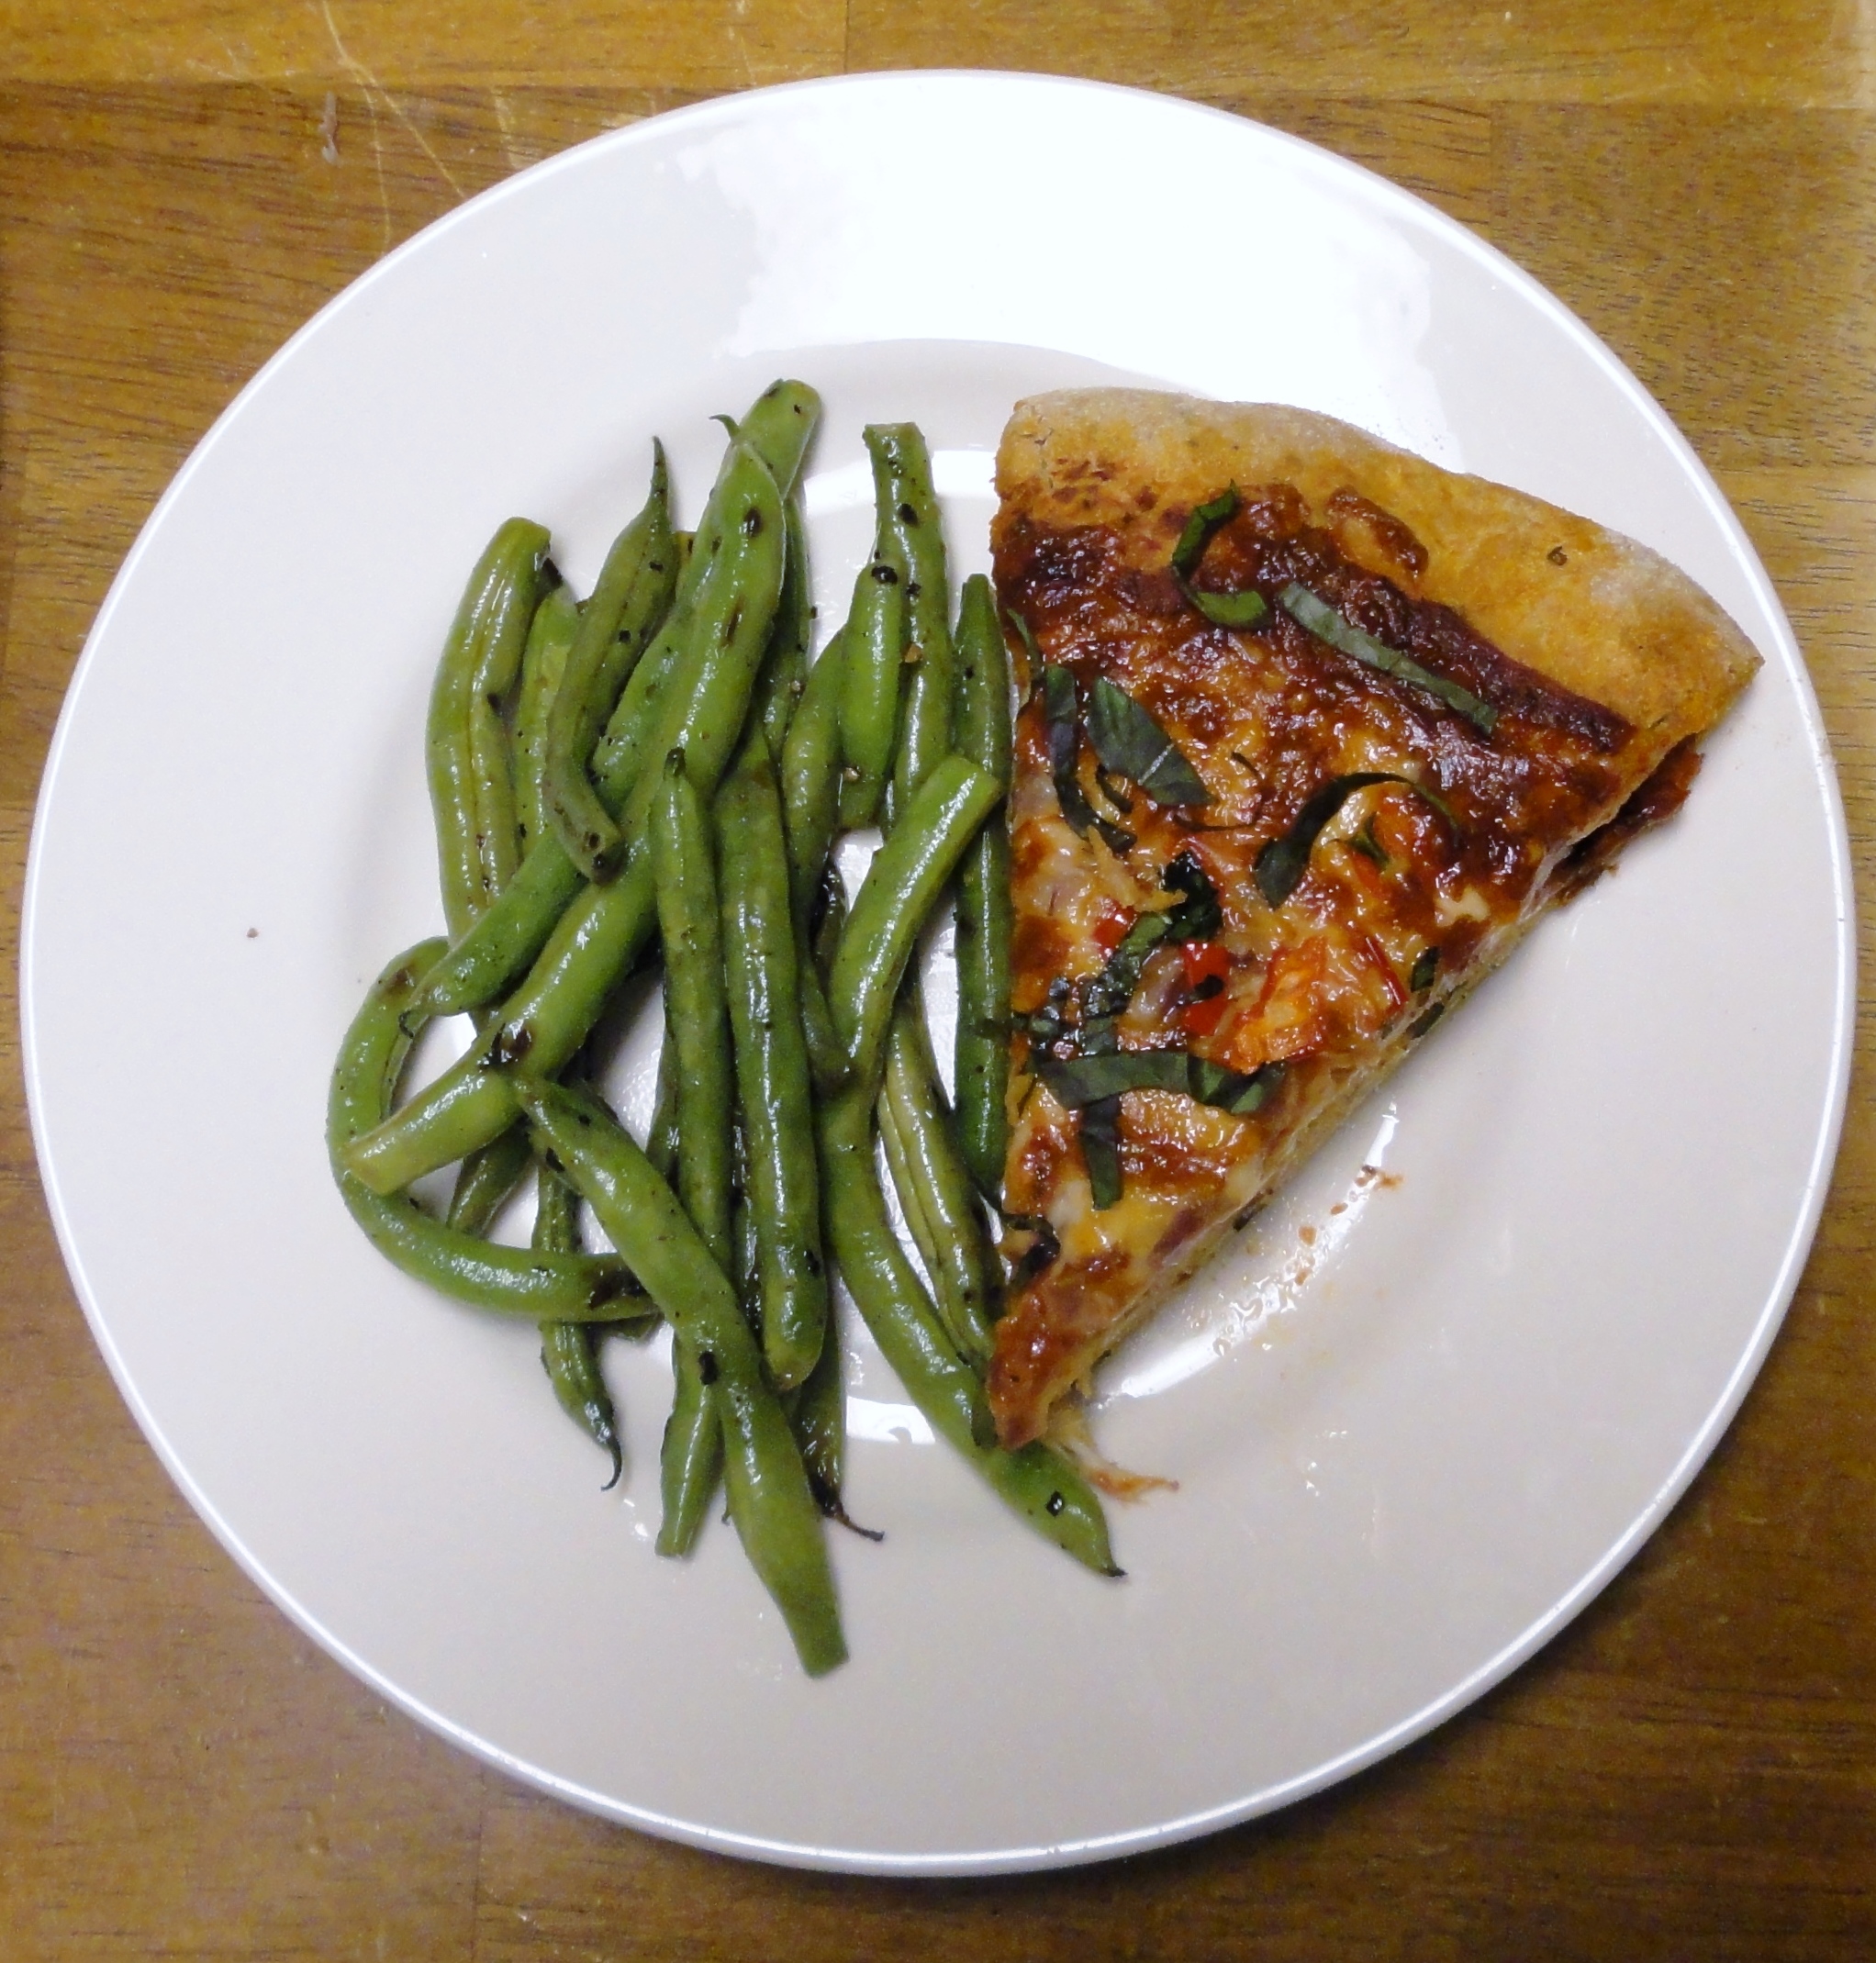
To finish things off, we had our weekly pizza. The only thing from the CSA for this meal was the salad.

I'm holding back the sweet potatoes since they'll keep pretty well over the winter and the hot peppers are going into some homemade hot sauce. I've never made hot sauce before, so we'll see how that experiment goes. :)
And that wraps up week 2. I have to say, I'm starting to struggle with the eggplant situation. I won't definitely won't be sad to see them go.
What yummy food have been cooking lately? Let me know in the comments below?