How to Make Popcorn 3 Ways

Popcorn can be a great snack or movie night food, but the microwaveable bags are full of chemicals and artificial junk. You can make your own popcorn at home and flavor it how you like without any of the fake stuff. Plus, it's easy and fun! I'm showing you 3 different ways to make popcorn at home, so there's sure to be an option that works for you. [x_video_embed type="16:9"][/x_video_embed]

Stovetop Popcorn

Ingredients

3 tablespoons unrefined coconut oil

1/2 cup popcorn kernels

Directions
  1. Heat oil in a large pot over medium heat.
  2. Once oil has melted, add 2-4 popcorn kernels and wait for them to pop. These are tester kernels to let you know when the oil is hot enough.
  3. Once the tester kernels have popped, quickly add the rest of the unpopped kernels to the pot, cover with the lid, and shake back and forth to coat the kernels in oil.
  4. Remove the pot from the heat for 30 seconds. This allows the kernels to heat up in the oil close to their popping temperature so they will pop at relatively the same time when placed back on the heat.
  5. Put the pot back on the burner and allow the kernels to pop until the popping slows down with a few seconds between pops.
  6. Remove the pot from the heat and pour the popped popcorn into a bowl.
  7. Season as desired and eat!
Air Popper Popcorn

Ingredients

Popcorn kernels (quantity according to air popper's instructions)

Directions
  1. Make sure to follow the directions that come with your air popper. Generally, you will add the kernels to the popper, place the spout over a bowl, turn the popper on, and run the machine until only a few unpopped kernels remain.
  2. Season as desired and eat!

Microwave Paper Bag Popcorn

Ingredients

1/4 - 1/2 cup popcorn kernels

Directions
  1. Place kernels in a paper lunch bag. If you use a small bag, use less popcorn and if you use a large bag, use more.
  2. Fold the top of the bag down 3 or 4 times to close it.
  3. Place the bag in your microwave and set the timer for 4 minutes.
  4. Allow the kernels to pop until the popping slows down and there are a few seconds between pops. Then, remove the bag from the microwave.
  5. Carefully open the bag and pour the popcorn into a bowl.
  6. Season as desired and eat!

8 Healthier Holiday Cookies | Real Food, No Junk

Holiday cookies aren't the healthiest thing ever, but you can make them way better by simply using whole, real ingredients and skipping the processed junk. Here are 8 real food cookie recipes that have all of the yummy cookie goodness you want, without all of the chemicals.
[x_video type="16:9, 5:3, 5:4, 4:3, 3:2" m4v="" ogv="" poster="" hide_controls="" autoplay="" embed='' no_container="true"]

Unrefined Sweeteners
White Sugar

Homemade Mayo without Raw Eggs

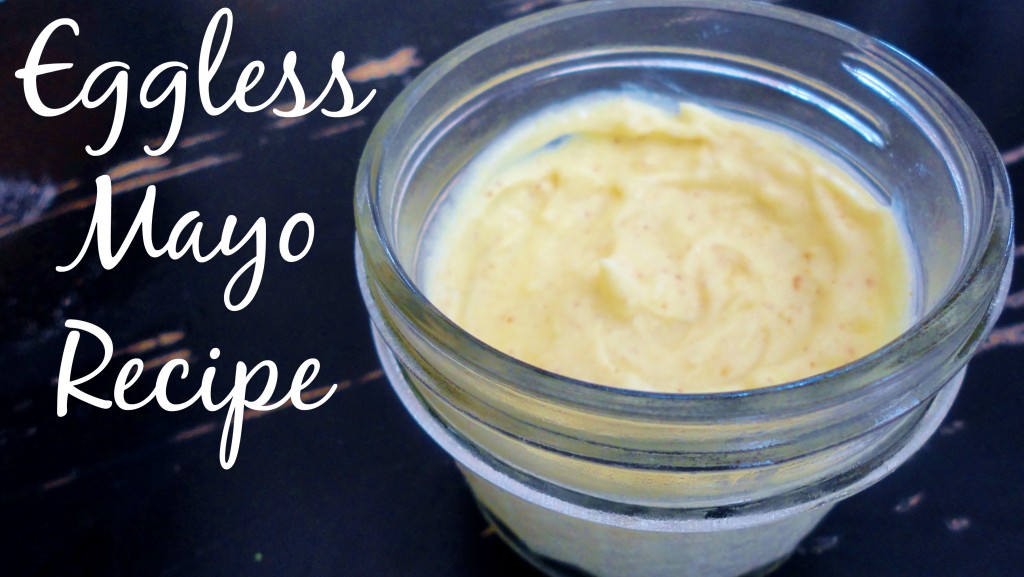
Egg Free Mayo Let's be honest; store-bought mayo is gross. Even the organic versions are full of artificial junk. You can make your own mayonnaise at home, but it does take some time and elbow grease. Plus, you can't store it for very long because it contains raw egg. I'm not against homemade mayo by any means, but, most of the time, I don't really feel like dealing with it.

That's where this recipe comes in! I was trying to come up with a spread for the BLTs we've been making and this was born. Now, it doesn't taste identical to traditional mayo, but it is yummy and an excellent substitution. And the best part is, it's super easy.

[x_video type="16:9, 5:3, 5:4, 4:3, 3:2" m4v="" ogv="" poster="" hide_controls="" autoplay="" embed='' no_container="true"]

Egg Free Mayo

makes about 3/4 cup

Ingredients

1.5 cups plain yogurt

1 teaspoon Dijon mustard

1 teaspoon white wine vinegar

1/4 teaspoon garlic powder

1/4 teaspoon salt

Directions
  1. Line a colander with paper towel and place over a bowl. Pour yogurt into colander and allow to strain until thickened, about 4 hours. This should give you about 3/4 cup of strained yogurt when you're done.
  2. Once yogurt is thickened, transfer to a small bowl with mustard, vinegar, garlic powder, and salt and mix to combine.

Recipe: Buffalo Chicken Salad

This simple recipe has become a staple in my house. With only 4 ingredients and minimal prep work, this Buffalo Chicken Salad is easy, healthy, and delicious. [x_video type="16:9, 5:3, 5:4, 4:3, 3:2" m4v="" ogv="" poster="" hide_controls="" autoplay="" embed='' no_container="true"]

I feel a little silly writing out the recipe just because it's so easy, but I suppose this dish deserves the same love as all of the others, so here it is. :D

Buffalo Chicken Salad

Ingredients

Lettuce

Cooked chicken, sliced

Homemade Ranch dressing

Hot sauce

Directions
  1. Wash, dry and tear lettuce to desired size.
  2. Arrange lettuce on a plate or in a bowl and top with chicken.
  3. Add Ranch dressing and hot sauce to taste.

Recipe: Ranch Dressing

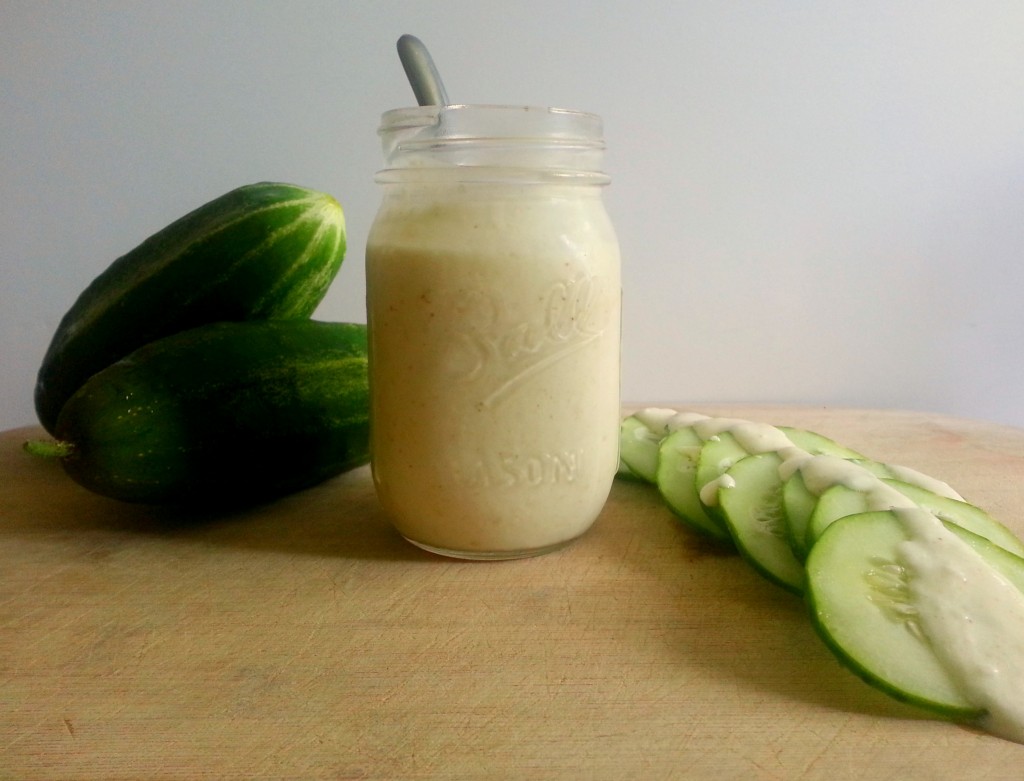
Salad dressing is really something you shouldn't waste your money on at the grocery store. Even the best ones have additives you'd never use at home and making it yourself is incredibly easy. Most people are familiar with making oil and vinegar based dressings at home, but the creamier ones, like ranch,  seem a little more complicated. Well I'm here to tell you that making your own ranch dressing is super simple and you likely already have all of the ingredients in your pantry. You can use this dressing any way you would use the bottled stuff and, as always, can personalize it to your own taste. Ranch Dressing Recipe

I like to mix and store mine in a pint sized mason jar. You can use the markings on the side of the jar to measure your yogurt and it looks nice for serving. This means you eliminate a measuring cup, mixing bowl, and serving container when it comes to dish washing time.


Ranch Dressing

Ingredients

1 pint sized mason jar (optional)

1.5 cups pastured, whole milk yogurt (learn how to make your own yogurt)*

2 teaspoons Dijon mustard

1.5 teaspoons dried minced onion

1 teaspoon garlic powder (not garlic salt!)

1 teaspoon red wine vinegar

1/4 teaspoon salt

*Note: If you'd prefer a thicker dressing, you can strain your yogurt in a colander lined with paper towels or a clean cloth set over a bowl. Alternatively, you could use a Greek style yogurt.

Directions
  1. Pour the yogurt in the mason jar, using the markings on the side to measure 1.5 cups. If you don't have a jar, you can use a measuring cup and small bowl.
  2. Add all of your other ingredients to the jar and mix with a spoon or whisk to incorporate.


Red, White, and Blue Popsicles

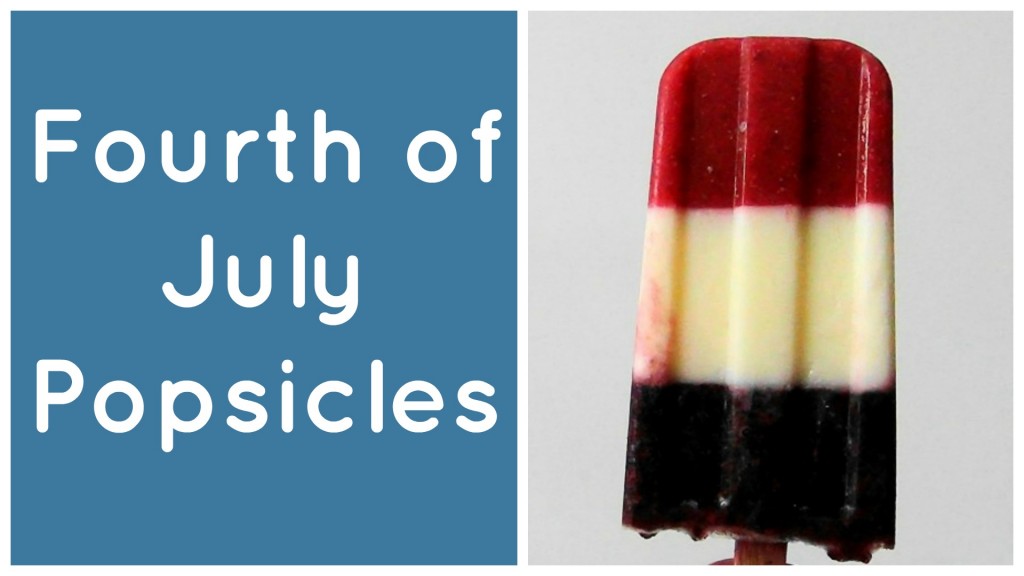
The 4th of July is almost here! There are lots of festive treats making their way around the internet, but most them rely on highly processed ingredients and chemical nasties. Yuck!  Instead, why not try these layered pops? They're the perfect way to cool down on the 4th, and aren't full of junk. All you need  is some fruit, plain yogurt, and a little honey. Red White Blue Popsicles

The measurements below are specific to my popsicle molds. If you have different molds, you can figure out how much you'll of each layer by using the following method.

Determine how many ounces each of your popsicle molds hold. Divide this number by three and then multiply by the total number of popsicles. This is how many ounces you will need of each layer. My popsicle molds hold 3 ounces each and there are 10 molds total, so I need 10 ounces of each layer.

Knowing how much whole fruit you'll need to get the correct amount of blended fruit is a little bit of a guessing game. My best tip is to start small and keep adding more until you get the correct amount.

Note: Even with all the measuring, your eyes will be your best guide. Things expand when they freeze and fruit can vary in size and water content. When you fill your molds, you want each layer to take up about a third of the mold, so keep that in mind. If you have left over yogurt or fruit puree, you can always use it for something else!

[x_video type="16:9, 5:3, 5:4, 4:3, 3:2" m4v="" ogv="" poster="" hide_controls="" autoplay="" embed='' no_container="true"]

Ingredients

1 heaping cup fresh or thawed frozen strawberries (raspberries or cherries would work too)

1 cup plain yogurt (learn how to make yogurt)

Juice of 1 lemon

3 tablespoons honey

1 heaping cup thawed frozen blueberries

Directions
  1. Puree the strawberries (or other red fruit) in a blender.
  2. Pour the strawberry puree into the first third of each mold being careful not to get the puree on the walls of the mold.
  3. Add your popsicle sicks and freeze until solid, about 6 hours.
  4. Combine the yogurt, lemon juice, and honey and whisk until combined.
  5. Pour the yogurt mixture into the molds on top of the frozen strawberry puree, filling up the second third of each mold.
  6. Freeze until solid, about 6 hours.
  7. Puree the blueberries in blender.
  8. Pour the blueberry puree into the molds on top of the frozen yogurt mixture, filling up the last third of each mold.
  9. Freeze until solid, about 6 hours.
  10. For serving, you have two options. You can remove the popsicles from the molds at the time of serving or you remove them ahead of time and wrap them individually in parchment or wax paper. The first is less work over all, while the second allows for effortless distribution at serving time.

Note: Alternatively, you can add all of the layers at once, as shown in the video above. This gives you some mixing between the layers and takes less time because you only need to wait for things to freeze one time.

What's you go-to dish for a summer party? Share in the comments below!

Almond Joy Granola Recipe

As a kid, Almond Joys and Mounds were two of my favorite candies (why they don't marry the two and make a dark chocolate Almond Joy, I will never understand).  So, inspired by my love for that delicious combination of chocolate, almonds, and coconut, I've created this Almond Joy granola. Now, this doesn't taste like candy (because it's not) and it probably doesn't even taste like most granolas you've had either. You see, I find that your average granola is way too sweet. So, when I make granola, there is much less sweetener involved. You still get great flavor, but without the sugar crash. Best of both worlds!


    Almond Joy Granola

    makes approximately 10 cups

    Ingredients

    4 cups rolled oats

    1.5 cups flaked coconut

    1.5 cups raw almonds

    1/3 cup carob powder

    1/2 teaspoon salt

    1/4 cup coconut oil

    1/3 cup maple syrup

    1 teaspoon coconut extract

    Directions

    1. Preheat over to 300°F.
    2. Combine oats, coconut, almonds, carob powder, and salt in a large bowl and stir until all ingredients are evenly distributed.
    3. In a small saucepan over low heat, combine the coconut oil and maple syrup. Warm until the coconut oil is completely melted, then add the coconut extract and stir to combine.
    4. Pour the coconut oil and maple syrup mixture over the dry ingredients and stir with a spatula until everything is evenly coated and there are no dry patches. All of the carob powder should turn from light to dark brown, so if you see any light brown areas left, just keep stirring.
    5. Distribute the oat mixture evenly between two baking sheets lined with parchment paper. Spread it using your spatula until everything is in an even layer.
    6. Cook the granola in the oven for 45 minutes, rotating the pans halfway through.
    7. Remove the granola from the oven and allow it to cool. Store in an air tight container at room temperature.

    Recipe: Vegetable Chickpea Soup

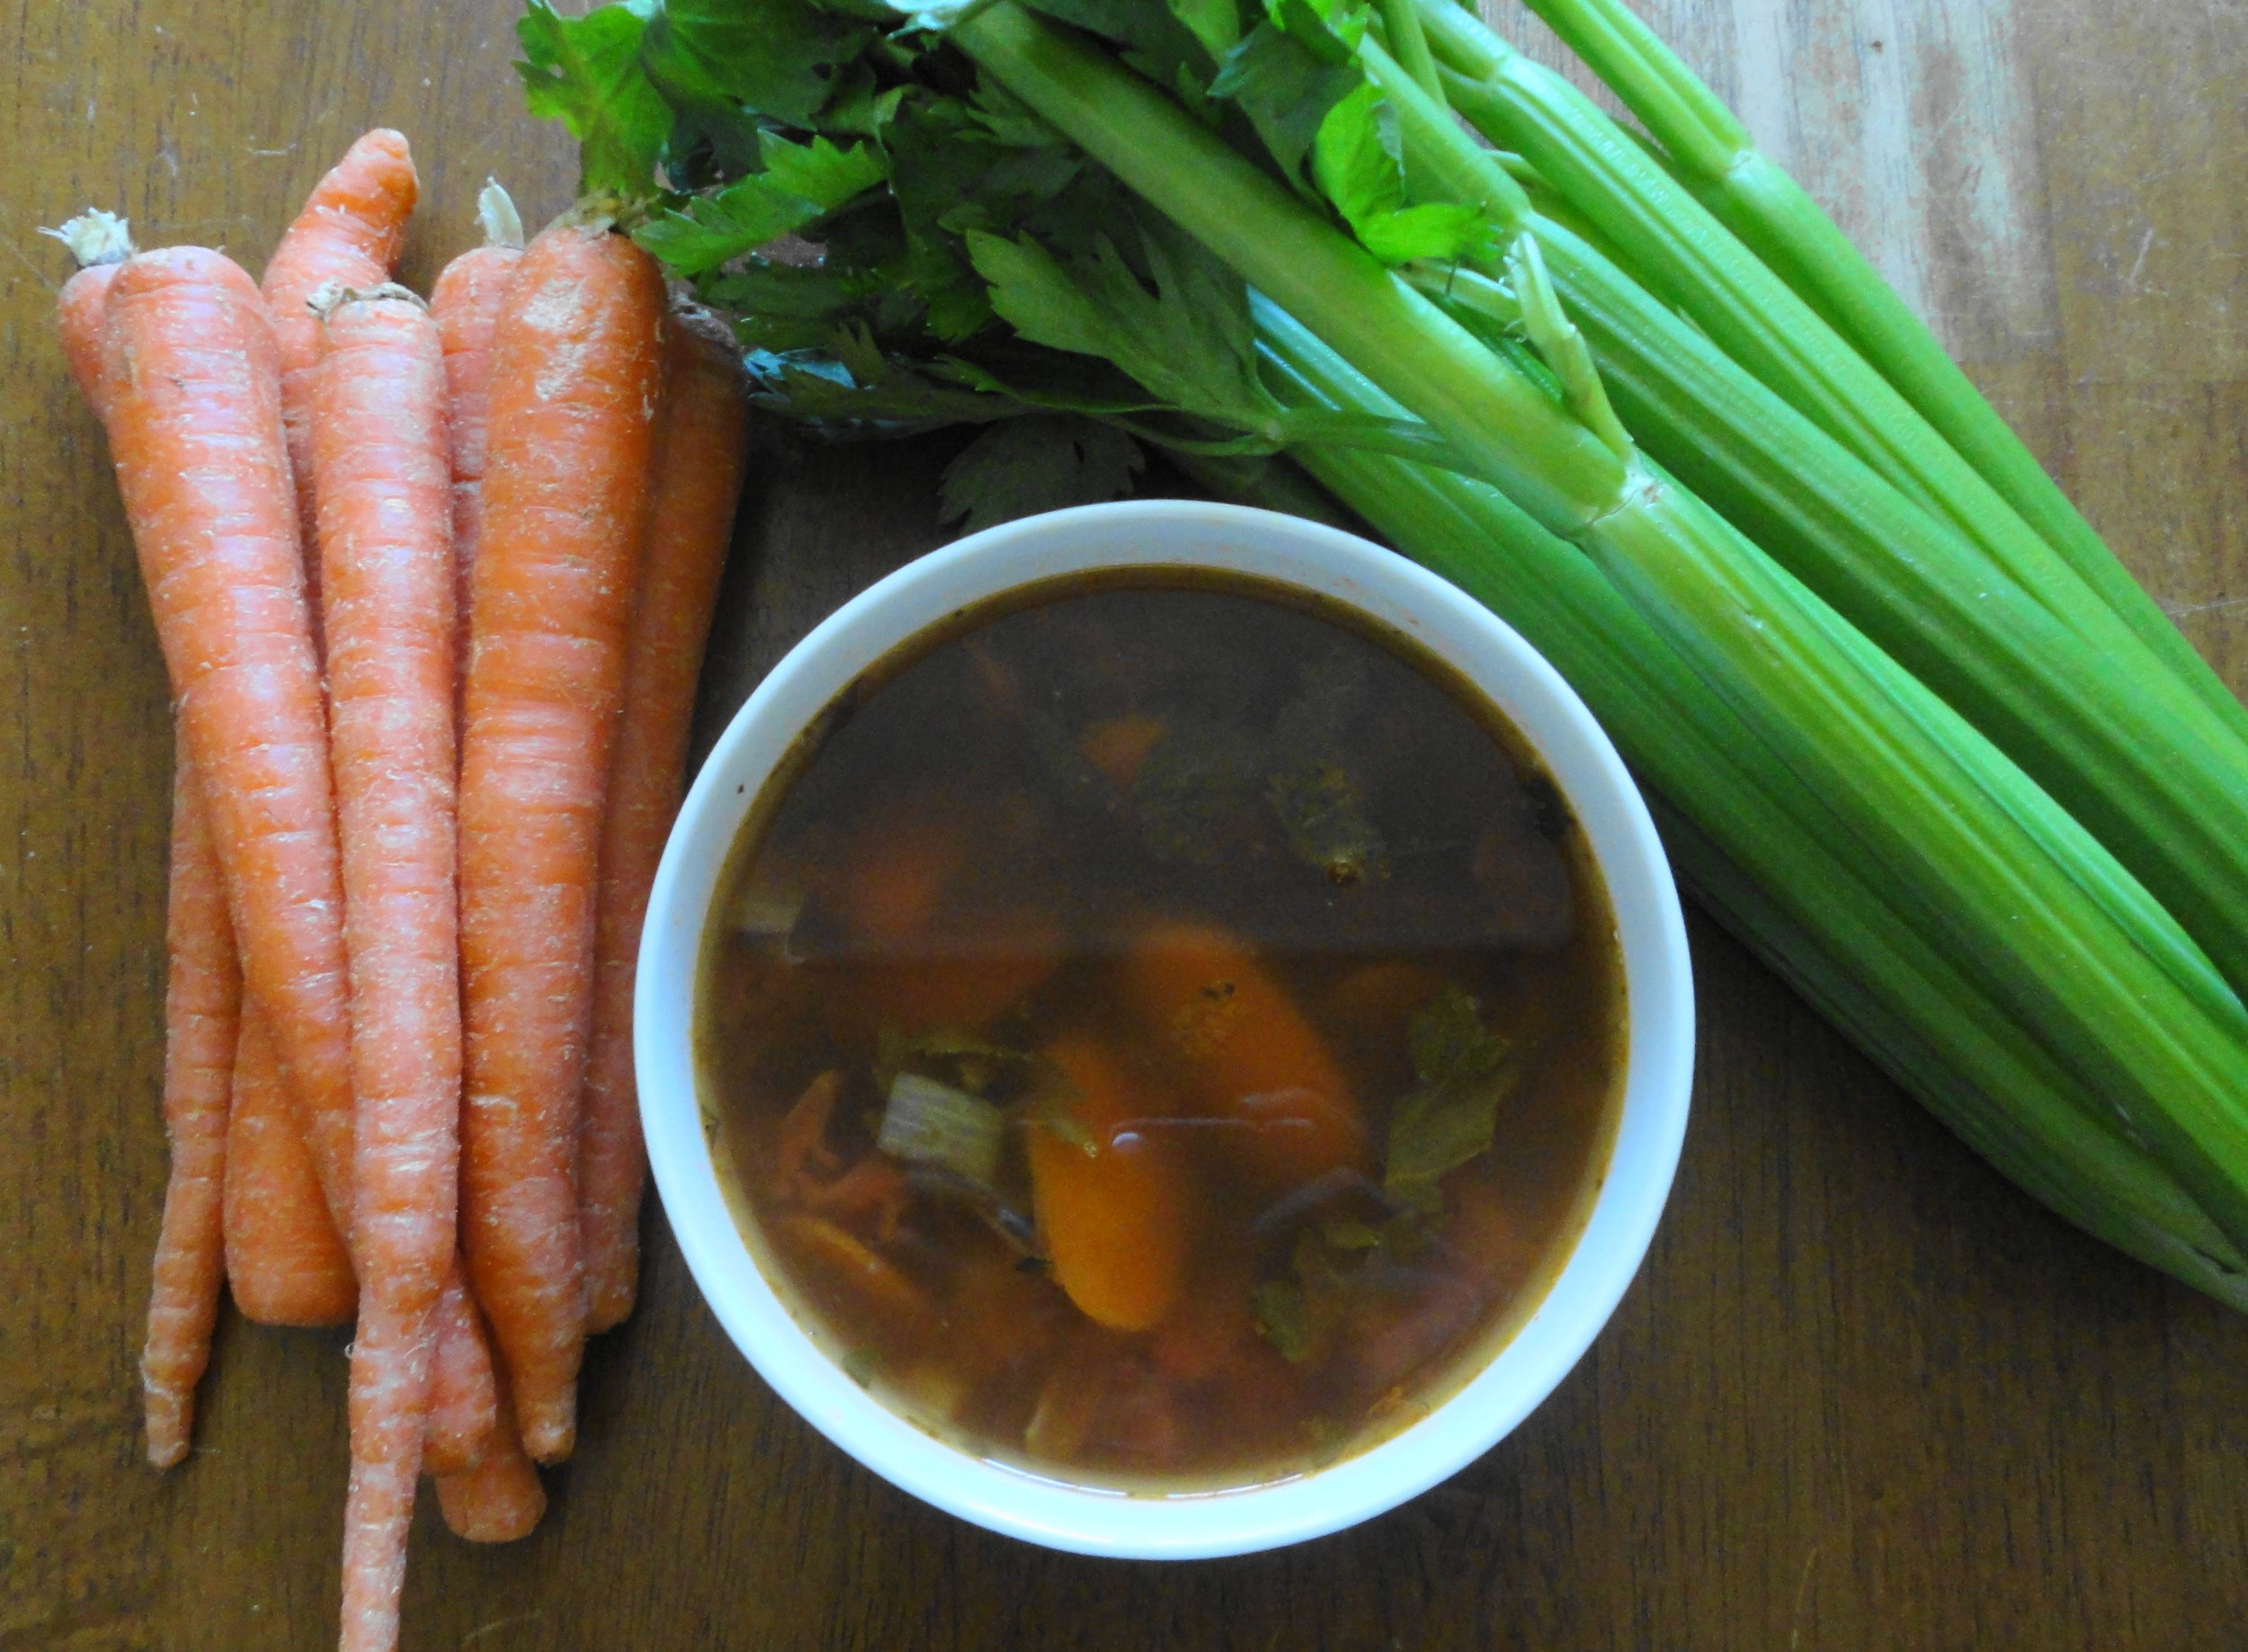
    This soup is perfect for the transition between winter and spring. It's on the lighter side of things, but is still comforting and warm while you wait for the weather to make up it's mind. It all comes together quickly without any sacrifice in flavor thanks to homemade broth. If you still haven't tried to make slow cooker stock, you gotta do it! It's super easy, requires very little active time, and is a great way to stretch your food dollars. Plus, it tastes amazing and gives this fast dinner the flavor of something that's been cooking away all day long. Vegetable Chickpea Soup

    Ingredients

    2 tablespoons olive oil

    1 large onion, diced (avoid onion tears with this tip)

    3 cloves garlic, minced

    1 lb carrots, sliced on a bias

    4 large ribs of celery and their greens, chopped

    28 ounce canned diced tomatoes

    1.5 cups cooked chickpeas

    1 teaspoon dried thyme

    1/2 teaspoon salt

    Freshly ground pepper

    10-12 cups homemade vegetable or chicken broth (I usually end up with around 11 cups when I make slow-cooker stock)

    Directions
    1. Heat oil in a large soup pot over medium heat. Once oil is hot, add onions and cook, stirring frequently, until translucent, about 3-5 minutes.
    2. Add garlic to the pot and cook for 30 seconds, stirring constantly.
    3. Add carrots and stir to incorporate. Cook for 2-3 minutes. Repeat with celery.
    4. Add chickpeas, thyme, salt, pepper, and tomatoes and stir to distribute all of the ingredients evenly. Add vegetable or chicken broth to the pot and cover.
    5. Bring the soup to a boil, and then reduce the heat to simmer until the vegetable are crisp tender, about 15 minutes. Be sure to stir the soup well when serving, so all of the chickpeas don't end up at the bottom of your pot.

    If you make this, be sure to send me a picture on Facebook, Twitter, or Instagram! And don't forget to share it with your friends!

    Recipe: Banana Almond Smoothie

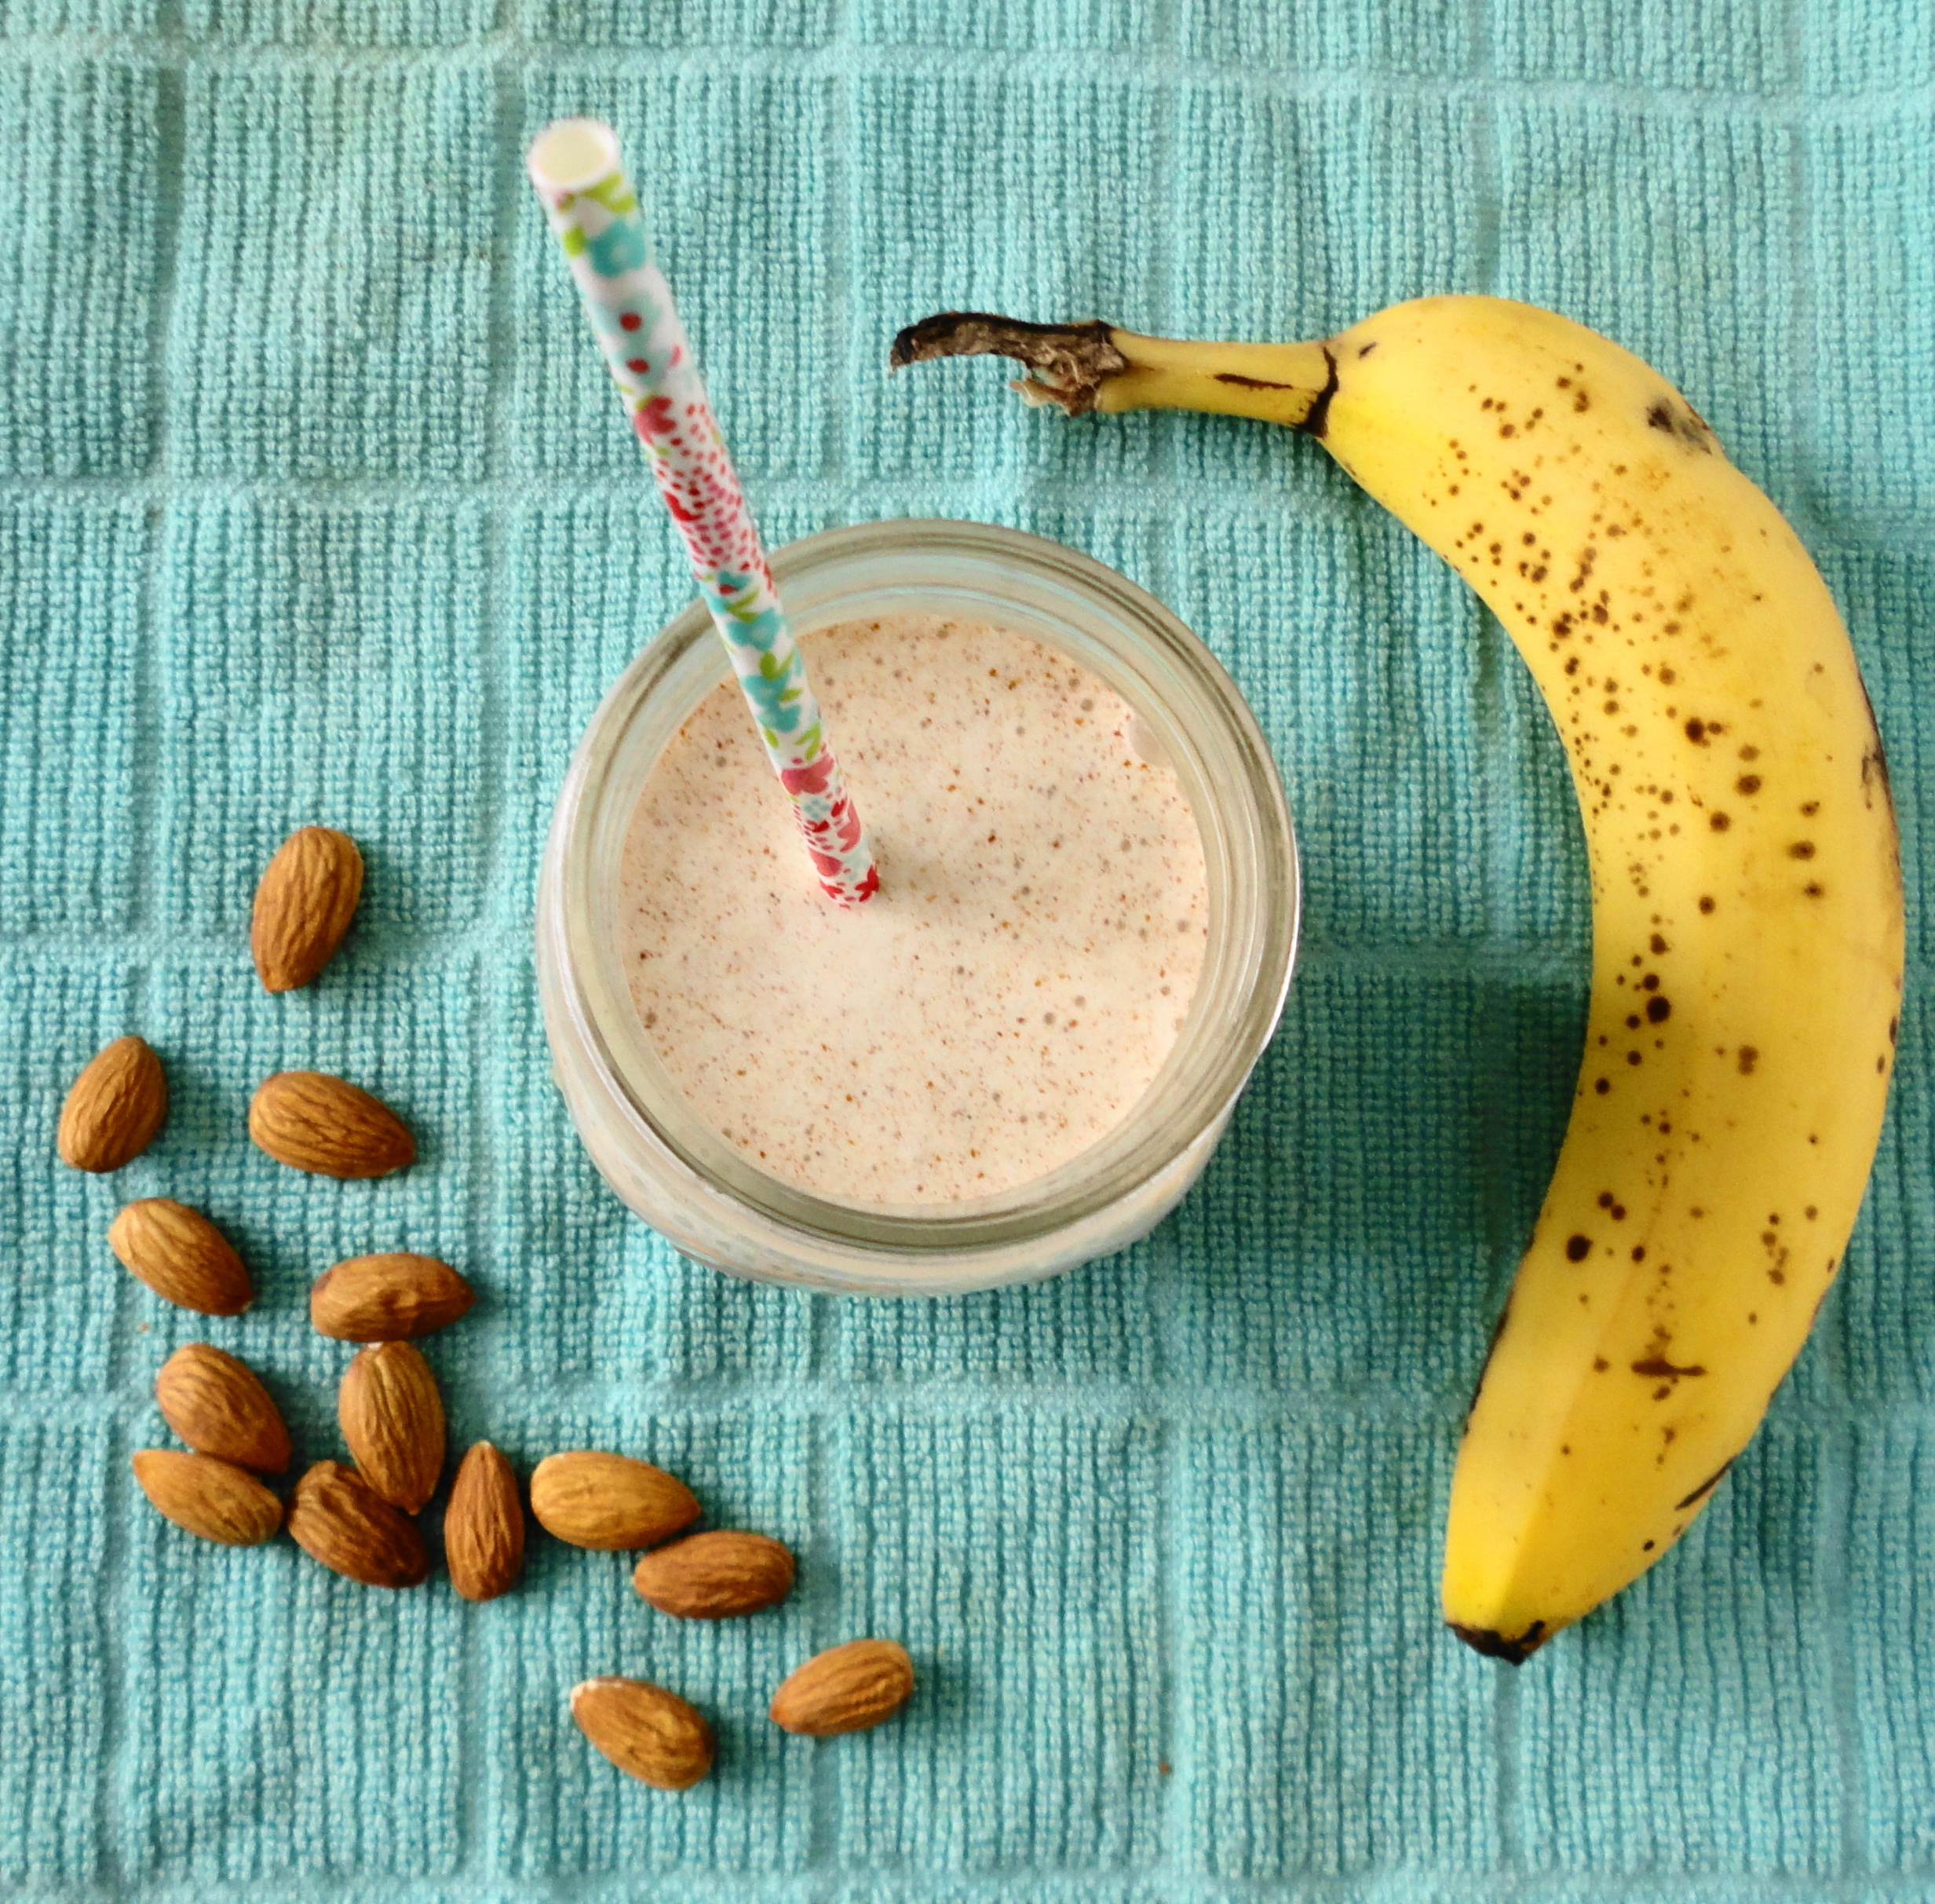
    I generally try to see tropical fruits like bananas, pineapple, and mango as specialty items in my diet, rather than staples. After all, they come from a long ways away and I try to stick with local foods as much as possible. Local foods taste better, have more nutrients, and are generally suited to support your body in the unique elements of your climate. With that said, nothing is perfect and I have been on quite the banana kick here recently. Banana Almond Smoothie

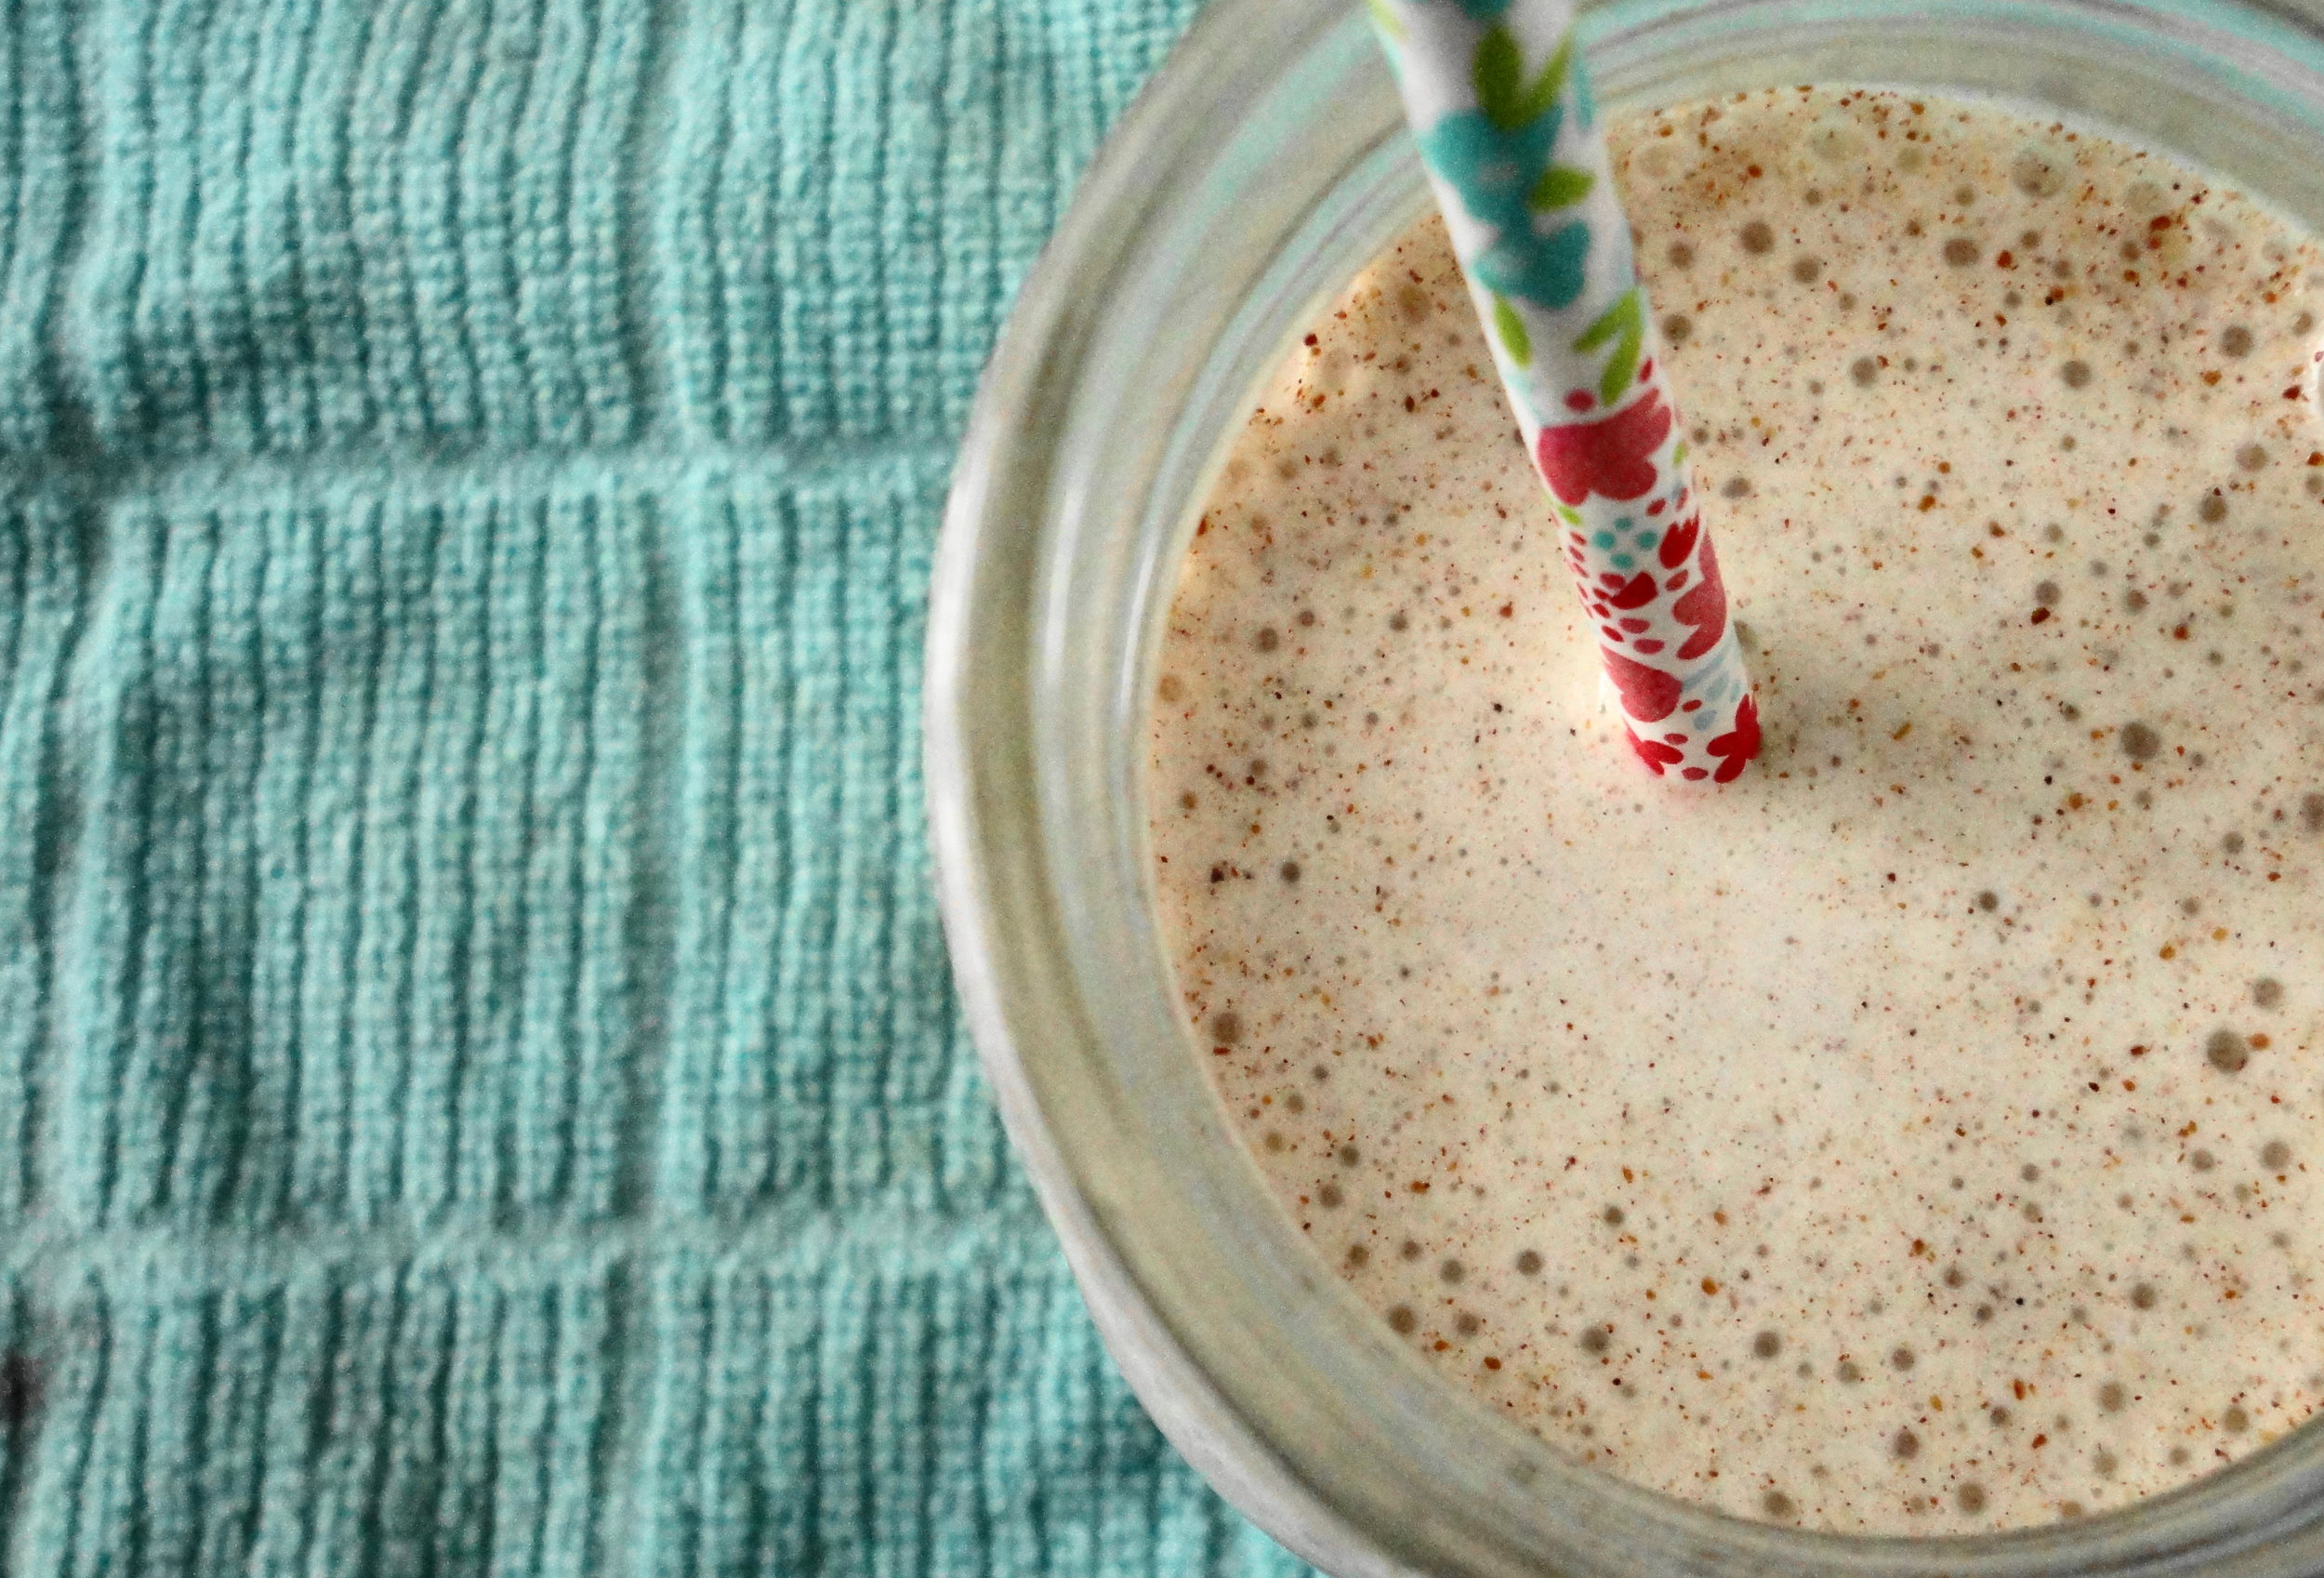
    This smoothie has become a staple for me over past few weeks and I'm just going with it. In this recipe, I use almond butter instead of the more traditional peanut butter and add in some cinnamon for a little twist.

    bananasmoothieclose

    Ingredients

    1 large banana

    1 tablespoon almond butter

    1/4 teaspoon cinnamon

    3/4 cup milk

    Directions
    1. Add all ingredients to a blender and blend until smooth. Enjoy as an on-the-go breakfast or a substantial snack.

    Recipe: Feta Red Onion Frittata

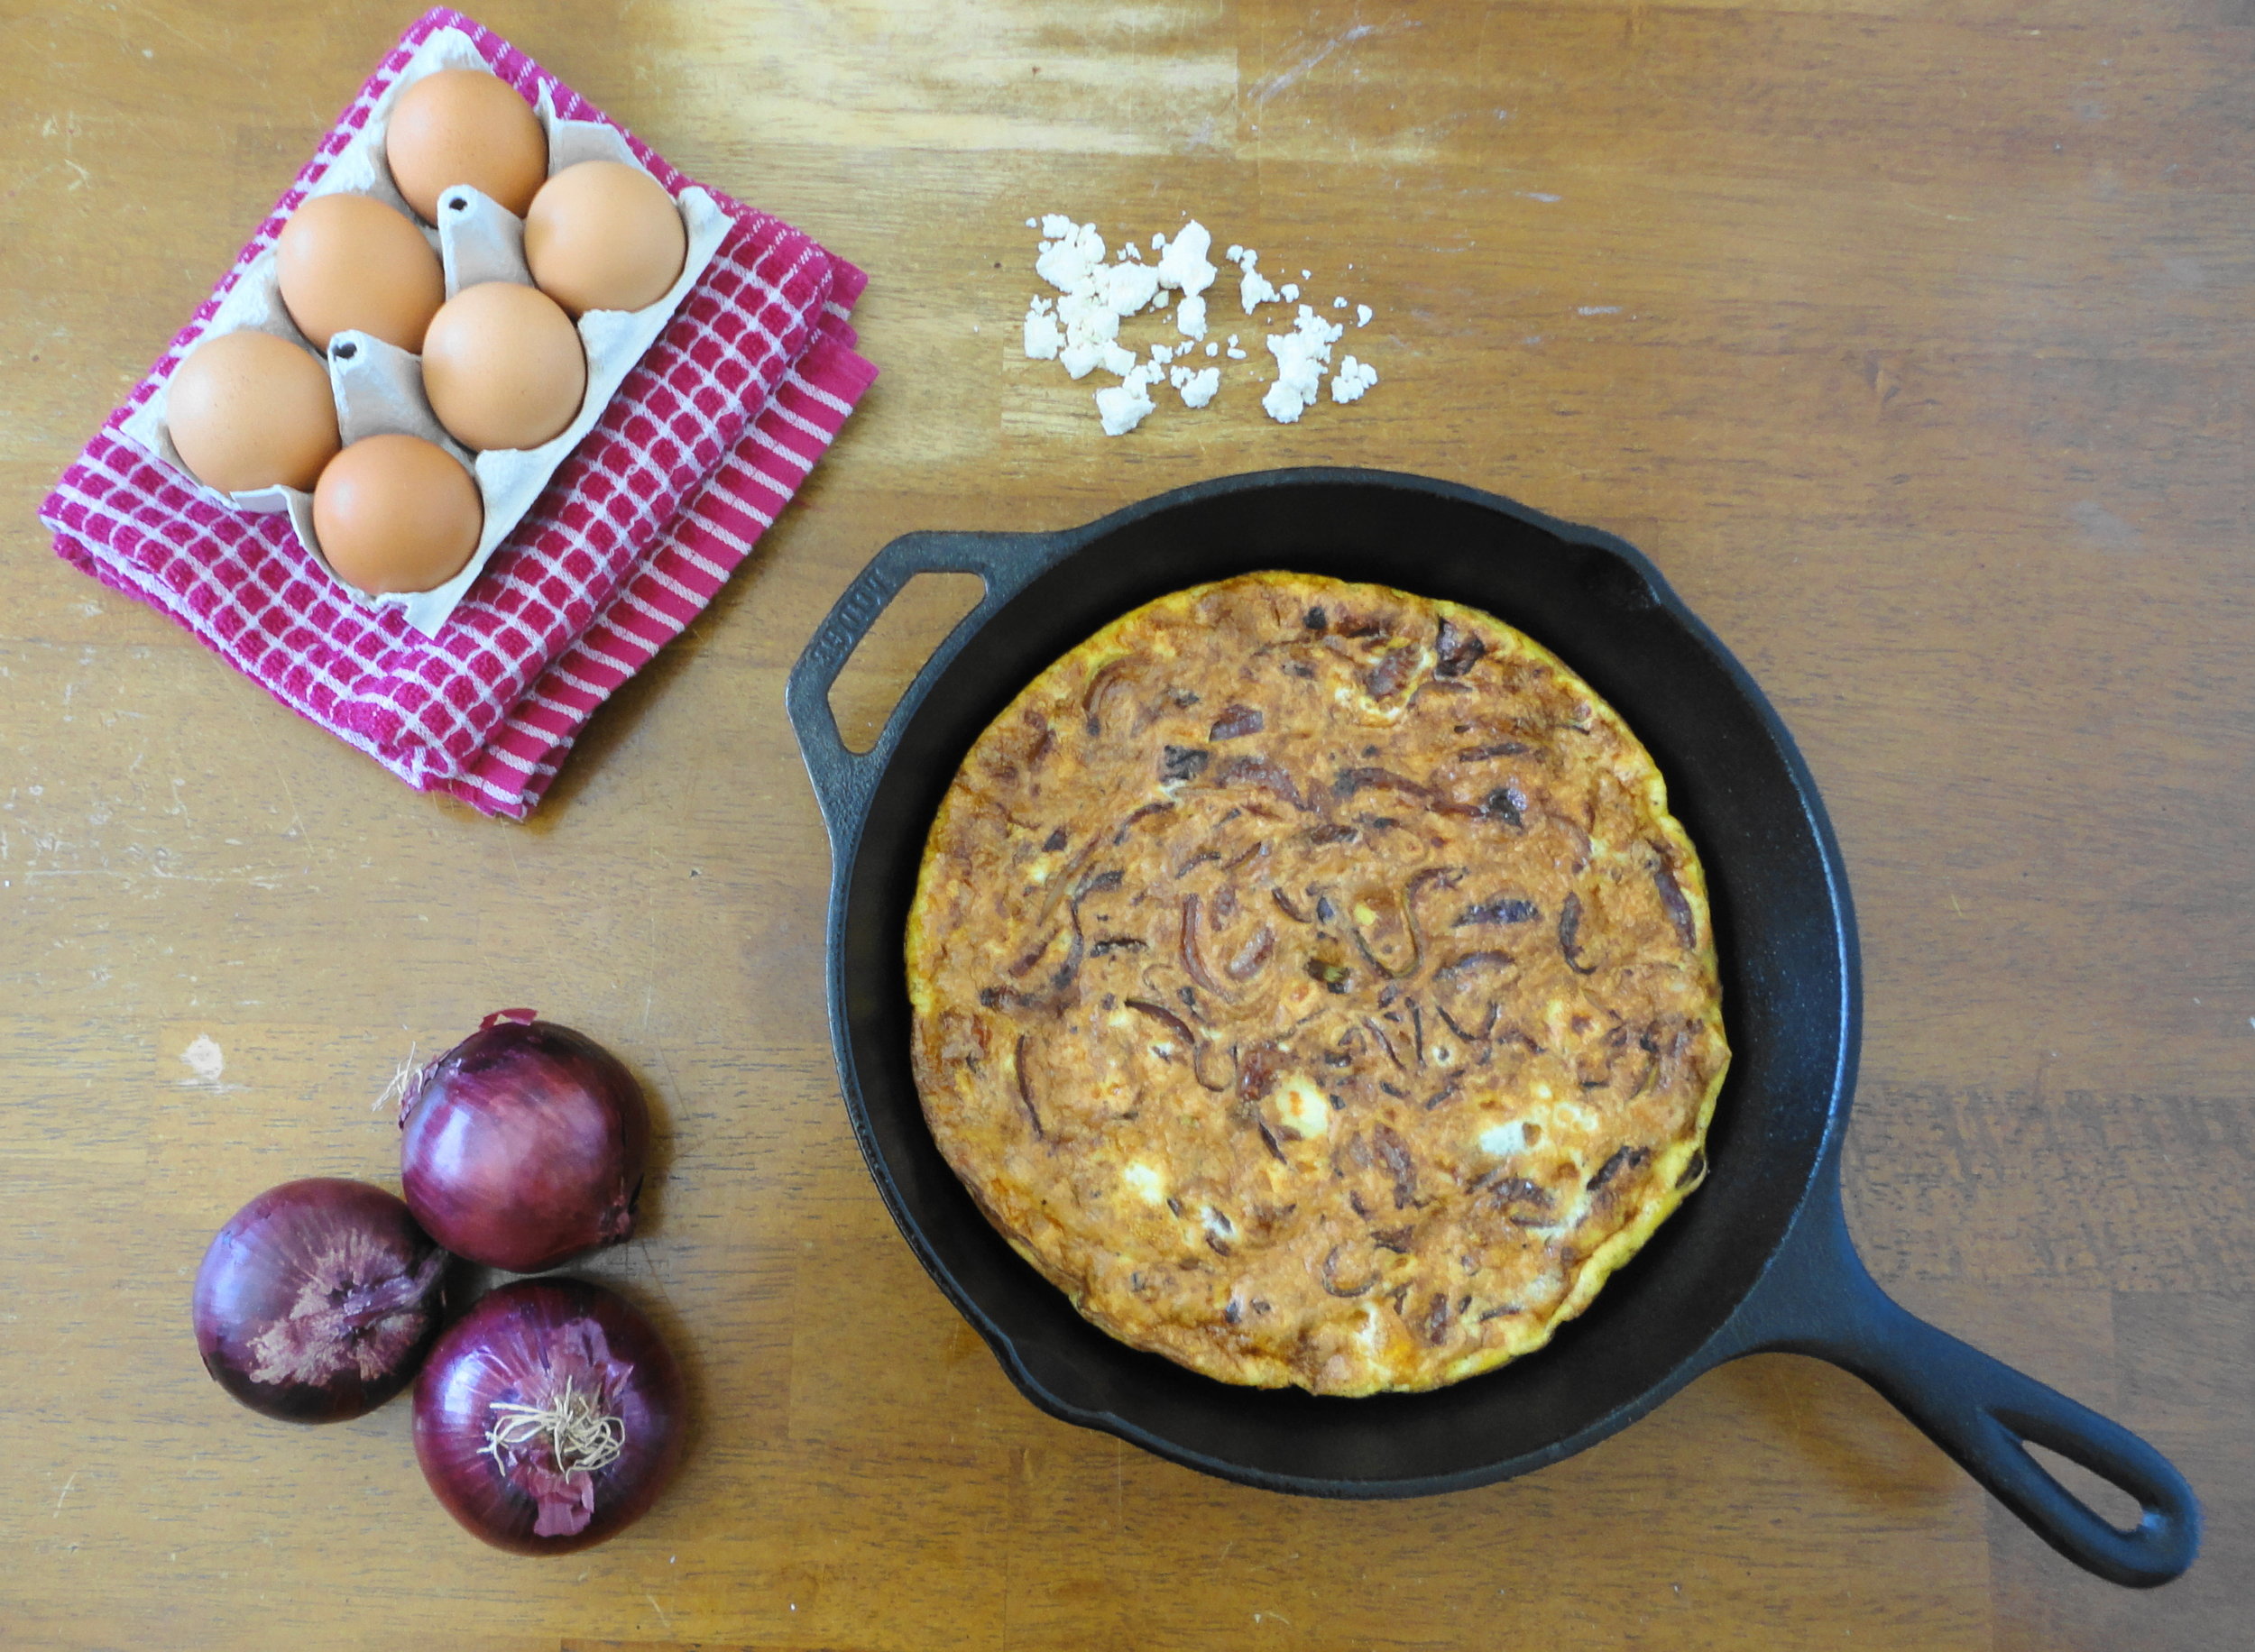
    Frittatas are one of my favorite dinners because they are quick, easy, and can be adapted to your tastes or whatever you happen to have on hand. Plus, the leftovers can serve as breakfast, making it the ultimate when it comes to versatility. In this version, I combine caramelized red onion with feta cheese, giving a little hint of sweet and salty in each bite. Red Onion Feta Frittata

    Feta Red Onion Frittata

    makes 4-6 servings

    Ingredients

    2 teaspoons coconut oil, plus more for greasing cast iron skillet

    1 medium red onion, sliced into half-moons

    8 large eggs, beaten

    1/3 cup crumbled feta cheese

    1/2 teaspoon salt

    Freshly ground black pepper to taste

    Directions
    1. Heat 2 teaspoons of coconut oil in a medium-sized pan and heat on medium heat. Add onions to the pan and stir occassionaly, breaking the slices into slivers as you go, until the onions are caramelized, 5-10 minutes. Once cooked, allow the onions to cool while you prepare the rest of the ingredients.
    2. In a large bowl, combine the eggs, feta, salt and pepper, mixing until all ingredients are evenly distributed.
    3. Grease a cast iron skillet with coconut oil (the amount you need will depend on how well seasoned your skillet is to start with) and heat on medium-high heat.
    4. Once the skillet is ready, add the cooled onions to the egg mixture and stir to incorporate. Pour the finished mixture into the heated skillet. Then, turn the heat down to medium-low and pre-heat your broiler to low.
    5. Cook the frittata on the stove-top until the edges are set and pull away easily from the skillet, about 10 minutes.
    6. Transfer the skillet to the oven and place directly below the broiler. Cook for 2-3 minutes, or until the top is browned and the frittata is cooked through when tested with a knife. Be sure to keep a close eye on it because things can go from browned to burnt pretty quickly.
    7. Allow the frittata to cool for 5 minutes, cut into 8 slices, and serve.


    Recipe: Chocolate Truffles for Valentine's Day

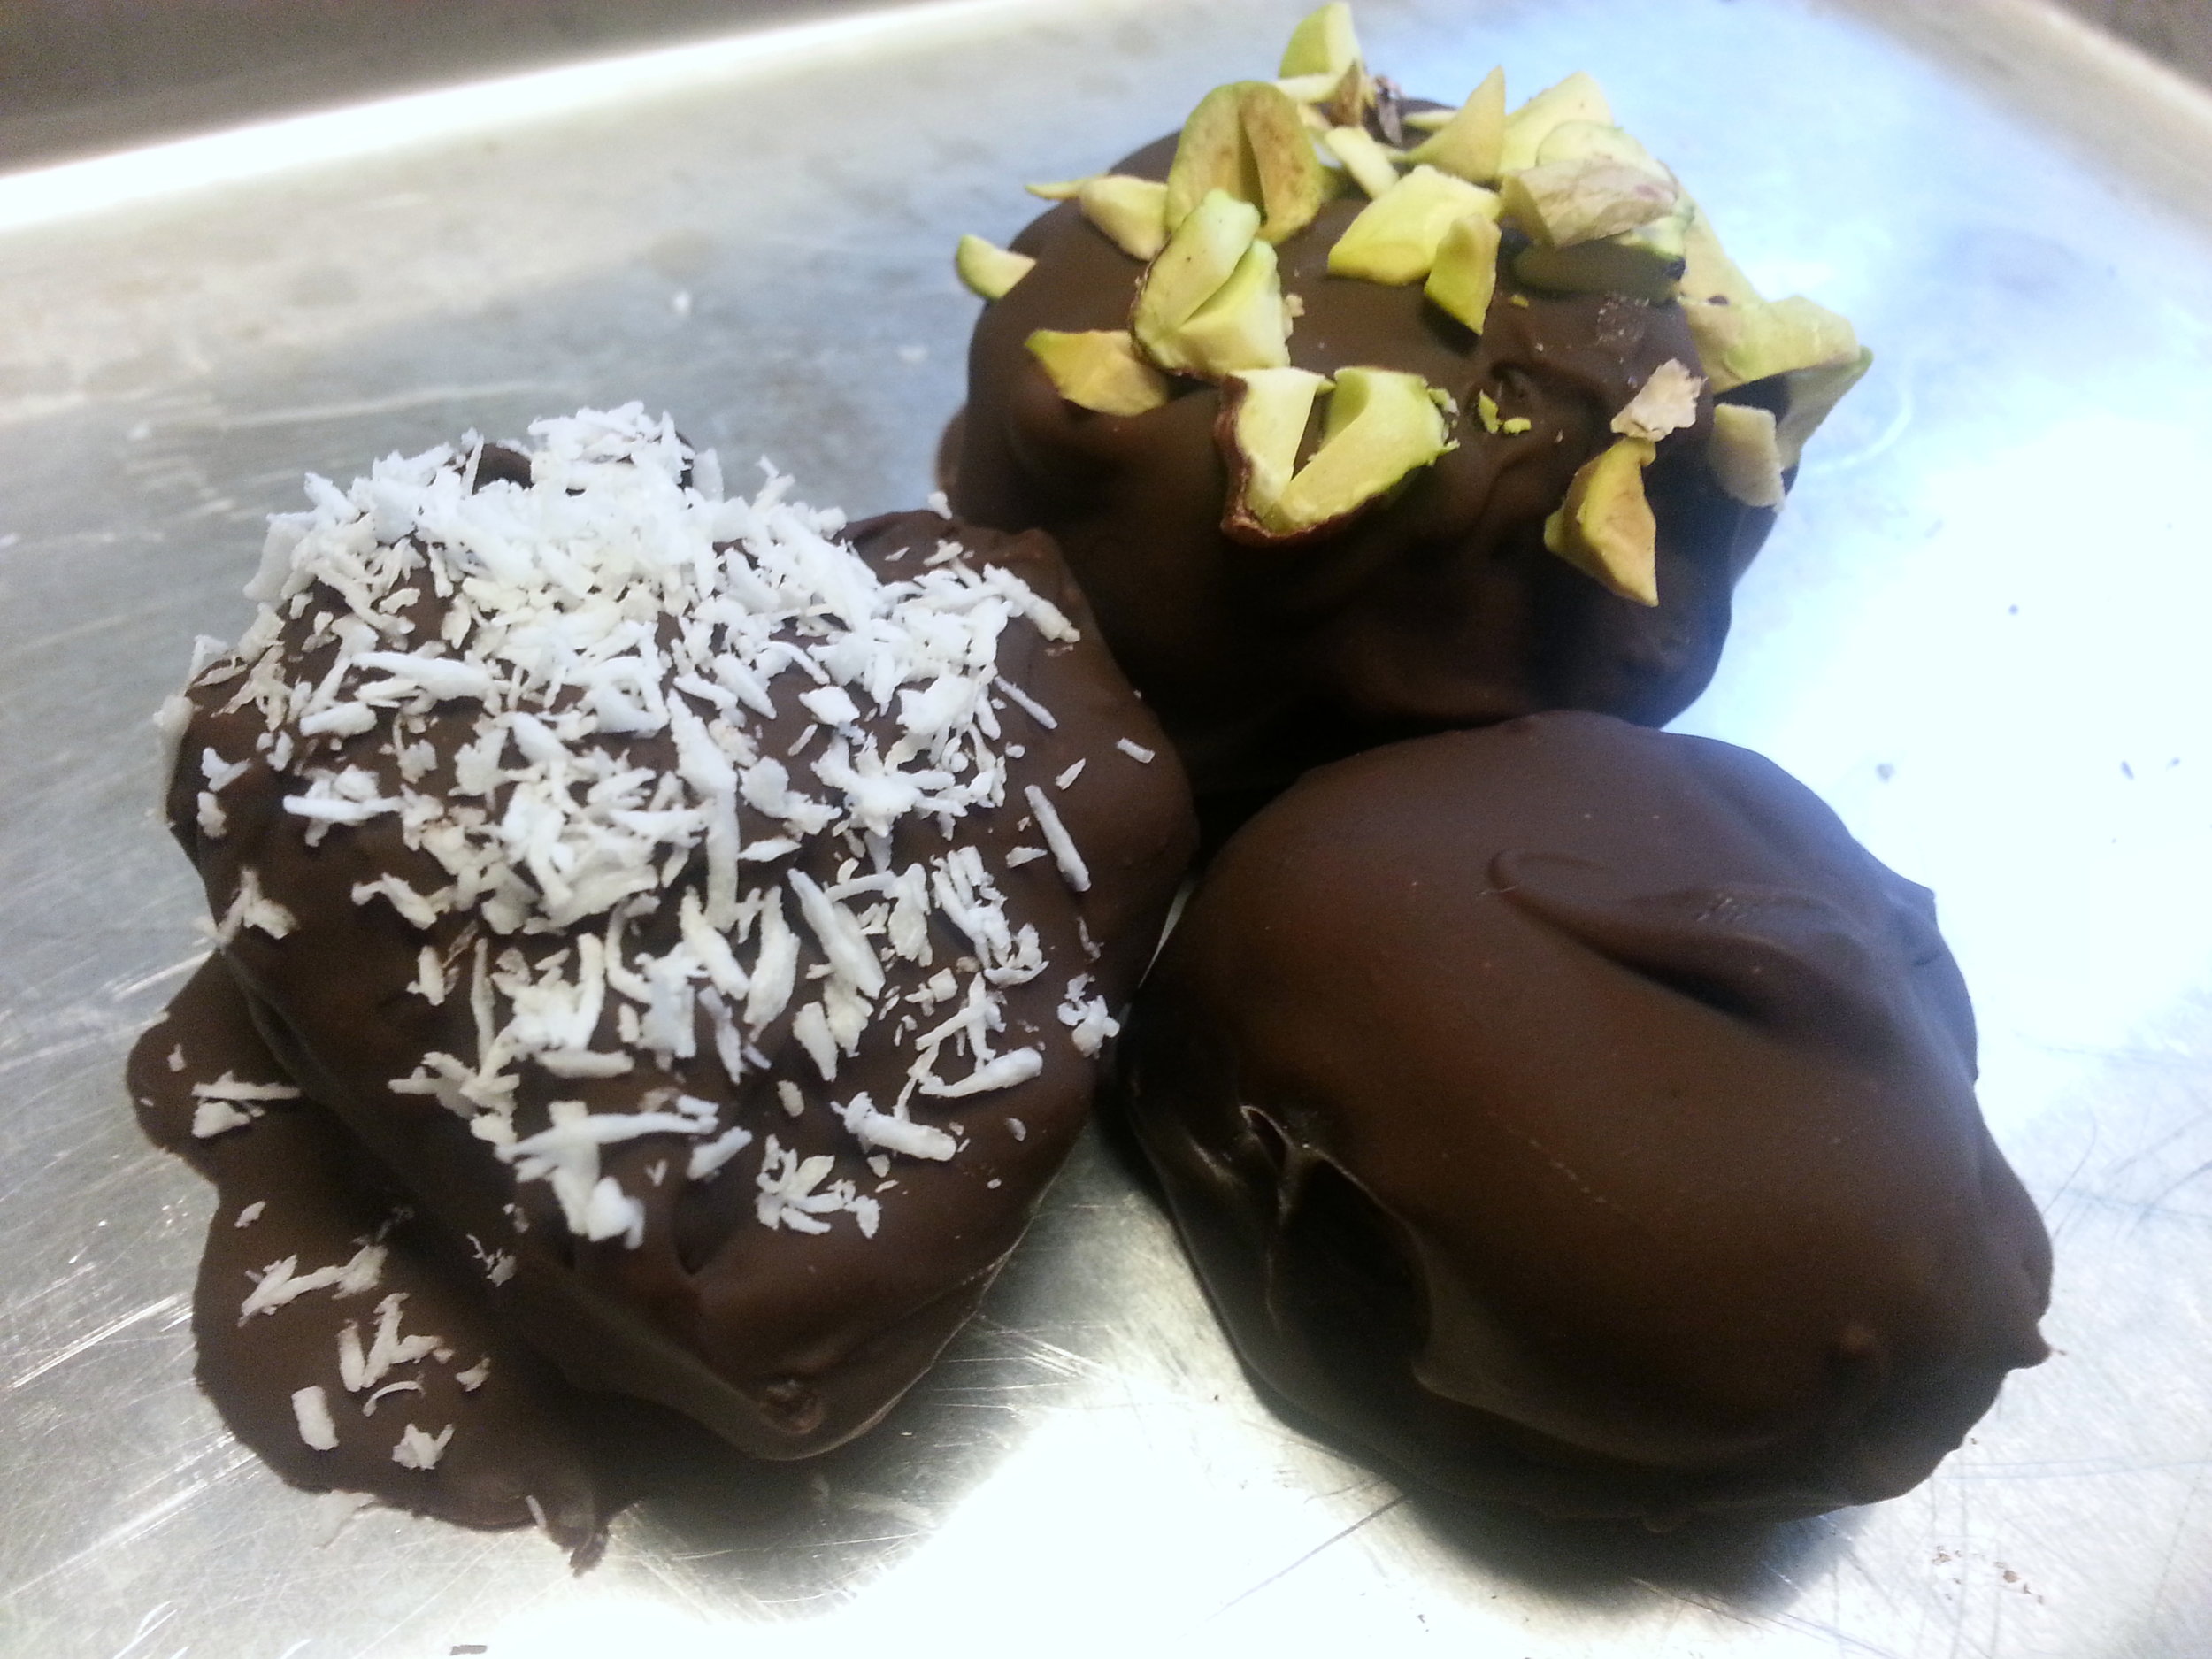
    Valentines Day is synonymous with candy and chocolates. This year, why not try giving your loved one a homemade version? These truffles are healthier than the store-bought version and can be customized to each person's exact tastes. Plus, a homemade treat always means more than something you pick up at the store. These truffles have a crisp chocolate shell with a soft and gooey chocolate-date center. They are seriously delicious and my only regret is that I didn't make a double batch. Healthy Homemade Truffles

    Chocolate Truffles for Valentine's Day

    Ingredients

    12 dates, pitted

    1 tablespoon carob powder, plus more for coating truffles

    1 cups chocolate chips (I like the brand Enjoy Life because they are free of weird ingredients and allergens)

    Fillings and toppings such as pecans, almonds, pistachios, and coconut

    Directions
    1. Soak dates until very soft, an hour or more depending on how hard the dates are.
    2. Drain water from dates and process in a blender until smooth.
    3. In a small bowl, add the date puree and 1 tablespoon of carob powder. Stir to incorporate.
    4. With wet fingers, roll date paste into 12 truffles. As you roll each truffle, add any desired fillings. Then, roll the truffle in carob powder and set on a baking sheet.
    5. Once all 12 truffles have been formed and rolled in carob powder, put the truffles in the freezer to harden, at least 1 hour.
    6. Once the truffles have firmed up a bit, melt the chocolate chips in a double boiler or microwave. Dip each truffle into the melted chocolate to coat and then immediately sprinkle with any toppings. You may need to return the truffles to the freezer periodically as they begin to soften. If the truffles get too soft, they will start to come apart when you dip them and the chocolate won't coat evenly. As the consistency of chocolate can vary between brands and also depends on how much the chocolate cools during the coating process, you may find that you need a little more or a little less than the recipe calls for. Feel free to adjust accordingly.
    7. Once all of your truffles are coated in chocolate, return them to the freezer for at least 1 hour to set up. Store in the freezer or refrigerator.

    Recipe: Healthy Strawberry Milkshake for Valentines Day

    I have been on a huge smoothie kick here lately. Some of my experiments have turned out better than others, but this is a new favorite. A few simple ingredients and a wiz of the blender are all it takes. Dates provide  a subtle sweetness without any nasty backlash, like an upset tummy or a sugar crash. It also has a beautiful pink color (perfect for Valentines day) without any artificial colors or dyes. Plus, if it's this good with snow falling on the ground, imagine how great it will be once summer rolls around! healthy Strawberry Milkshake

    Healthy Strawberry Milkshake

    makes 1 serving

    Ingredients

    1 cup (140 grams) frozen starberries

    3/4 cup milk

    2 pitted dates

    1/2 teaspoon vanilla extract

    Directions
    1. Add all ingredients to a blender and blend until smooth.

    Recipe: Seven Layer Taco Dip

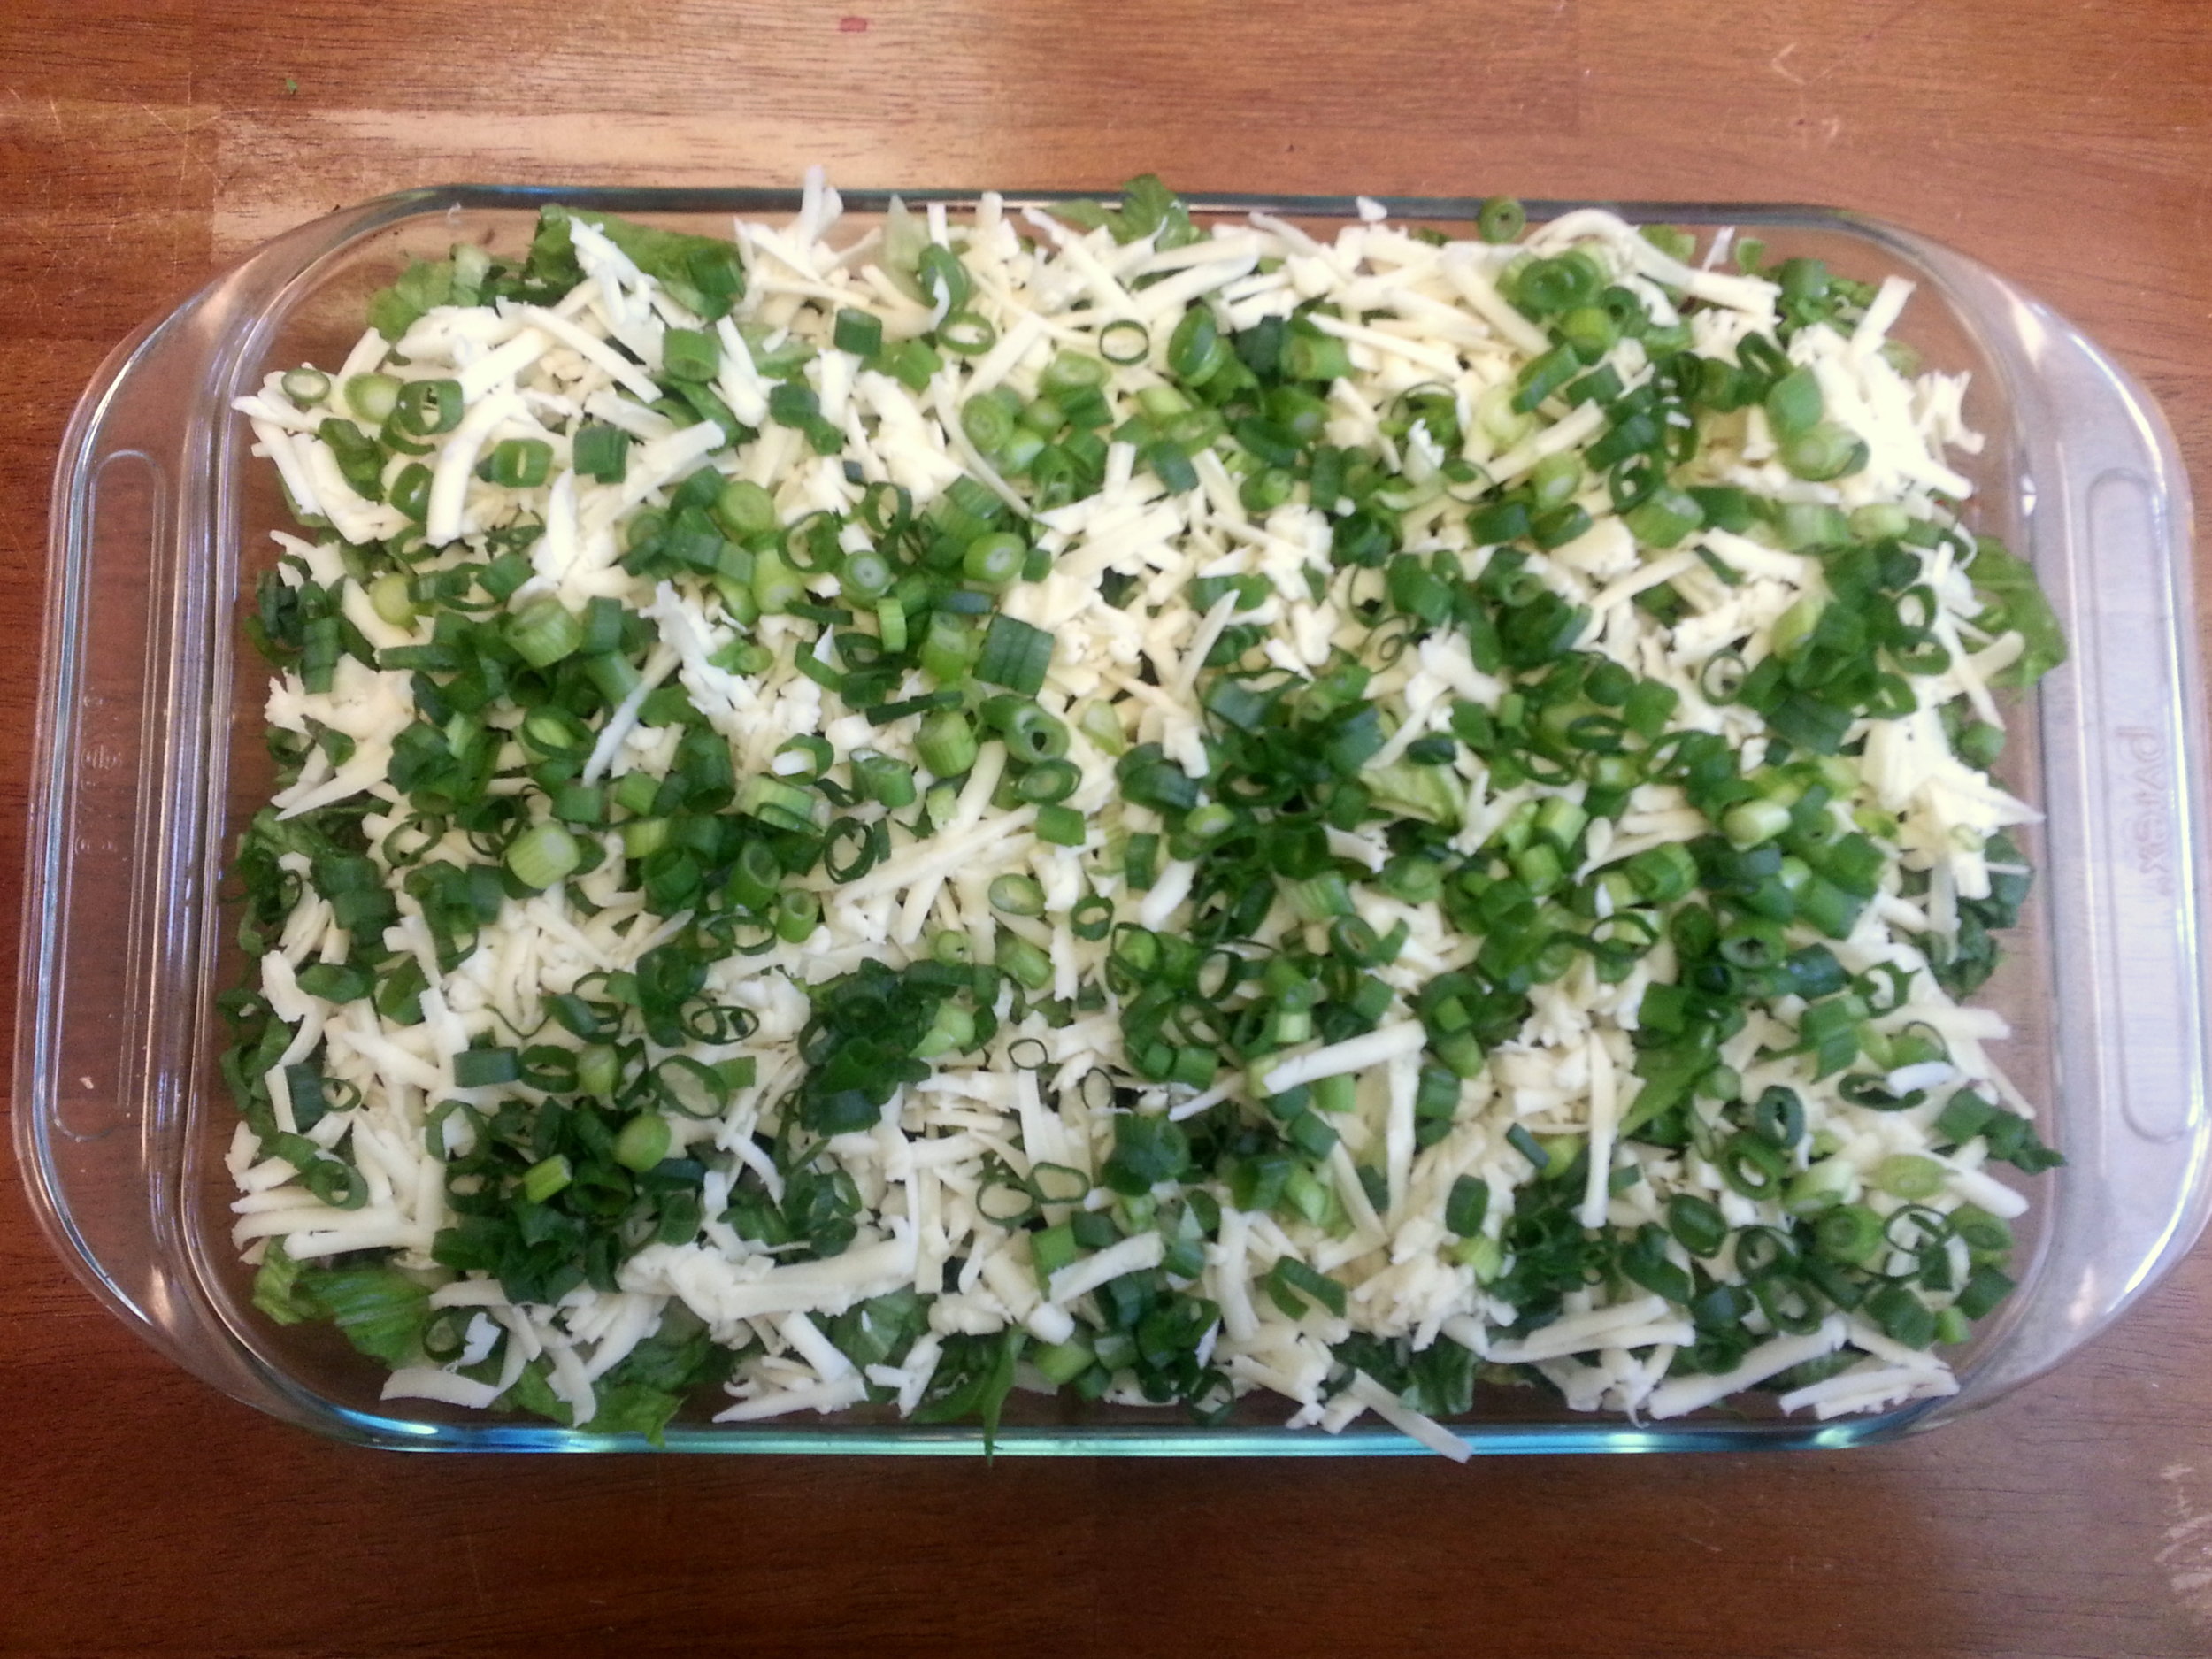
    With the Super Bowl right around the corner, I thought it was time I shared some party food! In my version of this classic dip I stuck with the basics, but made sure to add in lots of lettuce and grated my own cheese rather than using the pre-shredded stuff to avoid additives. I opted for whole black beans rather than refried beans because they're a little easier to make and also add a different texture. Pinto beans would be good too. I skipped the traditional black olives because we are not fans at my house, but feel free to add those if you like them. :) If I made this in the summer I'd also toss on some fresh tomatoes. We're eating ours with the Garden of Eatin' No Salt Added Blue Corn Tortilla Chips. Seven Layer Taco Dip

    Seven Layer Taco Dip

    Seven Layer Taco DipIngredients

    2.5 cups guacamole (1 batch of the recipe linked)

    2 cups sour cream

    2 cups salsa

    1.5 cups cooked black beans

    1 tablespoon homemade taco seasoning

    4 cups chopped romaine lettuce (about 1 medium head)

    8 oz cheddar cheese, shredded

    1 bunch scallions (6-7 scallions), chopped

    Directions
    1. Layer ingredients in a clear 9 x 13 baking dish in this order: guacamole, sour cream, salsa, black beans, taco seasoning, romaine lettuce, cheese, and scallions. Refrigerate until serving time. Serve with your favorite tortilla chips.

    Delicious Guacamole Recipe for the Super Bowl!

    Delicious guacamole recipe! A good guacamole recipe is a must have in my book. Not only is it easy to make, but it's delicious and versatile. Think beyond the usual chips and burritos and try it as a great addition to eggs, on a piece of toast for a snack, or as a spread on sandwiches and wraps. Plus, with the Super Bowl coming up, guacamole is a quick and easy dip that is always a crowd pleaser.


    [x_video_embed type="16:9"][/x_video_embed]

    Guacamole

    makes approximately 2.5 cups

    Ingredients

    4 avocados, seeded and peeled

    1/2 medium onion, diced

    1 jalapeno, seeded and minced

    1/4 cup fresh cilantro, minced

    1 clove of garlic, minced

    1/2 teaspoon salt

    Juice of 1-2 limes

    Directions
    1. Add all ingredients to a bowl and mash to desired consistency with a potato masher. If you prefer a smoother guacamole or want to skip on some of the chopping, you can alternatively mix all of the ingredients in a blender or food processor.

    Recipe: Massaged Kale Salad with Apples and Carrots

    Kale can be a scary vegetable for a lot of people. It's quite tough and bitter, which aren't exactly crowd-pleasing traits. However, as massaged kale salads have become trendy in the past couple years, many have realized that this little step of rubbing the kale down can make a big difference in both the texture and flavor departments. Now, kale is never going to be like a spring green, because it isn't! Rather, it's hearty and much more substantial, which is exactly what we need this time of year. As a bonus, this salad holds up well in the fridge, unlike more delicate greens. At our house, we've been doing a lot of kale salads, so I thought I would share a recent creation with you. Strangely enough, Lisa Leake over at 100 Days of Real Food recently put up a similar recipe , so, if you want a slight variation on the same idea, be sure to check out her recipe for Kale and Apple Salad as well. Kale Salad

    Massaged Kale Salad with Apples and Carrots

    makes approximately 4 servings

    Ingredients

    1 large bunch kale, ribs removes and torn

    2 tablespoons red wine vinegar

    1/4 teaspoon salt

    1 tablespoon olive oil

    1 sweet apple, chopped

    1 large carrot, cut into matchsticks

    1/4 cup chopped pecans

    1/4 cup crumbled blue cheese

    Directions
    1. Add chopped or torn kale to a large bowl, along with the red wine vinegar and salt. Massage the kale until it is tender, about 5 minutes. You should see some liquid being released from the kale and it should also reduce in size.
    2. Add the oil, apple, carrot, pecans, and blue cheese to the kale and toss to combine.

    Kale Salad

    Layered Chocolate Peppermint Bark Recipe

    Chocolate Peppermint Bark This peppermint bark is something that my family looks forward to every year. The best part is, along with how good it tastes, it also happens to be pretty easy to make. Most recipes for layered bark call for semi-sweet chocolate, but I prefer unsweetened chocolate instead. Since white chocolate is basically pure sugar, and there is even more sugar added with the candy canes on top, I find it provides a nice contrast between the super sweet white chocolate/candy-cane layer and the bitter dark chocolate underneath. Whether you make this for yourself, or as a gift for others, it will definitely be a big hit!

    [x_video_embed type="16:9"][/x_video_embed]

    Layered Chocolate Peppermint Bark

    Ingredients

    12 oz unsweetened(100% cacao) baking chocolate

    12 oz white chocolate

    8 natural/organic candy canes

    Directions
    1. Melt the dark chocolate in a double boiler or in the microwave until smooth.
    2. Poor the melted chocolate onto a parchment lined baking sheet and use a spatula to spread it into a thin layer. Refrigerate until solid.
    3. Melt the white chocolate in a double boiler or microwave until smooth. Allow it to cool as much as possible, while still remaining melted. This will ensure the dark chocolate layer doesn't soften and mix with the white chocolate.
    4. While the white chocolate is cooling, place candy canes in a plastic bag and crush into pieces using a mallet or rolling pin. Sift the crushed candy canes through a strainer to separate the very fine, sugar-like pieces from the larger chunks.
    5. Mix the fine candy-cane pieces into the white chocolate.
    6. Pour the white chocolate and candy cane mixture over the dark chocolate and use a spatula to spread the white chocolate as close to the edges of the dark chocolate layer as possible.
    7. Sprinkle the large candy cane pieces over the white chocolate and lightly press the pieces in with your fingers to help them better adhere.
    8. Return the bark to the refrigerator and allow the white chocolate layer to harden.
    9. Break the bark into pieces and store in the refrigerator.

    Recipe: Peppermint Sugar

    Candy canes are a staple for many this time of year. They make festive coffee and hot chocolate stirrers and are a favorite addition to holiday treats. However, it can be challenging to find candy canes that aren't full of corn syrup, artificial dyes, artificial flavors, and other nasty chemicals. While I prefer a natural candy cane because of the iconic shape and colors, you can make a substitute yourself if you can't get your hands on a high quality candy cane. Peppermint Sugar

    Peppermint Sugar

    makes approximately 1 cup

    Ingredients

    1 cup Sucanat/Rapadura sugar

    1/4 cup water

    1/2 - 1 teaspoon peppermint extract (depending on how minty you like it)

    Directions
    1. Line a metal baking sheet with parchment paper and place in the refrigerator to chill.
    2. Meanwhile, add the sugar and water to a medium sauce pan and heat over medium low heat. Stir water and sugar mixture with a spatula as it heats to dissolve the sugar.
    3. Continue stirring and heating until the sugar starts to bubble. Then, continue to stir the sugar frequently as it cooks for 15 minutes.
    4. Remove sugar from the heat and stir in the peppermint extract. Make sure to stand away from the pot as your do this, because the peppermint extract hitting the hot sugar can take your breath away if you're not careful.
    5. Stir the sugar to ensure the peppermint extract is incorporated and poor it out onto your chilled, parchment-lined baking sheet.
    6. Use your spatula to spread the sugar into a thin (but not transparent) layer. Allow the sugar to cool until it is hard and does not bend. You can place it in the refrigerator to speed up the process if you like.
    7. Now it's time for the fun part: Breaking up your sugar! Cover the sugar with another piece of parchment and then use a mallet or rolling pick to break the sugar into pieces of your desired size. Use immediately or store in a thin layer to prevent the pieces from sticking together into a big mass. You can also put the pieces into a small blender and make a finely ground sugar for your coffee.

    Thanksgiving Recipe Round-Up

    With Thanksgiving only a couple weeks away, those of you who are hosting are probably working on your menu for the day. It can be a little overwhelming, so I've pulled together some of my favorite recipes to share. They all call for real, whole food (of course) and are also delicious!

    Thanksgiving

    1. The Bird. I've been making my turkey using this recipe for a few years now and it is always a big hit. Citrus in the cavity, plus frequent basting, results in moist breast meat and crazy good flavor. Use your own homemade chicken stock if you have it and try making the gravy with whole wheat flour instead. And, if you do happen to splurge on the white flour, I won't tell. It is a holiday after all. :)
    2. Green Bean Casserole (minus the junk). This is actually a recipe for homemade cream of mushroom soup to use in any recipe that calls for the canned stuff. Try it this year in your favorite green bean casserole recipe! If you're in the market for a new version, Lisa posted one that doesn't use this cream of mushroom replacement just yesterday. I haven't had time to try it myself (obviously), but I thought I would add it in for anyone who is interested (Lisa's Green Bean Casserole).
    3. Roasted Veggies = Delicious. You guys know this is my go-to preparation for any vegetable. It's simple and quite the crowd pleaser. Plus, it's flexible depending on which veggies are available at the market that week or the preferences of your guests.
    4. Massage That Kale. This basic tutorial on how to make a massaged kale salad can be a great jumping off point. Start with the kale and then add in any toppings that you and your guests like. If you want, you could make a toppings bar so each person can make their own personal creation.
    5. Have A Biscuit! I make these whole wheat biscuits all the time. If you want something more interesting than a plain biscuit, there is a recipe for cheddar garlic biscuits as well!
    6. Cheesy Goodness. For many, mac and cheese is a must have at any holiday or family get together. I'll be honest, I haven't tried this recipe myself for the simple fact that I hate macaroni and cheese. However, everything this woman posts is good and I couldn't leave it off the list since I know it is something that so many people love.

    I hope you find any or all of these recipes to be a nice addition to your Thanksgiving spread. They just go to show that you can enjoy all of your favorite foods if you skip the chemicals and go for the real thing! Happy eating!

    Recipe: Beef and Bok Choy

    This is a simple one-pot recipe that comes together quickly on a busy night. Bok choy can come in a variety of sizes, so feel free to substitute several of a smaller variety for the large one I used, if you like. Whatever you can find will work. There is some residual liquid in the pan after cooking, but not enough to make this a soup. We ate this dish out of bowls with spoons, but you could also serve it over rice, quinoa, or any other grain of your choice. Beef with Bok Choy

    Beef with Bok Choy

    makes makes 4-6 servings

    Ingredients

    2 pounds ground grass-fed beef

    1 teaspoon paprika

    1/8 - 1/4 teaspoon cayenne pepper

    1/2 teaspoon salt

    1/4 teaspoon black pepper

    1 large onion, chopped

    2 cloves garlic, grated or minced

    1 large head of boy choy, sliced into 1-inch ribbons (about 15 cups)

    3 tablespoons soy sauce or tamari

    Directions
    1. Heat a dutch oven or large skillet over medium high heat. Once hot, add ground beef and brown, about 10-15 minutes.
    2. Reduce heat to medium and mix paprika, cayenne, salt, and pepper into browned meat.
    3. Add onion and cook until softened, about 5 minutes.
    4. Add garlic and cook until fragrant, 30 seconds to 1 minute.
    5. Add bok choy in batches, waiting until it is slightly wilted to accommodate more of the vegetable. Use tongs to distribute the leaves throughout the beef.
    6. Once all of the bok choy has been added to the pot, stir in the soy sauce, cover, and cook until the bok choy is completely softened, 5-10 minutes depending on the toughness of the bok choy ribs.

    Recipe: Pumpkin Spice Overnight Oats

    You guys might think I'm pumpkin spice crazy, but, be honest, you like it! I got a few requests for instructions on how to make this so here you go! [youtube=http://youtu.be/ZRsyn8Dh674]

    Ingredients

    1/3 cup rolled oats

    1/3 cup pumpkin puree

    1/3 cup plain yogurt

    1/3 cup milk

    1 tablespoon chia seeds

    1-2 tablespoon apple butter

    1/8-1/4 teaspoon ground cinnamon*

    1/16 teaspoon ground ginger*

    1/32 teaspoon ground nutmeg*

    1/32 teaspoon ground clove*

    1/32 teaspoon ground cardamom*

    Almonds and raisins to taste

    *This is more to show how little I use rather than as a true measurement. I never actually measure the spices. Basically, I do a little sprinkle, especially with the ginger, nutmeg, clove, and cardamom. You just don't want to overdo it.